Should you give the Ward Sensors to Richter or Captain Zotov in Stalker 2?Which side should you take at the end of “A Needle In A Haystack”?
Which side should you take at the end of “A Needle In A Haystack”?
Image credit:Rock Paper Shotgun/GSC Game World
Image credit:Rock Paper Shotgun/GSC Game World
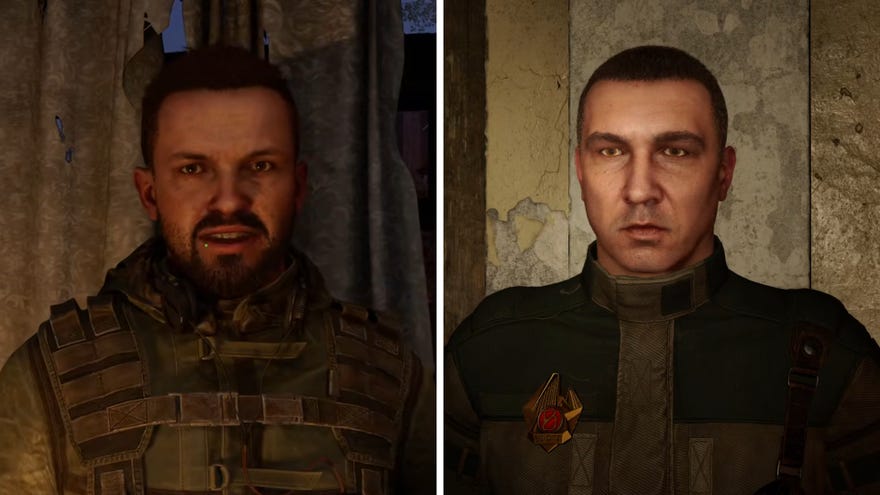
Should you give the Ward Sensors to Richter or Captain Zotov in Stalker 2?Stalker 2has a great many minor choices to choose between, and a small handful of very important choices. And the very first choice with important, real consequences is deciding who to give the Ward Sensors you procure fromSquintin the “A Needle In A Haystack” main quest.
Both these characters reside in Zalissya at this early point in Stalker 2.Richteris a fellow Stalker like you, whereasCaptain Zotovis a member of the militaristic Ward who are temporarily occupying Zalissya for an investigation after Squint killed a number of their men. But who is the best person to give the Ward Sensors to?
The Ward Sensors decisionaffects the next several hoursof Stalker 2’s story, so keep reading to learn everything you need to know to make the right decision for your playthrough.
In this guide:
Warning: story spoilers for the next few main quests follow!

Should you give the Ward Sensors to Richter or Zotov?
There’s no objectively correct choice here. Depending on who you give the Ward Sensors back in Zalissya, you’ll get a rather different story experience for the next few hours of your playthrough. Both choices end up in roughly the same place, and the material differences aren’t huge, but in terms of story differences, you are essentially choosing between the individualistic Stalker faction and the militaristic Ward faction. So above all, you should choose whichever path intrigues you the most.
Here are the main differences that arise depending on whether you give the Ward Sensors to Richter or Zotov:
That’s a fair few consequences to mull over, so let’s break down both paths and see exactly what happens when you give the Ward Sensors to Richter or Captain Zotov.
Option 1: Give the Ward Sensors to Richter
Enter the Sphere via the Ribs
If you give the Ward Sensors to Richter, you’ll immediately be given2,024 Couponsas a reward - a bit more than the 1,350 coupons Zotov would have given you. Richter tells you about a way to get into the Spherevia the Ribs, which is an entrance that is more about dodging anomalies than dealing with people.
Choosing Richter will allow you to enter the Sphere via the Ribs - dodging anomalies instead of soldiers. |Image credit:Rock Paper Shotgun/GSC Game World

Leave via the Northern Checkpoint into Garbage
Once you’ve escaped the Sphere, Richter will contact you and tell you to get theNorthern Checkpointkey off of Gaffer back in Zalissya. Do this, and then you can leave the Lesser Zone via the Northern Checkpoint.
The moment you leave the Lesser Zone, you’ll be wired a handful more coupons (2,699 to be exact), and you’ll be given the next quest - “Answers Come At A Price”.
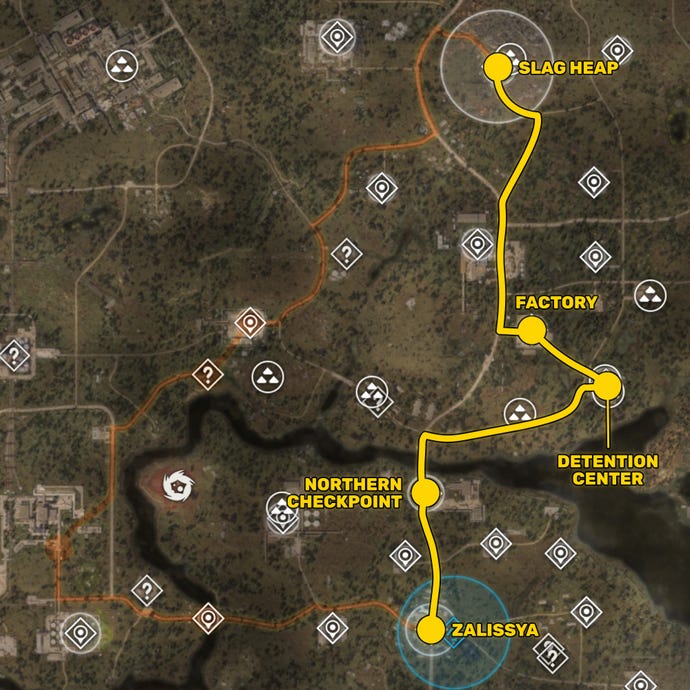
This is the main story path you’ll take from Zalissya to Slag Heap if you choose Richter’s path. |Image credit:Rock Paper Shotgun/GSC Game World
Answers Come At A Price quest
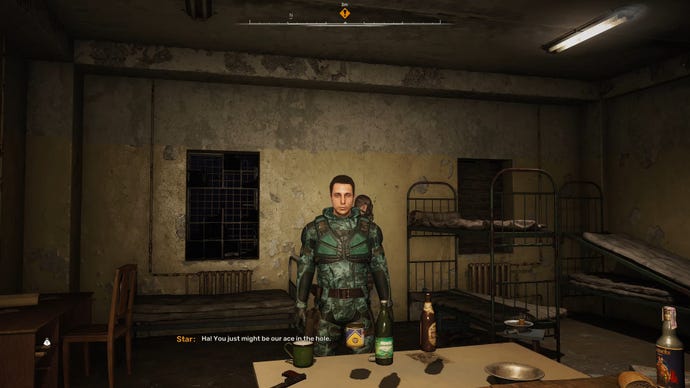
Star, Richter’s contact, will give you a quest to save his men from a factory lab basement. |Image credit:Rock Paper Shotgun/GSC Game World
An early meeting with Scar
Report back to Star that you saved his men, and then you’re off to visit Diode in Slag Heap. This next portion of the main story is roughly the same for both paths. Diode will give you the quest “The Price Goes Up”, and after that you’ll meet with Varan in the quest “Deal With The Devil”.
Richter’s path brings you an early meeting with Scar, a key faction leader. |Image credit:Rock Paper Shotgun/GSC Game World

Korshunov and Scar
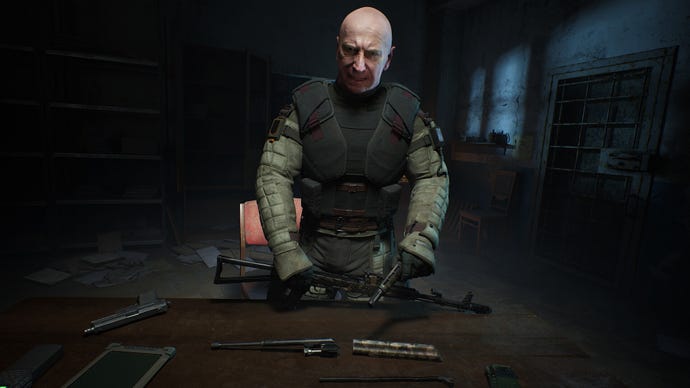
You’ll be ushered upstairs to ameeting with Colonel Korshunov, leader of the Ward, who doesn’t trust you one bit at first, given your previous choice of helping the Stalkers over the Ward. You’ll have the choice during this conversation to hand over the “Unusual PDA”, but that’s a matter for another guide. All that’s relevant is that your first meeting with Colonel Korshunov is quite a bit less friendly if you chose to give Richter the Ward Sensors.
Korshunov is not happy with you at a result of your choices at first, but you can win him over. |Image credit:GSC Game World
Option 2: Give the Ward Sensors to Captain Zotov
Enter the Sphere via the IPSF outpost
Zotov’s path allows you to sneak through an IPSF outpost to enter the Sphere. |Image credit:Rock Paper Shotgun/GSC Game World

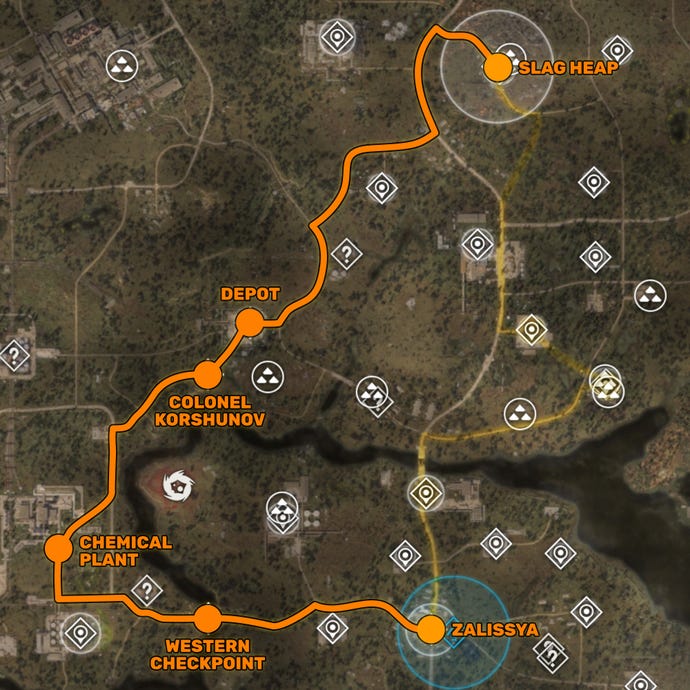
Leave via the Western Checkpoint into Chemical Plant
It may look like this path takes you into theChemical Plantregion, but you’ll only stay in there for a few minutes. You need to meet a Warden calledMateus, who tells you where to find Colonel Korshunov (surprise! He’s just across the border in Garbage). Meet with Korshunov, and he’ll give you a wholly different version of the “Answers Come At A Price” quest.
This is the main story path you’ll take from Zalissya to Slag Heap if you choose Zotov’s path. |Image credit:Rock Paper Shotgun/GSC Game World
Answers Come At A Price quest
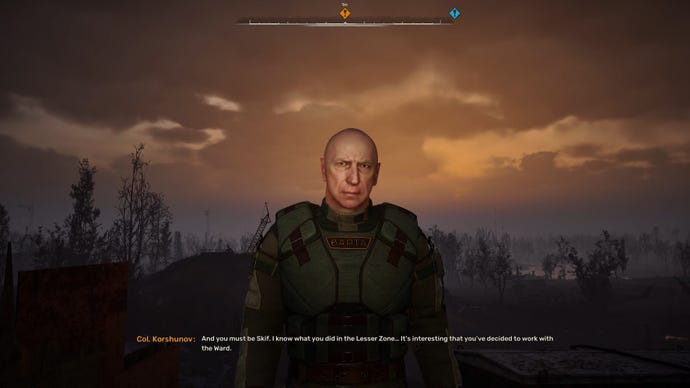
This path gives you an early meeting and potential alliance with Colonel Korshunov. |Image credit:Rock Paper Shotgun/GSC Game World
Whether you attack the gang or speak to Chornozem makes no difference - you’ll be forced to kill the gang anyway, and you’ll always get the information you need: that the person youactuallyneed to speak to is Diode. And thus the paths converge once again.
Korshunov and Scar
After this, you’ll need to visit Diode and complete the next set of quests (“The Price Goes Up” and “Deal With The Devil”. Return to the Slag Heap, and you’ll be brought upstairs to meet once more with Korshunov. In this path,Korshunov is far friendlier towards you, because you’ve previously displayed a willingness to work with the Ward.

All in all, there’s no definitive right or wrong choice when it comes to giving away the Ward Sensors to one side or the other. It represents a different set of quests which take you out of the Lesser Zone, and it also represents an initial leaning towards either the Stalkers/Spark or the Ward - but either way, you can choose to counteract or further this leaning with your next major choice, which is who to show the Strange PDA to.
That wraps up this guide, but we’ve got plenty more Stalker 2 wisdom to give. Check out our other guides onhow to fast travel in Stalker 2,how to get more ammo,how to repairandupgrade weapons, andhow to use Bolts.