How to upgrade weapons in Stalker 2Learn how to upgrade your gun’s stats and add new attachments in Stalker 2
Learn how to upgrade your gun’s stats and add new attachments in Stalker 2
Image credit:Rock Paper Shotgun/GSC Game World
Image credit:Rock Paper Shotgun/GSC Game World

Looking to upgrade your weapons and gear in Stalker 2?Stalker’s gunplay has always been very important to the legacy of the series, and part of that legacy is rooted in the ability to customise your weapons as you like, through specialised upgrades and attachments. For players new to the series though, it’s not always clear how to upgrade your weapons in the ways that you want inStalker 2. The process feels a little unintuitive at first, but once it’s explained, it’s pretty easy to follow.
In this guide, we’ll explain how to upgrade weapons in Stalker 2 - and further to that, we’ll go over how to add attachments to your guns, such as scopes, extended magazines, silencers, and so on. Armed with this knowledge, you’ll be able to ensure that your favourite weapons progress alongside you, and stay relevant throughout your Stalker 2 playthrough.
In this guide:

How to upgrade weapons in Stalker 2
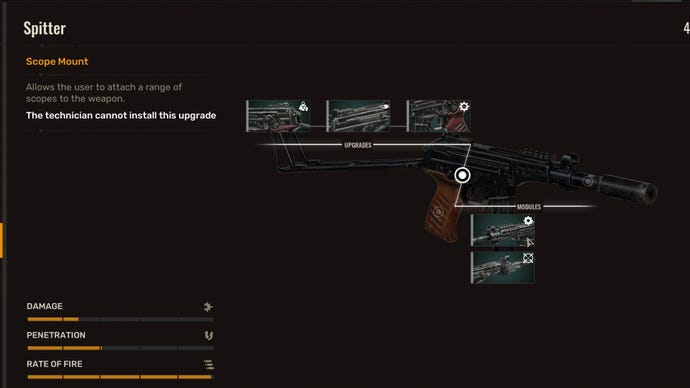
Once you’re inside the Upgrade screen, you can select the weapon or item you wish to upgrade from the list on the left-hand side. If an item can be upgraded, you’ll see circles appear over certain areas of the item’s graphic in the middle of the screen. Click each of these circles in turn to view the different upgrades that you can apply to different areas of the item.
Image credit:Rock Paper Shotgun/GSC Game World

Here are a few key things to remember when it comes to upgrading weapons:
How to add attachments in Stalker 2
Image credit:Rock Paper Shotgun/GSC Game World

There are a few different ways to add attachments to your guns in Stalker 2, but there are also several limitations. First, you need to ensure that the attachment you have is compatible with your gun. To see this, hover over the attachment and read the list of guns to which it can be applied. You may also notice that when you hover over the attachment, any viable guns in your inventory or equipment will light up slightly.
You can install an attachment either inside or outside of the inventory. Here’s how to do it:
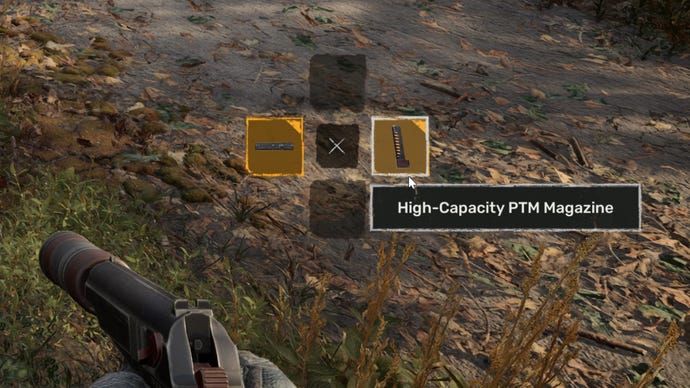
This final option brings up the attachment selector towards the right of your screen, which allows you to swap in and out any viable attachment that’s in your inventory while you’re still moving.
Image credit:Rock Paper Shotgun/GSC Game World

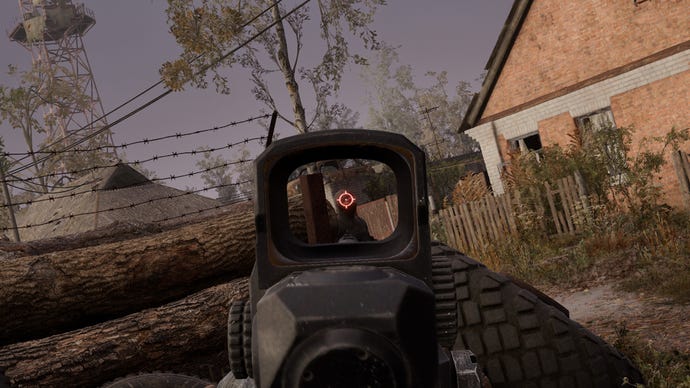
It’s important to note that certain weapons won’t accept certain attachments naturally, but you can upgrade them via a Tech so that theycantake that attachment. For example, the Scope Mount upgrade you may find on many rifles will allow you to add optic attachments such as a holographic sight to that weapon. This is true even of unique named weapons you may find on your excursions throughout the Zone.
That brings this guide on upgrading Stalker 2 weapons to a close. If you’re interested in the other delights that a good Tech can bring you, check out our guide onhow to repair items in Stalker 2. Alternatively, you can brush up on other mechanics with our guides onhow to fast travel,how to get more ammo,how to use Bolts, and more.