HomeGuidesElden Ring
Fog Rift Catacombs walkthrough - Elden Ring DLCHere’s how to clear the Fog Rift Catacombs in Shadow Of the Erdtree
Here’s how to clear the Fog Rift Catacombs in Shadow Of the Erdtree
Image credit:Rock Paper Shotgun/Bandai Namco
Image credit:Rock Paper Shotgun/Bandai Namco
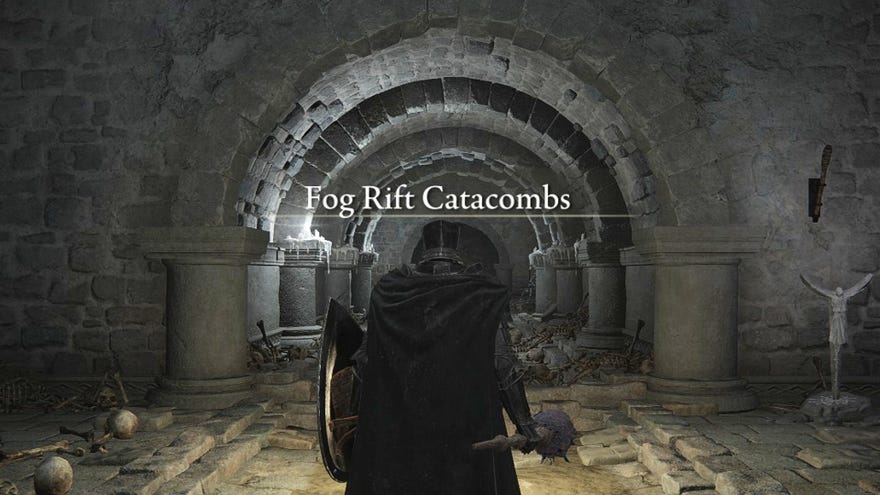
Looking for a full rundown of the Fog Rift Catacombs in Elden Ring: Shadow Of The Erdtree?The Fog Rift Catacombs is a mini-dungeon inElden Ring’s DLCShadow Of The Erdtreethat’s infested with tricky enemies and ceiling spike traps that will threaten to massacre your Tarnished to a pulp. The dungeon contains many rewards, however, including a nice pair of twin axes if you manage to defeat the Death Knight boss at the very end.
To see this content please enable targeting cookies.Manage cookie settings
To see this content please enable targeting cookies.Manage cookie settings
Fog Rift Catacombs walkthrough
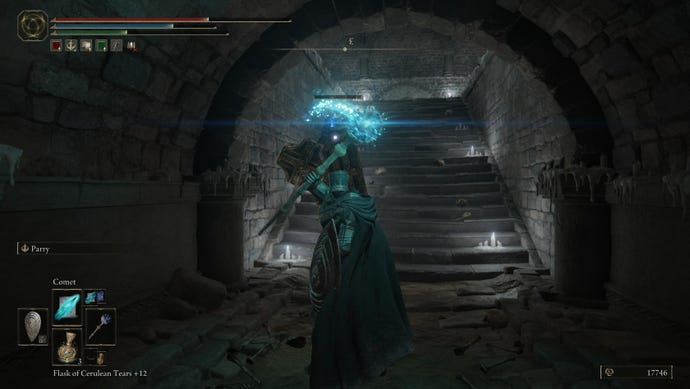
Here’s the location of the Fog Rift Catacombs Site of Grace. |Image credit:Rock Paper Shotgun/Bandai Namco
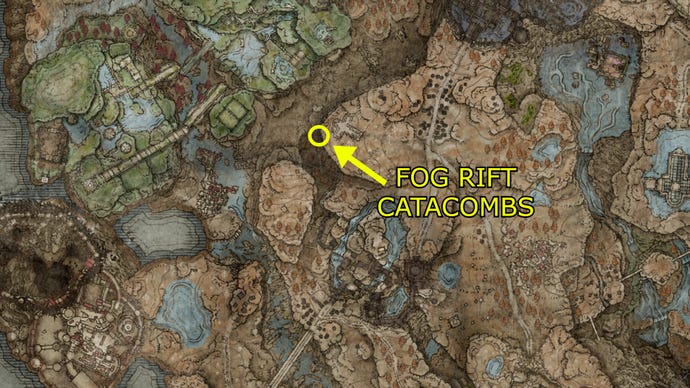
To get to the Fog Rift Catacombs, go northwest from theCastle FrontSite of Grace. You’ll need to make your way deep into a valley, and you’ll know you’re in the right place when fog starts to permeate the area. The entrance to the catacombs is in a northern rock wall; open the doors, head down the lift, and you’ll find the dungeon’s Site of Grace.
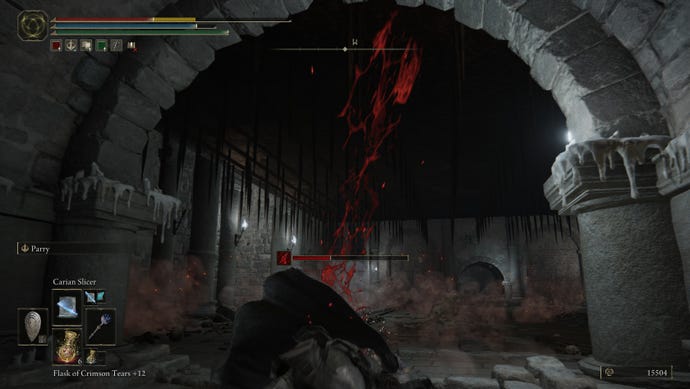
As soon as you progress into the dungeon, a masked imp will hop out from the shadows. Expect to encounter these guys throughout the entire catacombs; they don’t take many strikes to dispatch, but they hit harder than you’d expect. After killing the imp, take theGrave Glovewort [1]from the corpse and go west. You’ll see a large room with an imp hanging around in the centre. This is a spiked ceiling trap, another recurring theme of this dungeon.
Be cautious if you run directly into this room, because the ceiling will slam down as soon as you do (likely killing the imp, which is fun). The best practice here is to wait for the ceiling to fall, the dash through as it slowly raises. There’s an alcove to your left that you can duck into for safety, as shown in the screenshot below.
![]()
There’s another imp at the end of this room. Dispatch it and continue onwards. Stay wary as you round the corner in the next corridor, as a spellcaster stands on a walkway blasting down at you. These guys are the other main enemy in the Fog Rift Catacombs, and their main method of attack is to fire projectiles that veer towards you slowly, reflecting additional projectiles off of anything they hit.
Beyond the walkway lies an imp who’ll attack from the right and aYellow Fulgurbloomto the left. Go down the stairs, and you’ll find yourself in a wide room with another imp on a platform above you. Chances are this fellow will shoot fireballs your way, so dispatch him quickly. You now have the option of going left or right - the right corridor contains two additional imps lurking in the shadows, anotherYellow Fulgurbloom, and a corpse with theAncient Dragon Knight’s Cookbook [1].
The left path leads down a set of stairs to a deep drop. As soon as you near the drop, a spiked ceiling will slam downwards. You’ll be doing a bit of backtracking to this point, for the sake of convenience, let’s classify this section of the Fog Rift Catacombs as intersection 1.
Fog Rift Catacombs intersection 1
From your vantage point, you can either hop down and explore the ground floor as the ceiling raises, or jump atop the ceiling to navigate to new areas. It’s tough to explore the ground floor from your current angle without suffering injuries, so we recommend taking the ceiling route first.
If you jump on the ceiling and run directly across it, you’ll find a platform with another imp, aYellow Fulgurbloom, and 3Knot Resinon a corpse. After this, run across the ceiling again to reach a new area with a spellcaster, moreYellow Fulgurbloom, and a path that’ll take you across the walkway that was previously above you.
Get ready to tackle some knights along this route, if you want your Great Ghost Glovewort. |Image credit:Rock Paper Shotgun/Bandai Namco
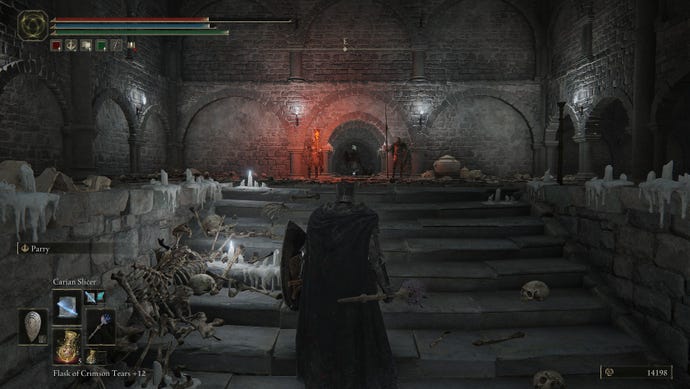
Beyond this walkway is a staircase that leads up to two soldiers and a black knight. Take care of all of them (beware the black knight’s massive shield and mace), and note that a third soldier will attack you from the right as you walk deeper into the room. AGreat Ghost Glovewortawaits you as a reward. Once you’ve picked this up, exit the way you came and veer left, standing on the edge of the ledge. When the spiked ceiling falls, jump and run across it to reach a corridor that leads to theBlack Knight Commander AndreasSpirit Ash.
Once you’re done collecting everything, retrace your steps to intersection 1. It’s time to explore the ground floor beneath the spiked ceiling that you previously clambered across. When the ceiling is raising, immediately drop down to the ground and roll into a new room with aYellow Fulgurbloomand an imp. From the angle that you should be standing at if you’ve been following this guide, all you need to do is roll backwards. You’ll see a ladder in this room. Climb it to reach an area with 4Yellow Fulgurblooms.
Once again, retrace your steps back to the ground floor of intersection 1, then run directly across to a new room where a staircase goes down. Loot a corpse to get 2Dragonbolt Grease, and keep going to step on a lift pressure plate that takes you down.
On this new level of the catacombs, go straight, kill two more imps, and check under the stairs to find 4Rada Fruitand aYellow Fulgurbloom. From the stairs, reverse your steps and go north, grabbing anotherYellow Fulgurbloomalong the way and taking out the spellcaster in front of you. You’ll see a room in front of you and a pathway that goes to your left. Explore the room first; defeat the imp and grab theGrave Glovewort [1].
Exit, pick up yet anotherYellow Fulgurbloom(Are you getting tired of finding these yet?) and go down the stairs to reach a large, cavernous room. Don’t step inside yet. Consider this intersection 2, as more backtracking is about to commence.
Fog Rift Catacombs intersection 2
Once again, it’s another one of these rooms. Each yellow arrow corresponds to an alcove or passageway you can duck into to avoid the spiked ceiling. The middle arrow on the left leads to a pit which drops down to the sewers. The arrow on the right leads to the end of the dungeon. |Image credit:Rock Paper Shotgun/Bandai Namco
![]()
The middle left alcove is interesting, as it contains a giant hole. If you drop down, you’ll be in a series of sewer passageways which are fairly straightforward as long as you avoid the oozes that might catch you off-guard. Aside from the oozes, you can expect to encounter another spellcaster, a few imps sticking to walls, a whopping 6Yellow Fulgurbloom, and corpses withGhost Glovewort [4]andElectrocharge. Once you’re done in these sewers, climb the only ladder in the vicinity to reach a platform with a - you guessed it -Yellow Fulgurbloom. Drop off the platform, turn left, and you’ll be back where you started in the room with the big spiked ceiling.
You specifically want to jump into this blink-and-you’ll-miss-it hidden opening in the ceiling platform. |Image credit:Rock Paper Shotgun/Bandai Namco
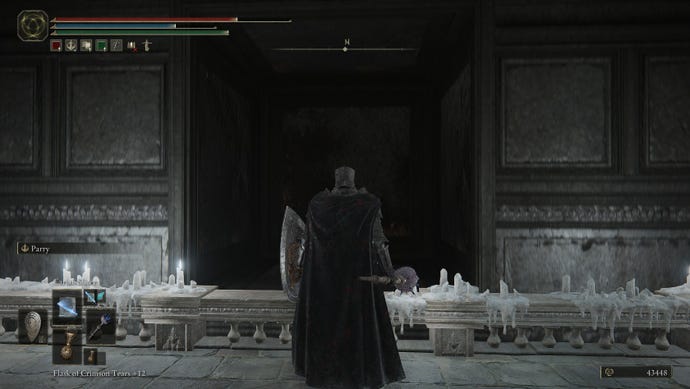
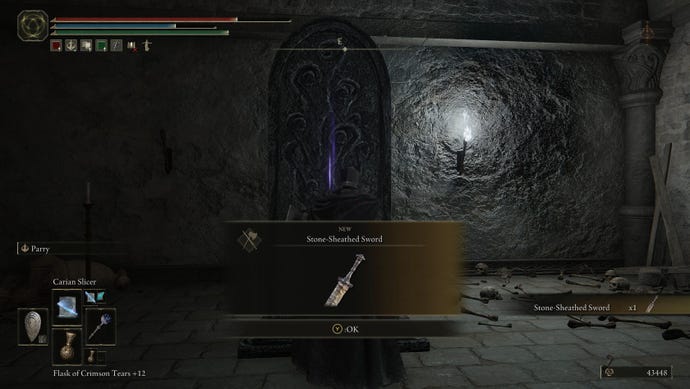
When the ceiling takes you up, turn around to see a chest with theBlinkboltAsh of War inside. Grab it, wait for the spiked ceiling to fall again, then jump atop it and run across to a passage located in the far northeast. An altar lies here; you’ll either pick up aStone-Sheathed Swordat this altar, or if you already have one, you can change your blade to aSword of Darkness.
If you’ve already got a Stone-Sheathed Sword, you’ll receive a prompt here that asks you if you want your sword to go dark. |Image credit:Rock Paper Shotgun/Bandai Namco
Now go left down the ladder, take out the two imps that await you, and grab theGhost Glovewort [5]off the corpse. Jump down the hole that seems like it would kill you (don’t worry, it doesn’t), and you’ll land back in the third left alcove where you previously found the Glass Shard. Run directly across as soon as the spiked ceiling raises to go to the final unexplored alcove on the right side of the room. This leads to yetanothertrap room with a spiked ceiling (but at least it’s a much smaller one this time) and aBroken Runelying on a corpse.
Run through this area onto the platform, hit the pressure pad, then take the lift down. Finally, you’ll reach the entrance to the boss chamber, where theDeath Knightawaits you.
How to defeat the Fog Rift Catacombs boss
The Death Knight’s a good reason to keep some items in your pocket for handy lightning resistance. |Image credit:Rock Paper Shotgun/Bandai Namco
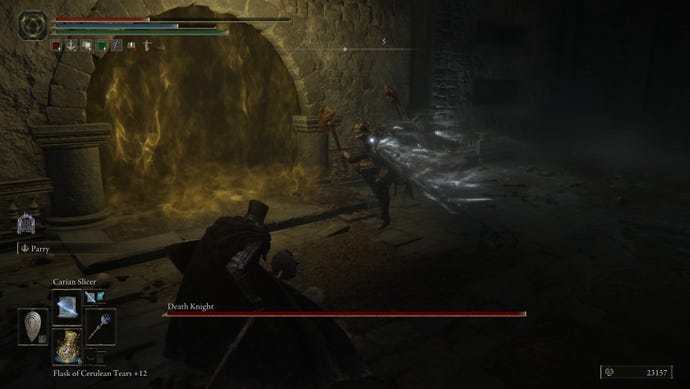
The Death Knight is a formidable boss who will attack you with axe spins and swings, as well as lightning bolts and lightning dashes. He hits hard, but his lightning attacks have a lengthy windup time which means you can definitely sneak in several well-timed melee slashes. You can also break his Poise with two consecutive heavy attacks, and if you have any items that can confer lightning resistance (likeLightningproof Dried Liver, now’s a good time to use them.
When the Death Knight’s wings extend like this, stand clear. You don’t want to get caught. |Image credit:Rock Paper Shotgun/Bandai Namco
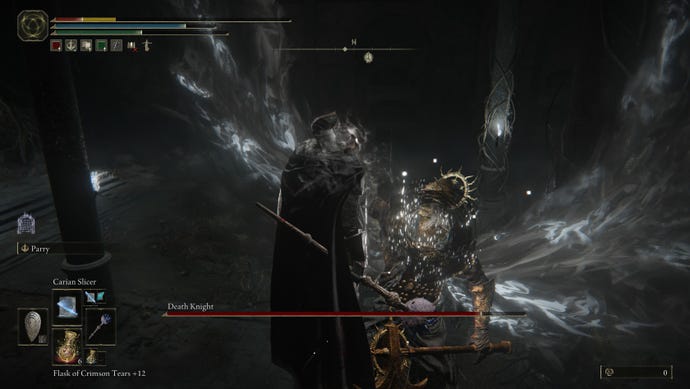
If the Death Knight ever transforms his cape into giant wings, start rolling. This is the indicator of a dash move where the knight will grab you, stabs you multiple times, and slam your body back down into the ground. Obviously, it hurts a lot, but once again, the telegraph is quite obvious.
It may take a few tries to fell the Death Knight, but practice makes perfect. Once you do bring him down to size, you’ll get theDeath Knight’s Twin Axes, theCrimson Amber Medalion [3], and a nice110,000 Runes.Head to the teleporter to go back to the dungeon entrance.
That was a tricky dungeon, but the Twin Axes were worth the ordeal! |Image credit:Rock Paper Shotgun/Bandai Namco
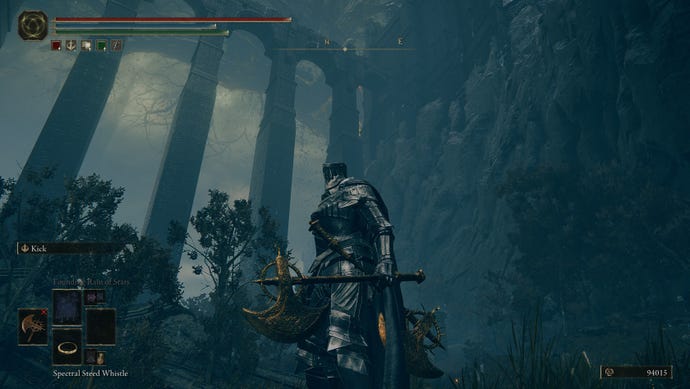
The Death Knight is defeated, and the Fog Rift Catacombs has finally been cleared. Nice work! For more Elden Ring: Shadow of The Erdtree dungeon walkthroughs, take a look at our guide to theRuined Forge Lava Intake. And if you’re struggling to reach other areas of the Land of Shadow, we’ve got all the info you need for reaching theCerulean Coast, theCathedral of Manus Metyr,Charo’s Hidden Grave, and theStone Coffin Fissure.
