HomeGuidesElden Ring
Elden Ring walkthrough: How to beat the gameThis walkthrough will guide you through each major region and boss in Elden Ring
This walkthrough will guide you through each major region and boss in Elden Ring
Image credit:Rock Paper Shotgun/Bandai Namco
Image credit:Rock Paper Shotgun/Bandai Namco

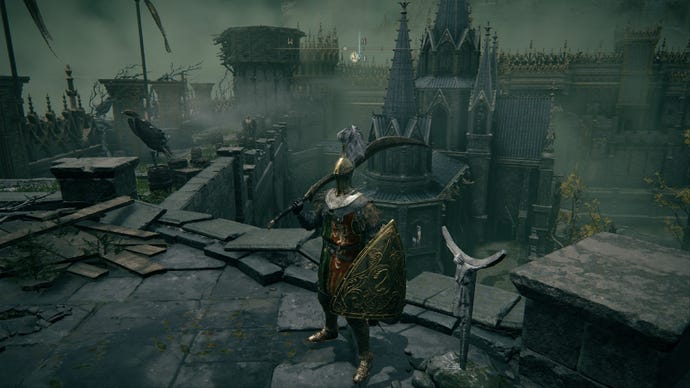
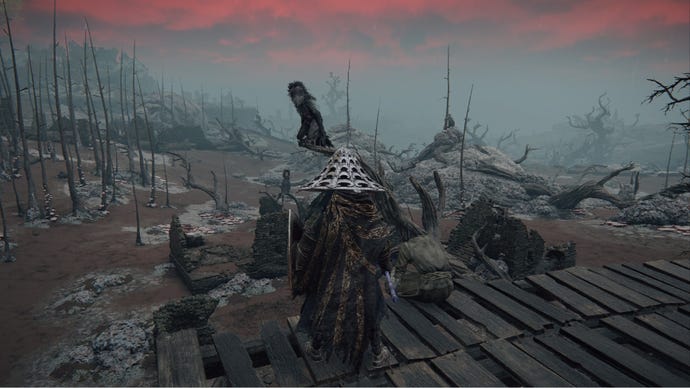
Need a complete Elden Ring walkthrough with all regions and bosses?With theShadow Of The ErdtreeDLC addingadditional bosses,new weaponsand more, now is the perfect time to get stuck into the beautifully haunting Lands Between, and find out how to beat the base game forElden Ring.
As it’s a huge open world with plenty of NPCs,side questsand regions, it can be confusing just where to go and whichbossesyou should tackle first. Luckily, we’ve crafted an Elden Ring walkthrough that will take you through a rough order of all main bosses and locations to travel to. Follow along and you’ll complete your playthrough in no time, completing every map area and collecting some seriously niftyweaponsandarmorin the process. Be sure to check out ourElden Ring endings guideif you want to get the optimal ending (out of a possible six) for your Tarnished.
Note: spoilers for major areas, bosses, and endings follow. You’ve been warned.
12 Elden Ring Tips And Tricks To Help You Easily Conquer The First 10 HoursWatch on YouTube
12 Elden Ring Tips And Tricks To Help You Easily Conquer The First 10 Hours

How to beat Elden Ring: A complete walkthrough
If you’re aiming for 100%, make sure to also use ourElden Ring Golden Seeds,Elden Ring Sacred Tears, andElden Ring Memory Stonesguides to find all of these collectibles.
Here’s a full summary of everything you must complete to beat Elden Ring:
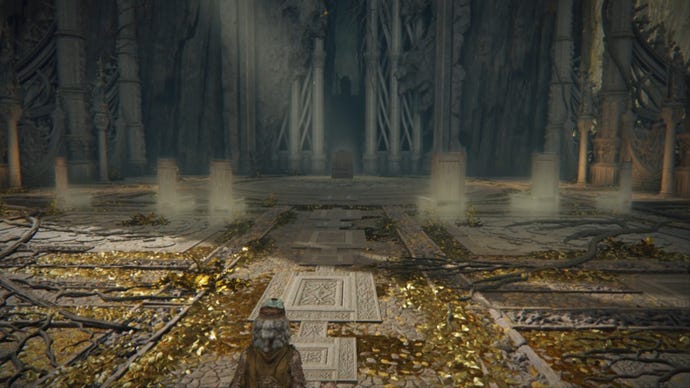
Chapel of Anticipation
Before jumping into the Lands Between, you must make your Tarnished. This is your character in Elden Ring. You get to select a class and keepsake, while also customising their appearance. These choices won’t largely affect your run, so don’t give it too much thought. However, those with a specific playstyle in mind can use the guides below to make optimal choices and get an early advantage in their Elden Ring playthrough:
Elden Ring Limgrave walkthrough
When you wake up in theStranded Graveyard, you will gain theSacred Flasks of Crimson and Cerulean tears. These are essentially potions that you can use to restore your health and FP. They will automatically equip to your hotbar assigned to down on the D-Pad, but you can change this if you wish.
We recommend that all new players run through the Cave of Knowledge at least once, but we also have plenty of other guides below that will prepare you for life in the Lands Between:
When you’re ready, use the lift past the Stranded Graveyard Site of Grace to head towards the exit. You can return here at a higher level to enter an optional dungeon called Fringefolk Hero’s Grave, but that’s far too difficult for now.
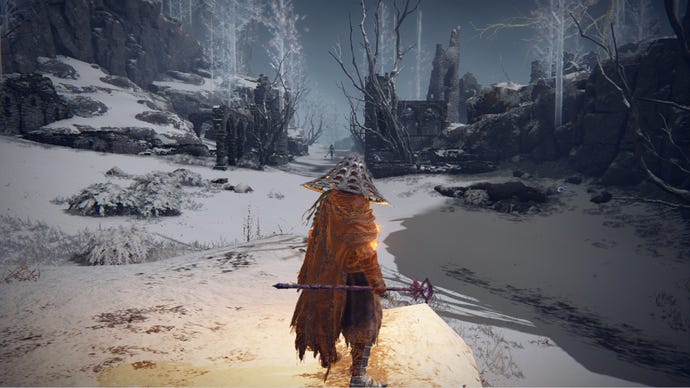
Upon exiting the Stranded Graveyard, you will find yourself inLimgrave. Your main quest is to reach the Great Erdtree and become the Elden Lord. To do this, you must find a Maiden. We’ll guide you through this below, but first we’ll listall of the necessary steps that you must complete in Limgrave:
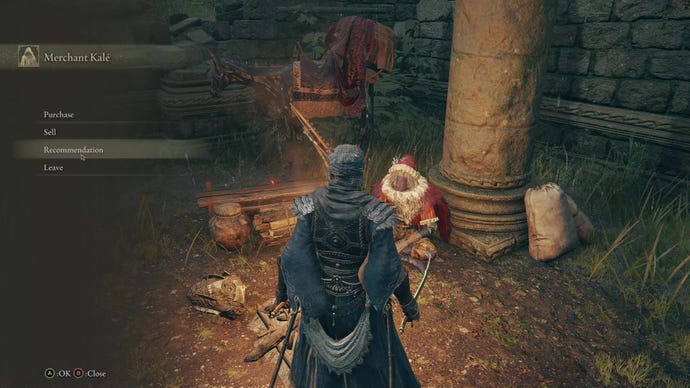
Speak toVarréat the First Steps Site of Grace, who will inform you that you are maidenless. He will also explain the Guidance of Grace, which are gold streaks between Sites of Grace on your map. After speaking to Varré, we suggest following the Guidance of Grace towards theChurch of Elleh, where you will meet Merchant Kalé.
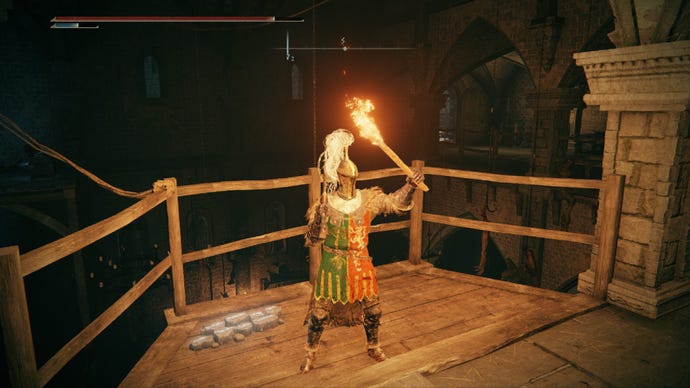
Kalé has many useful items that you can purchase, including various notes and crafting recipes. To buy items, you must spend runes that you acquire from defeated enemies. On your first visit,we recommend purchasing a torch, as you will need it to light various caves and dungeons that you will explore on your journey. Torches don’t run out, so you can buy one and use it throughout your Elden Ring playthrough.
Image credit:Rock Paper Shotgun/Bandai Namco

After speaking with Kalé and upgrading your weapons, you should check your map once again. You should now see another Guidance of Grace pointing North through Limgrave. Follow it to findStormgate, where you will meet Melina once again. Melina offers to become your maiden and sets you on the main quest.
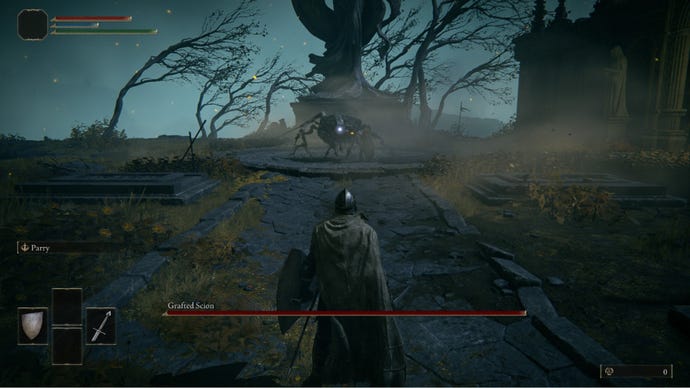
After this encounter, you must proceed throughStormgateto the top of Stormhill. Follow the path up the hill and past Stormhill Shack, where it should bend and lead further up. Clear the enemy encampment at the top and proceed through the gated passage to find the first main boss:Margit, the Fell Omen.
After attempting this battle, or after you beat Margit if you win on your first try, use a Site of Grace to speak to Melina again and travel tothe Roundtable Hold. The Roundtable Hold is a hub area where you will meet many NPCs on your journey, so make sure to frequently travel back to see what’s changed. For now, we suggest speaking with Smithing Master Hewg, who will upgrade your weapons even further.
After defeating Margit, continue up the short path towardsStormveil Castle.
Elden Ring Stormveil Castle walkthrough

While you can now proceed into the next area, there are plenty of bosses and dungeons to complete in Limgrave. Below, you can find a list ofoptional bosses and areas that you can find in Limgrave:
When you’re ready, proceed intoLiurniaof the Lakes to continue along the main Elden Ring path.
Elden Ring Liurnia of the Lakes walkthrough
Liurnia of the Lakescontains theAcademy of Raya Lucaria, which is your next goal. When you arrive in Liurnia after defeating Godrick, head left and down the path until you reach the Liurnia Lake Shore. Proceed through the lake northwest into theLaskyar Ruinsand use the teleporter to warp to theSouth Raya Lucaria Gate Site of Grace.
When you arrive, you’ll find that the locked gate that leads into the Academy of Raya Lucaria. Below, you can find a full list of guides for themain path through Liurnia of the Lakes, which will get you into the academy and help you defeat any bosses you encounter:
You can use the guides above to get through Liurnia of the Lakes, but those who want extra help in Liurnia’s Legacy Dungeon can use our Academy of Raya Lucaria walkthrough below. If you’d rather explore the Academy yourself, skip ahead to ourCaelid walkthroughwhen you’re done.
Elden Ring Academy of Raya Lucaria walkthrough
Your goal in the Academy of Raya Lucaria is to find the second shardbearer,Rennala, Queen of the Full Moon. We’ll explain how to get through the Academy of Raya Lucaria below.
After finding the Glintstone Key, you can head into the Academy. Use the South Raya Lucaria Gate to warp over to the academy and take the elevator to get inside. At the top, head up the stairs and kill the two sorcerers before heading into theChurch of the Cuckoo. There’s another sorcerer in here, along with some marionnette soldiers that drop from the ceiling.
After clearing these enemies, take the door on the left to find a Site of Grace in the corridor. Rest here and then follow the path out into the graveyard. Follow the low ridge down and take the bridge over the gap, following the path through the other side of the cemetary. When you come to a narrow passage, head through and jump onto the spinning waterwheel. At the top, you’ll find theSchoolhouse Classroom Site of Grace.
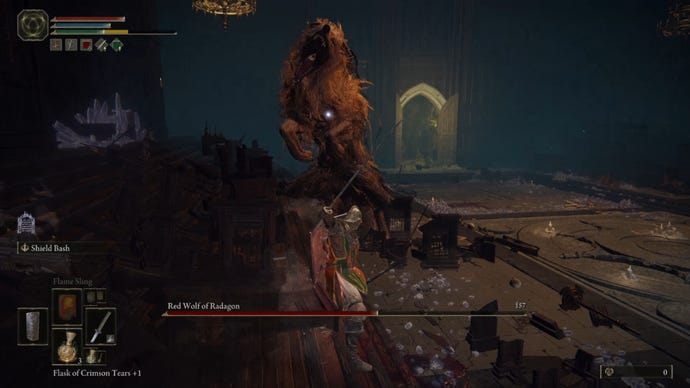
Rest again and then follow the corridors through the Academy of Raya Lucaria, avoiding or killing sorcerers as you go. It’s a fairly linear path which leads to the Debate Parlor, where you fight theRed Wolf of Radagon.
After fighting the Red Wolf of Radagon, head outside into the courtyard and run to the right side. Use the beams to cross over to the large set of stairs and run to the top, where you will findCarian Knight Moongrum.
Defeat Moongrum and then use the lift to head up and fightRennala, Queen of the Full Moon. Rennala will drop another Great Rune, but this is already activated, allowing you to respec your stats.

That covers the main steps in Liurnia, but there’s plenty more to explore. Below, you’ll find a list of guides that coveroptional content in Liurnia:
Elden Ring Caelid walkthrough
When you’re ready, head to Stormhill Shack and take the path that cuts through East Limgrave and into Caelid. When you reach theRotview Balcony, rest at the Site of Grace and then continue along the main path that bends South.
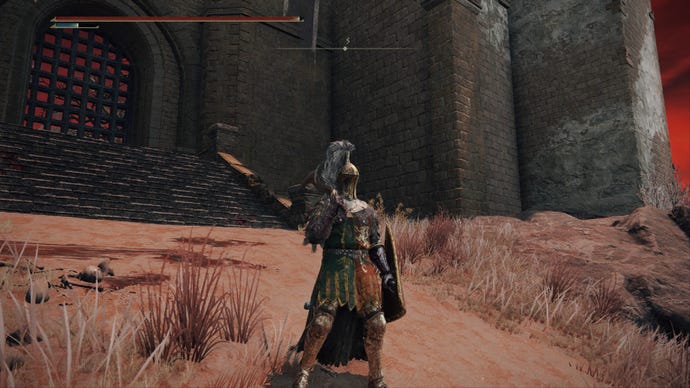
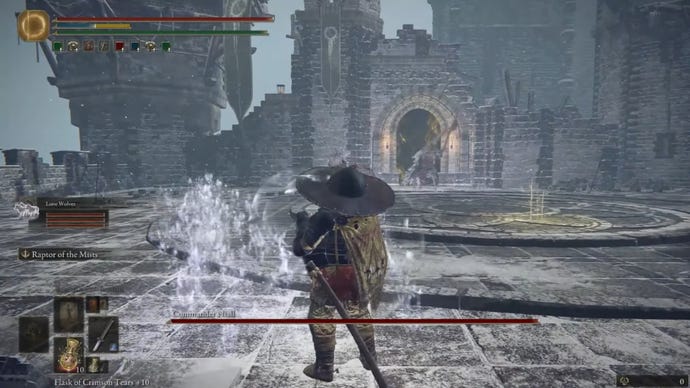
When you reach theCaelid Highway South Site of Grace, continue slightly to the East and then proceed South at the crossroads. This will set you on another path that leads toRedmane Castle, the home of the Shardbearer known asStarscourge Radahn.
Elden Ring Redmane Castle walkthrough
Redmane Castle is another Legacy Dungeon in Elden Ring. Within, you will find the infamous Starscourge Radahn. Below, we’ll explain how to get into Redmane Castle and how to get to Radahn’s boss fight.
Just before the greatbridge that leads to Redmane Castle, you may see a large battle unfolding. You can join the fray for some extra runes, and then proceed across the bridge. Avoid the mortar fire from the tribuchets up ahead and follow the path up the hill towards the castle. Along the way, you will find various soldier encampments.
As you approach the main entrance to Redmane Castle, atroll wielding a large fire swordwill attack. Defeat this troll and then approach the gate. Since it is locked, you’ll need to find another way around. To find the hidden entrance, take the path that leads southwest along this ridge.
Eventually, you will reach a small graveyard with a ladder that you can use to scale the Redmane Castle walls. Kill the soldiers up here and then continue along until you find a ladder on the opposite side that leads down into the central path through Redmane Castle.

After killing these bosses, you’ll need to head back to Liurnia and use either the Grand Lift of Dectus or ravine to enter the Altus Plateau. That will trigger the start ofRadahn’s festivalin Redmane Castle, at which point you can return and choose to join the festivities.
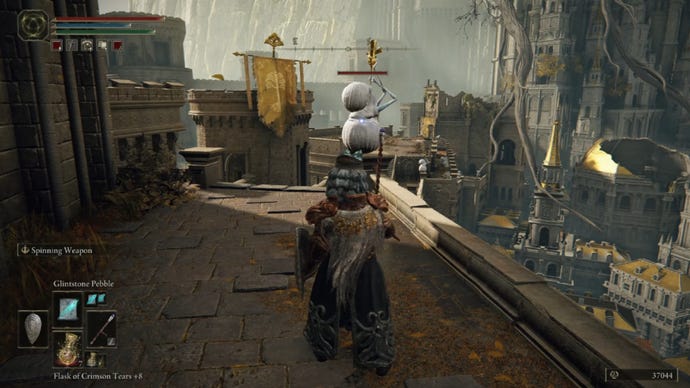
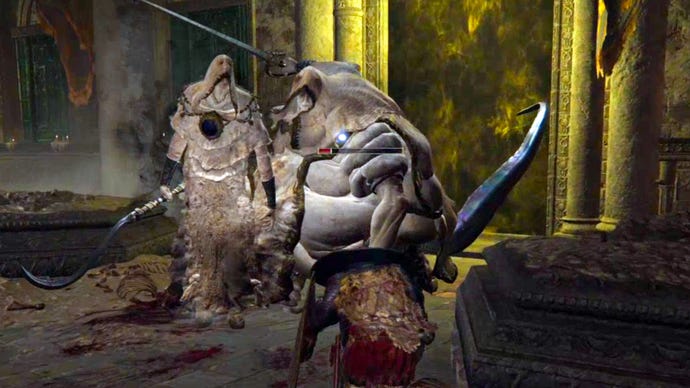
When you’re ready, speak to the guard overlooking the plaza and head down into the Caelid wilds and fightStarscourge Radahn. This will grant you another Great Rune, which you can activate at theDivine Tower of Caelid.
Image credit:Bandai Namco

Of course, there are plenty of other activities to complete in Caelid. You canfind a powerful staffhere, along with a range of optional dungeons and bosses. When you’re ready, head back to the Altus Plateau to continue your quest.
Elden Ring Altus Plateau walkthrough
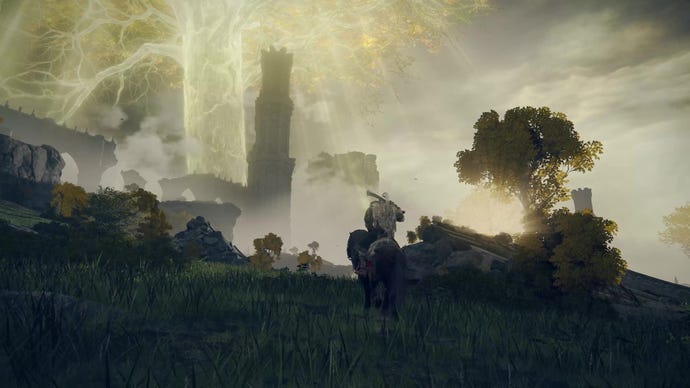
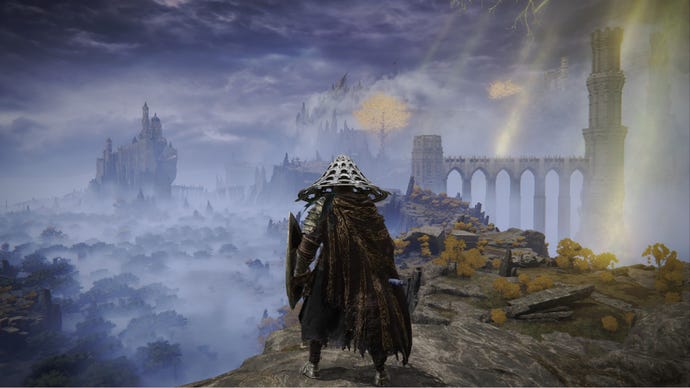
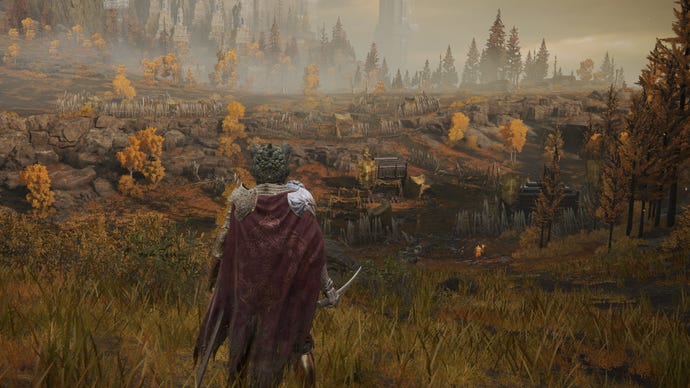
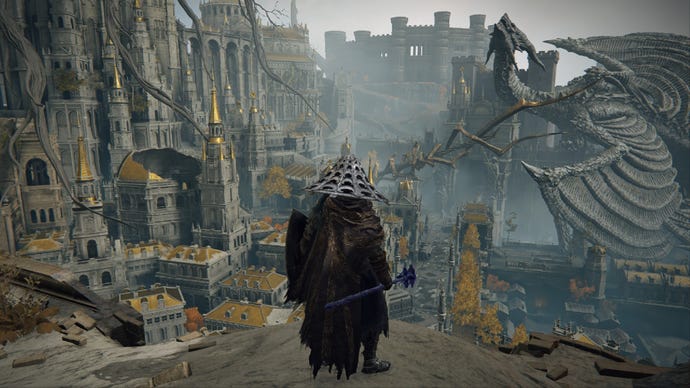
Regardless of whether you take the ravine path or Grand Lift of Dectus, you will enter the Altus Plateau in a similar location. This sprawling expanse of lush fields and autumnal forests is a picturesque landscape that might be the most beautiful region in Elden Ring. It’s also a passage to other regions that are key to the main quest.Mt. Gelmirlies to the northwest, whileLeyndell, Royal Capital, is found to the East.
While you won’t find a shardbearer in the Altus Plateau itself, there are plenty of optional areas to explore. These include the Minor Erdtree in the centre of the plateau, the Windmill Village in the northeast, and the decrepit Shaded Castle on the northern shoreline.

Elden Ring Mt Gelmir walkthrough
Mt Gelmiris significantly smaller than the other regions mentioned so far. To reach Mt Gelmir, follow the path leading northwest out of the Altus Plateau. This will take you to the first Mt Gelmir campsite, where you will find a message about rainbow stones.
If you follow the stones, it will trigger a cutscene in which an NPC pushes you down into the river below, so we recommend continuing along the bridge to theNinth Mt Gelmir Campsite Site of Grace.
In Volcano Manor, you will find the fourth shardbearer:Rykard, Lord of Blasphemy. If you need help exploring this Legacy Dungeon, use our Volcano Manor walkthrough below. Otherwise, skip ahead to ourLeyndell, Royal Capital, walkthroughwhen you’re ready.
Elden Ring Volcano Manor walkthrough
This is much more expansive, akin to Castle Stormveil or the Academy of Raya Lucaria, with lots to explore and discover. Venture through the tunnels here until you get back outside, and then turn right and follow the path down. Hop across to the rooftops and continue southwest, making your way onto the bridge up ahead.
At the end of the bridge, turn right and follow the path around to a ladder. Drop back down onto the ledges to the left and head inside. Make your way downstairs and continue through until you come to the lava river running through Volcano Manor. Follow this river East and go up the slope until you find an elevator cage.

If you want a quicker, albeit more murderous, route to Rykard, you can also choose tocomplete Tanith’s contractsinstead of traversing the inner sanctums of Volcano Manor. Tanith will ask you to complete 3 contract killings throughout the Lands Between, pitting you against various challenging NPCs. These are easy to find, as she will mark them on your map - just make sure to grab the letters from the gathering hall. Kill all 3 and then speak to Tanith to teleport instantly to Rykard’s boss room.
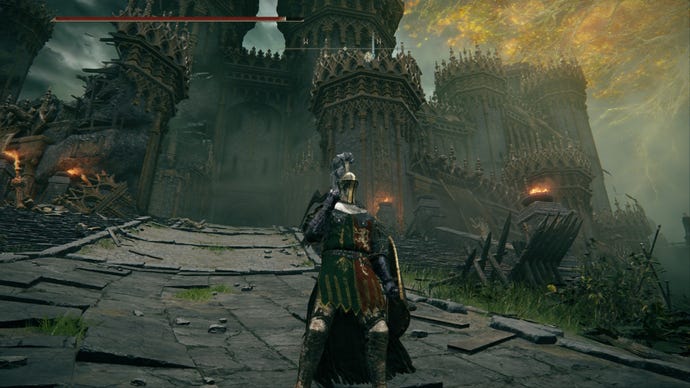
Elden Ring Leyndell, Royal Capital, walkthrough
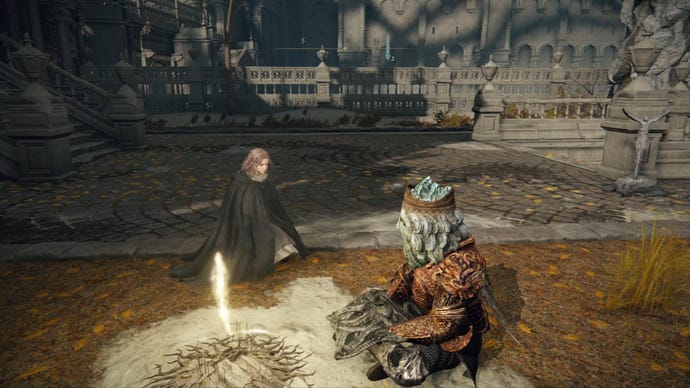
Leyndellis the capital city at the foot of the Great Erdtree. To enter, you must travel to the northeastern side of the outer wall andfight a Draconic Tree Sentinel. After winning, you can head into the capital if you currently hold two restored Great Runes. This means that you must have defeated at least two of the following bosses:
We will explain how to get through Leyndell, Royal Capital, below. If you’d rather explore alone, use the summary above to guide you and then skip ahead to thenext part of our walkthroughto see what comes after Morgott.
When you reach the end, head through the door and follow the path down to find an elevator that takes you down closer to the main Leyndell streets. At the bottom, head straight forward through the next hall. There are some ladders and stairs leading along side paths here, but follow the main route ahead for now. This will lead you around the corner and down a flight of stairs, at the bottom of which are two doorways. Turn left and go through the open doorway to encounter a few enemies. Clear this room and then continue through the tight alleyway.
This passage branches off to the right, but follow the path ahead first. This leads through to a large carriage on the main street that cuts through the centre of Leyndell. Head southwest to find anErdtree Avatar minibossand, just beyond on the right side of the street, a door that leads to theAvenue Balcony Site of Grace.
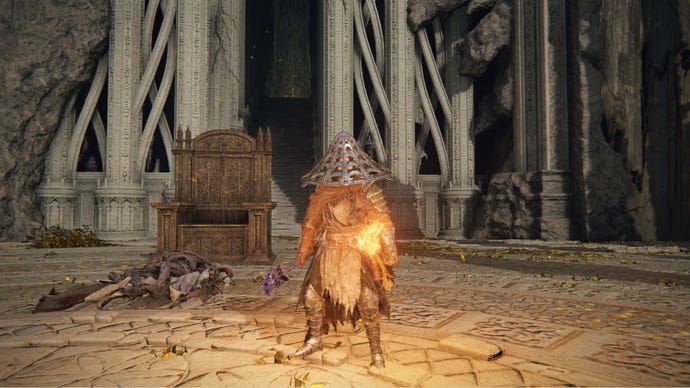
After resting at this Site of Grace, continue out onto the walkways and look for roots of the Erdtree. You can climb these roots up to the next area, where you will fight a spectral version ofGodfrey, First Elden Lord. After defeating Godfrey, go outside and climb the roots further to reach the upper levels of his boss arena. The open doorway here leads to another walkway, which you can follow to find theQueen’s Bedchamber Site of Grace. Up ahead, you’ll face another shardbearer:Morgott, the Omen King.
Image credit:Rock Paper Shotgun/Bandai Namco

Follow the main path East through Leyndell to find a new area, theForbidden Lands. This leads to theGrand Lift of Rold, which has two functions. The Rold Medallion allows you to proceed to the Mountaintops of the Giants for the main quest, but you can also use theHaligtree Medallionto reach an optional area with some key bosses. Below, we’ll list some key guides for these bosses:
However, the main path continues in the Mountaintops, where you must find theForge of Giantsfor Melina.
Elden Ring Mountaintops of the Giants walkthrough
Upon arrival, you will seeBloody Finger Hunter Yura, who you may have met before while fightingBloody Finger Nerijusor other NPC invaders. However, this Yura is a little different and warns you of the dangers of helping Melina. He says that Melina will burn herself as kindling in a sacrifice to make you Elden Lord, which wouldn’t be righteous.
He tells you to head under Leyndell into the sewers below to find the Flame of Frenzy, which will set you on the righteous path. This is where we enter intoending territory, and where the path splits considerably. To continue with the main ending and serve the two fingers, you must now proceed through the Mountaintops of the Giants until you reach the Forge of the Giants.
Those hoping for another ending, such as those associated withRanni,Fia, or theDung Eater, will need to complete some other quest lines before proceeding to the Forge of the Giants.

While theMountaintops of the Giantsseem like a large area, you can follow a fairly linear path using the long bridge over the cavern, past the giants, and into theFreezing Lake. As you pass over the lake to the southeast, you will notice a considerable fog cloud whips up around you.
Here, you can choose to fight a dragon namedBorealis, the Freezing Fog, but if you try to maintain your sense of direction (your compass disappears in the fog) and head southeast, you will eventually escape and find theFirst Church of Marika.

Continue weaving through the mountains towards the Forge of Giants, where you willfight the Fire Giant boss. If you’re suffering from crashes in this fight, check out ourFire Giant crash solution.
It’s worth noting that you can also head to the North of the Mountaintops to find Castle Sol, where you canfight Commander Niall. He is one ofElden Ring’s hardest bosses, and is required if you want to find Malenia, Blade of Miquella.
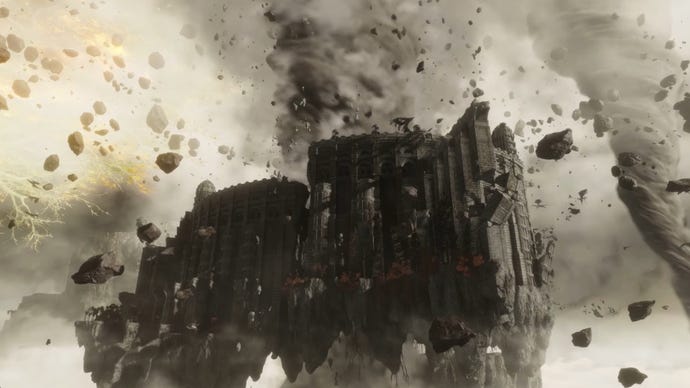
After defeating the Fire Giant, you can head into the Forge of Giants, where you will find a point of no return. Here, your character will collapse as Melina sacrfices herself as kindling to burn the Great Erdtree, turning Leyndell into the City of Ash and opening the path into the finale. When you awake, you will find yourself inCrumbling Farum Azula, an island to the southeast of the Mountaintops of the Giants.
Image credit:Rock Paper Shotgun/FromSoftware

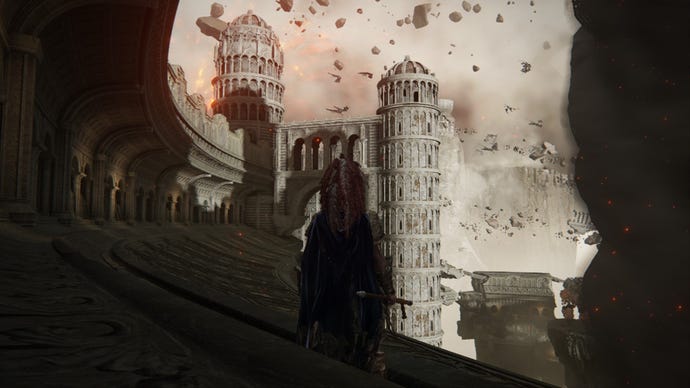
Elden Ring Crumbling Farum Azula walkthrough
Crumbling Farum Azula is another Legacy Dungeon in Elden Ring. Your goal here is to reach the Dragon Temple on the North side, where you will fight theGodskin Duo boss. Then, take the path that bends southeast into the large colosseum building to fight the Beast Clergyman boss. Halfway through the fight, the boss will transform intoMalekith, the Black Blade.
After a short cutscene, you will spawn on a broken walkway in Crumbling Farum Azula. Walk inland towards the structure ahead and hop down the destroyed wall on your right. This leads to a door, through which you will find a staircase down into the ruins below. Drop into the ruins and head into the passageway ahead, where you will find theCrumbling Beast Grace Site of Grace.
After resting, continue to the end of the passage and leap onto the curved walkway below. Up ahead,a dragon will swoop down and attack. This dragon isn’t technically a boss, but it’s certainly difficult. Fortunately, you can run past if you want to avoid this fight, but those who overcome this challenge in battle will earn anAncient Dragon Smithing Stone.
Regardless of whether you kill the dragon, you will find theCrumbling Beast Grace Depths Site of Gracein the passage at the end of this curved walkway. The path ahead weaves through some ruins and down into a large hall, after which you will find theTempest-Facing Balcony Site of Grace.
From here, you can hop down and run across the stone platforms that descend down into the Dragon Temple. You’ll find lots of skeletons here, but they’re easy enough to kill as long as you don’t get overwhelmed. After reaching theDragon Temple Site of Grace, make your way inside and jump down into the main hall to fight theGodskin Duo boss.
At the end of this path there is a large staircase, but you’ll also find a passage just before. Head through this passageway and use the destroyed stone structure ahead as a makeshift bridge across the large chasm. On the other side, you’ll find a short stairwell that leads down to aCrucible Knightminiboss.

After the fight, run East and hop down the side of the ruins to activate theDragon Temple Rooftop Site of Grace. The path ahead is fairly straightforward, as you just need to follow the lightning storm towards the dragon up ahead. The dragon is another miniboss, but fortunately it already has fairly low health.
Elden Ring Ashen Capital walkthrough
When you beat Malekith, you will respawn inLeyndell, Ashen Capital, allowing you to proceed to the foot of the burning Erdtree. When you spawn in, head southwest through the ruined buildings and ash dunes until you reach an elevator. From here, the path is fairly straightforward, but there are plenty of bosses that you must defeat along the way. We’ll list the bosses that you must defeat below:
Beware that you don’t always get to rest between these fights, so you’ll need to be careful with your Flasks.Godfreywill change intoHoarah Louxin the second phase, whileRadagonand theElden Beastare two full boss fights that are linked together without a break.
Alternatively, those who followed Ranni’s route can opt to useRanni’s summon signinstead, which will lead to the best ending.
Regardless of what you select, this signals the end of Elden Ring, so you can watch the final cutscene play out and take a deep breath. It’s over. Now, time to start again and get thoseother endings.
That wraps up our Elden Ring walkthrough. We’ve got plenty more to say about Elden Ring here at RPS though, withEd especially fond of the terrible platforming. You can also check out thetale of my whirlwind romance with the Mimic Tear spirit ash, and Ed’s thoughts on thestrange rolling goats in the Lands Between.
