HomeGuidesElden Ring
Elden Ring Stormveil Castle walkthroughHow to fight your way through Stormveil Castle and find Godrick the Grafted in Elden Ring
How to fight your way through Stormveil Castle and find Godrick the Grafted in Elden Ring
Image credit:Rock Paper Shotgun/Bandai Namco
Image credit:Rock Paper Shotgun/Bandai Namco
Looking for an Elden Ring Stormveil Castle walkthrough?Stormveil Castle is an extremely dangerous stronghold, with many hidden enemies, confusing corridors, and unexpected shortcuts. It’s one of the first major castles you’ll come across during your Elden Ring playthrough.
ThisElden RingStormveil Castle walkthrough will help you survive this intimidating stronghold and find the Stormveil Castle boss: Godrick the Grafted.
To see this content please enable targeting cookies.Manage cookie settings
To see this content please enable targeting cookies.Manage cookie settings
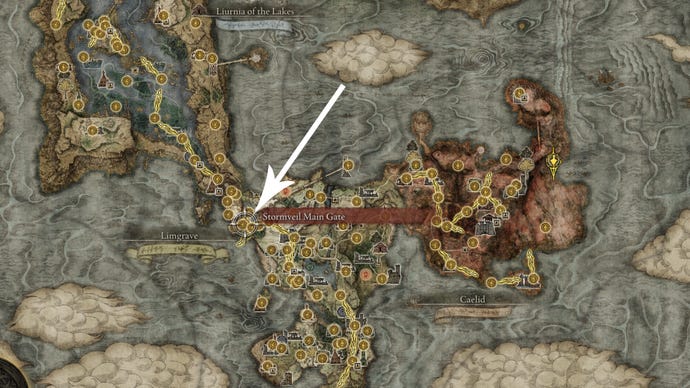
Stormveil Castle location
Stormveil Castle stands on the border between Limgrave andLiurnia. Although you can initially skip the castle, this ‘main route’ to Liurnia offers a lot of loot as well as a chance to obtain a Great Rune from Godrick the Grafted. Since you’ll need two Great Runes to accessLeyndell, the Royal Capital, clearing Stormveil Castle is a great place to start.
Stormveil Castle is a dangerous place, so it’s wise to explore Limgrave and the Weeping Peninsula first in theElden Ring area order. Once you’re at least level 30, you should be ready to enter Stormveil.
Stormveil Castle holds the border between Limgrave and Liurnia. |Image credit:Rock Paper Shotgun/Bandai Namco
Stormveil Castle walkthrough
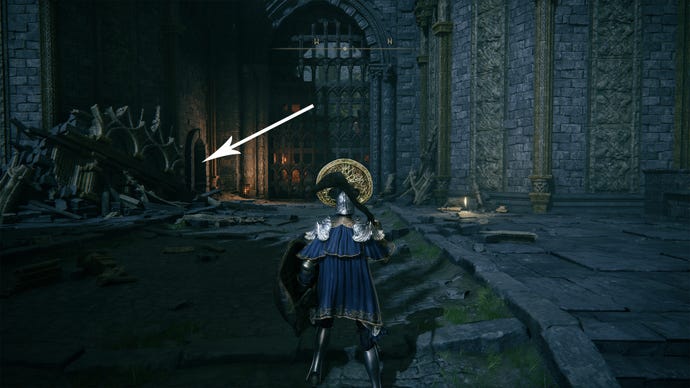
To enter Stormveil Castle, ride past Stormhill Shack and through Castleward Tunnel, where you mustdefeat Margit, the Fell Omen. When Margit is down, you can walk up to the main gate.
Enter Stormveil Castle. |Image credit:Rock Paper Shotgun/Bandai Namco
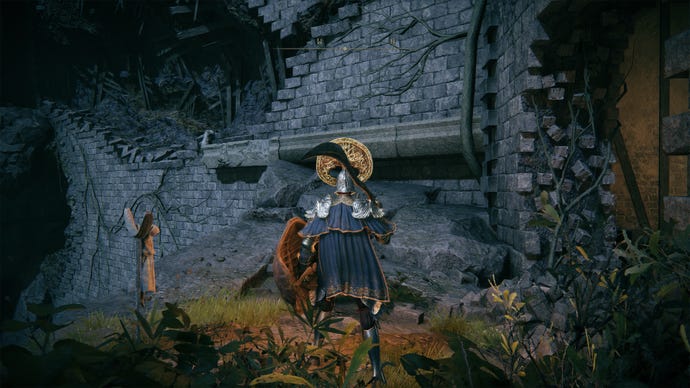
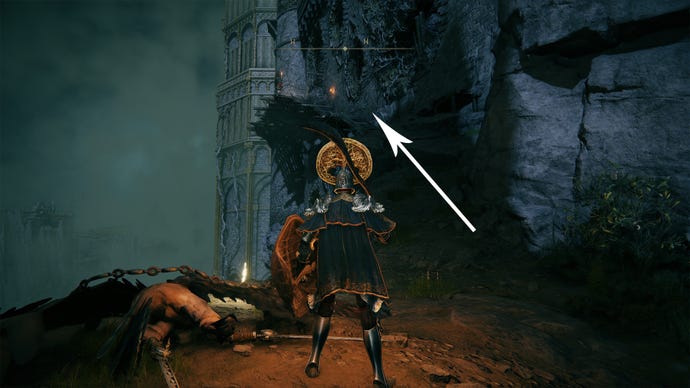
This Elden Ring Stormveil Castle walkthrough will follow the easiest path, so we’ll leave Gostoc’s room through the large gap in the wall, turn right, and jump to the higher ledge. If you want, you can go back to Stormveil Castle’s main gate first to collect some items (when standing in front of the gate, take the narrow path to the right).
Climb the wall. |Image credit:Rock Paper Shotgun/Bandai Namco
Once you reach the highest part of the wall, go to your right to find a ledge with a Smithing Stone [2]. Carefully drop down into the courtyard and be prepared to fight some bladed birds, a.k.a. Warhawks. On the other side of the courtyard, you’ll find the Stormveil CliffsideSite of Grace. You may collect some items around the cliffside (a smithing stone, crossbow bolts, and herba plants), but to proceed with your Stormveil Castle run, take the staircase to the north.
Take the stairs to leave the cliffside. |Image credit:Rock Paper Shotgun/Bandai Namco
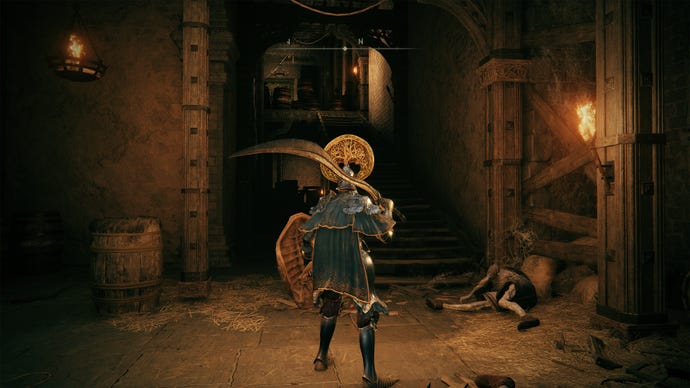
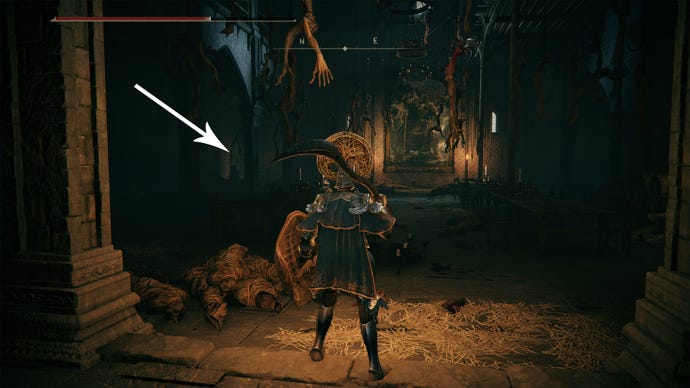
Enter the tower and take the path to your right, which leads to a large storehouse full of wooden barrels, boxes, and - unfortunately - many soldiers. You may grab the Hookclaws weapon underneath the platforms (continue straight ahead after entering the storehouse), but to proceed with this Stormveil Castle walkthrough, follow the path upwards.
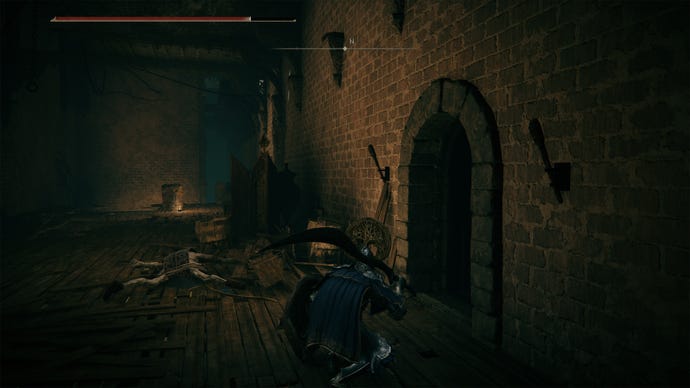
Be very careful while approaching the first wooden staircase, as one of the soldiers will make the barrels at the top explode. It’s best to alert the soldier but immediately dodge backwards, then proceed when the barrels are destroyed.
Watch out for explosive barrels at the top of the staircase! |Image credit:Rock Paper Shotgun/Bandai Namco
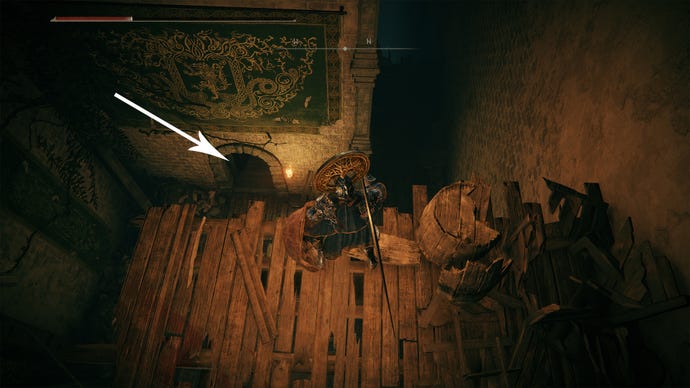
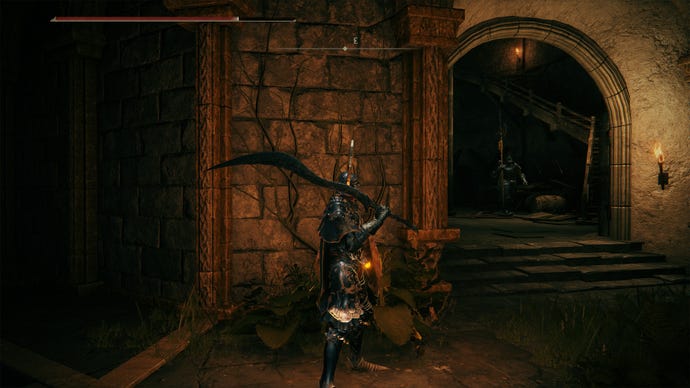
A Banished Knight is waiting around the corner. |Image credit:Rock Paper Shotgun/Bandai Namco
If you’ve died inside this room, you get the option to skip the fight against the Banished Knight (as the door will no longer be shut), but you must ensure you’ve collected the Rusty Key before leaving (it’s on the dead body). It’s best to lure the Banished Knight away from the body before grabbing the key. Don’t miss out on the Curved Sword Talisman either; it’s inside the wooden chest.
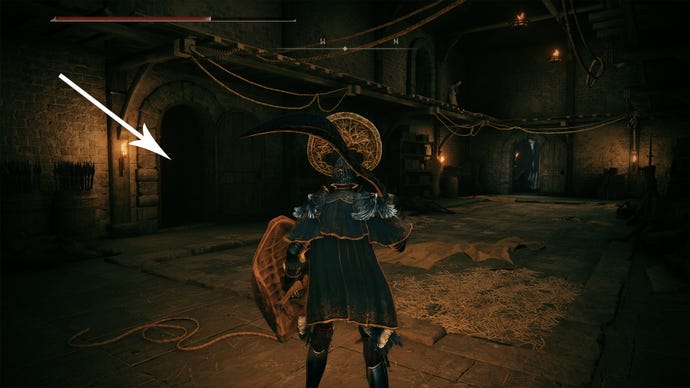
Once you’ve got the Rusty Key, leave the room with the Banished Knight and drop down to the lower floor, where you can use the key to open a door.
Use the Rusty Key to open this door. |Image credit:Rock Paper Shotgun/Bandai Namco
Watch out for the Banished Knight. |Image credit:Rock Paper Shotgun/Bandai Namco
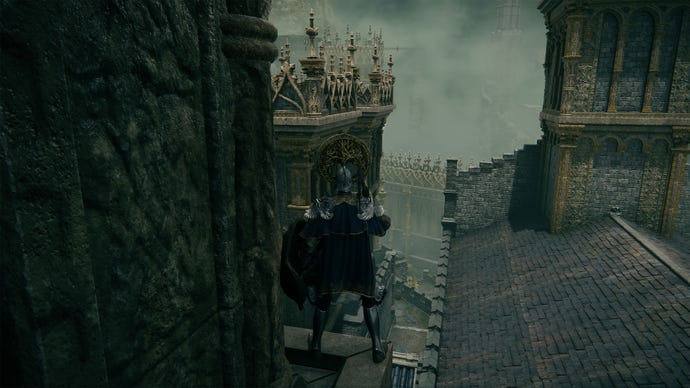
If you want, you can return to the large staircase, head to the top, and collect some items in this area, including a Golden Rune [2]. You can also drop down onto the Stormveil Castle rooftops from here - this may get you a Stonesword Key and Smithing Stone [2]. Return to the Rampart Tower Site of Grace once you’re done.
Explore the rooftops for extra loot. |Image credit:Rock Paper Shotgun/Bandai Namco
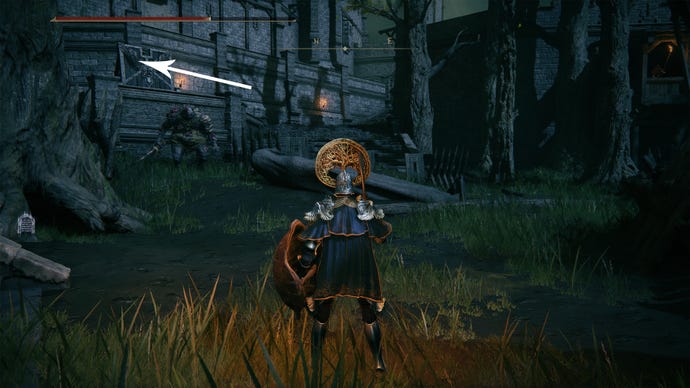
If you don’t want to take a detour, you can take the northern exit and follow the path across the castle walls, past the warhawk enemies. Trigger the explosive barrels next to the tower on the left; this will instantly kill a hidden warhawk and allow you to collect a smithing stone [2]. Next, take the stairs leading slightly downwards onto the roof and into a large tower with a hole in the floor; drop down to meet the sorcerer Rogier.
Sorcerer Rogier is inside the large tower on the right. |Image credit:Rock Paper Shotgun/Bandai Namco
Leave through the southern exit and dash past the powerful knight patrolling the road. Run inside the building on the other end of the path and keep going until you enter a church with a Grafted Scion below. It’s best not to jump head-first into this fight, but when the mini-boss is on the other end of the room, you can drop down the ledge on the right side and immediately run through the doorway in the southwest. The elevator will take you back to the last Site of Grace - from now on, you can use this shortcut.
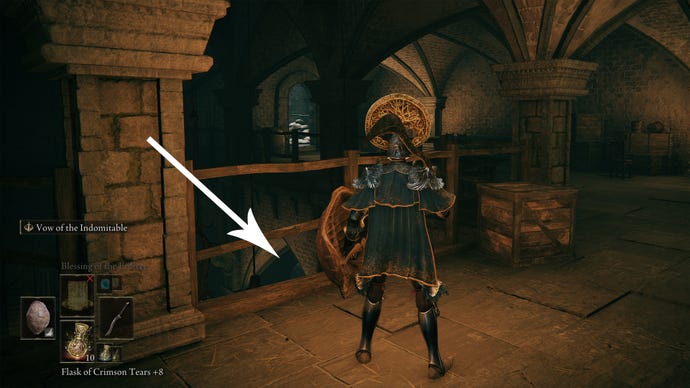
Drop down to the right to activate an elevator. |Image credit:Rock Paper Shotgun/Bandai Namco
Once you’ve rested, take the elevator again. You can loot the rooms to your left and right (there’s a Crimson Hood on the pile of corpses to the right, as well as a chest with a Mimic Veil in the dining room upstairs), but you’ll need to take the door on the far left of this area to proceed towards the Stormveil Castle courtyard. You may dash past the Grafted Scion, but you can also fight this mini-boss from the relative safety of the elevator room.
Proceed to the Stormveil Castle courtyard. |Image credit:Rock Paper Shotgun/Bandai Namco
Don’t rush into the courtyard; it’s safer to use the doorway on the left, take out the soldier on the higher platform, and carefully reveal your presence to the soldiers outside. It’s much easier to lure small groups of enemies into this room rather than fighting them all at once.
Use this door to easily defeat the guard. |Image credit:Rock Paper Shotgun/Bandai Namco
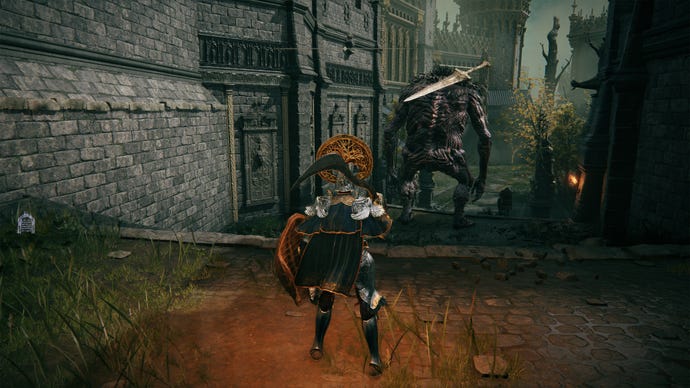
Although it’s quite easy to take down the soldiers manning the crossbows as well (and clear the second wooden rampart to top it off), there’s no reason to do this unless you want the extra Runes. You can stick to the left side of the courtyard and run past the ogre - upstairs, to the left, and straight into a building with the Site of Grace.
Run past the burly guy to find a Site of Grace. |Image credit:Rock Paper Shotgun/Bandai Namco
After taking a rest, you can take one of two paths: use the elevator or head outside again and take the stairs ahead of you. Both routes lead to Godrick the Grafted, but the elevator is much easier; go up, walk through the broken flooring with the walking pots (defeat the scarab to obtain the Stormcaller Ash of War), and activate the Site of Grace ahead of you. Godrick’s arena is on your left.
Before you visit Godrick, however, it’s wise to defeat the massive ogre on the staircase outside; you can easily defeat him with ranged attacks from inside this building. Fight your way to the courtyard below and grab theGolden Seedin front of the small golden tree. Make sure you visit the NPC called Nepheli as well; she’s behind the doorway on the right. After speaking with her, you’ll be able to summon Nepheli during the Godrick boss fight.
Defeat the ogre to collect a Golden Seed and meet Nepheli. |Image credit:Rock Paper Shotgun/Bandai Namco
Godrick isn’t going to give you an easy win, so take a look at our guide onhow to beat Godrick the Graftedfor some tips!
And that concludes this Elden Ring Stormveil Castle walkthrough. Take a look at our fullElden Ring walkthroughto find your next destination in The Lands Between. We can also point you to theElden Ring boss locations, but you might want to get thebest buildsandbest armor setsfirst.
