HomeGuidesDragon’s Dogma 2
Dragon’s Dogma 2: Halls of the First Dawn quest walkthroughEvacuating cities and killing Purgener Dragons awaits in Halls of the First Dawn
Evacuating cities and killing Purgener Dragons awaits in Halls of the First Dawn
Image credit:Rock Paper Shotgun/Capcom
Image credit:Rock Paper Shotgun/Capcom
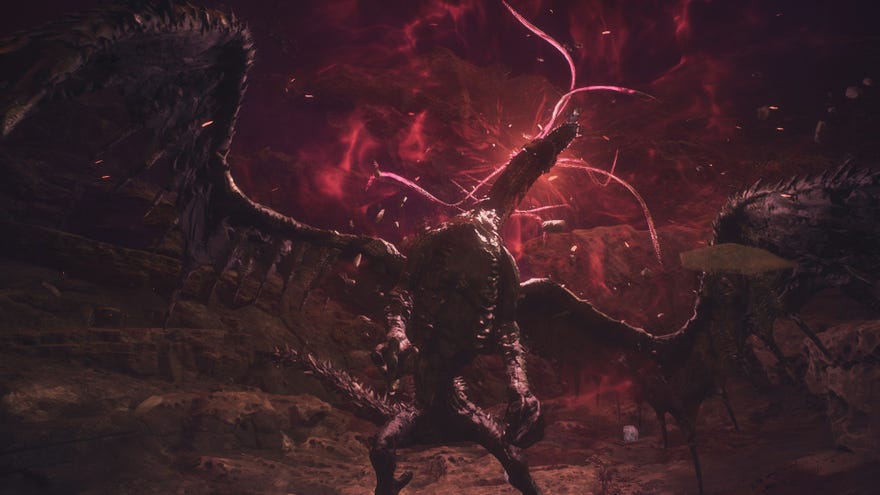
Looking for a walkthrough for the main quest Halls of the First Dawn in Dragon’s Dogma 2?Welcome to the longest quest of the Unmoored World inDragon’s Dogma 2. Halls of the First Dawn is actually more of a branching path connecting several sidequests, and along the way you’ll have plenty of chances to battle the deadly Purgener Dragons that lurk in the skies at the top of each eerie red beacon. While you technically don’t need to beat these bosses to complete this quest, and can certainly return to them later in your endgame journey, this is as good a time as any.
If you’re ready to zip all over the map and tackle Brine-infused dragons, get started with the followingHalls of the First Dawnquest walkthrough.
Dragon’s Dogma 2 - Capcom Highlights: March 2024This highlight reel shows off all the incredible adventures awaiting the new Arisen of Dragon’s Dogma 2.Watch on YouTube
Dragon’s Dogma 2 - Capcom Highlights: March 2024

For our full walkthrough of the entire game or to find a different quest, visit ourDragon’s Dogma 2 walkthroughguide!
Halls of the First Dawn quest walkthrough
Halls of the First Dawn objectives:
First thing’s first - head over to theSeafloor Shrine, which has risen above the ocean and is now totally walkable. You’ll encounter lots ofskeletonsand otherundeadfoes as you traverse these previously-underwater passageways, but they’re not terribly hard and drop lots ofFerrystones, which you’ll desperately need in the Unmoored World.
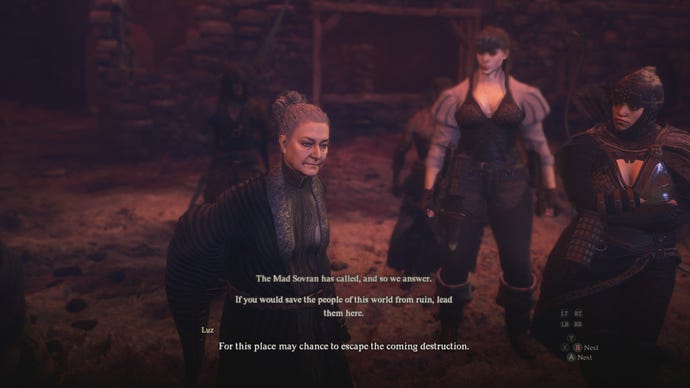
I’ll get right on that evacuation process, Luz! |Image credit:Rock Paper Shotgun/Capcom
You’re now free to travel to the towns in the vicinity of thefour red beaconson your map. Ideally, you want to do this as quickly as possible to save as many folks as you can, especially because the Unmoored World runs on a time limit. (For more on this time limit, see our guide to the previous main story quest,Dreams Apart.)
The good news is that after you’ve saved the populations of each town, the Seafloor Shrine will slowly populate with shopkeepers and other resources, creating acentral hubthat you can always return to as you tackle the endgame.
Civil Unrest
We recommend that you evacuate the people of Bakbattahl first, since they’re fairly close to the Seafloor Shrine. Once you’re in the city, speak withManella, who can be found near the oxcart stop. This will activate the sidequest"Civil Unrest", which tasks you with solving petty disputes around town.
As a captain of Bakbattahl’s guard, shouldn’t Manella be taking care of civil disputes herself instead of tasking them to the Arisen? Just a thought. |Image credit:Rock Paper Shotgun/Capcom

Once all disputes are taken care of, return to Manella, who will ask you to speak withEmpress Nadiniain the palace. The quest ends afterwards, as evacuations kick off throughout the city.
Since you’re in Bakbattahl, it’s worth facing the area’sPurgener Dragon, which is oddly enough ajarinstead of a living creature. This is technically the subject of the next main quest in the game, so head over to our guide for"A Scholarly Pursuit"for more info.
The Regentkin’s Resolve
It’s nice to see Sven finally wearing the crown for himself and proving a better ruler than his mother. |Image credit:Rock Paper Shotgun/Capcom
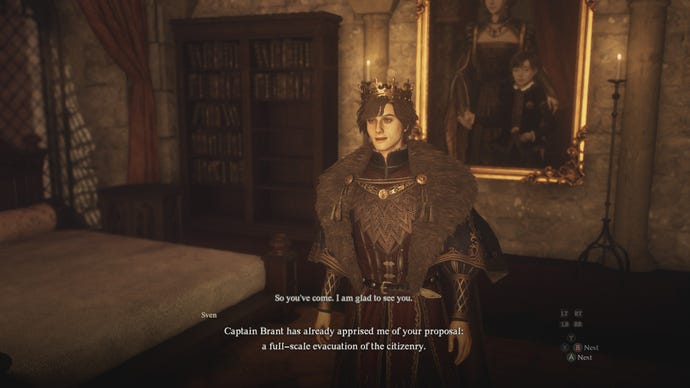
Dealing with the oxcarts is a simpler affair. Merely head over the the oxcart station in Vernworth’s western gate and talk toAllard, a slimy noble who’s bought them for himself. You can either pull out your weapon to intimidate him, or jump on him to deliver some good old fashioned threats. The oxcarts will be yours, and Sven will reward you and end the quest once you tell him the good news.
If you’re following this guide to the letter, Vernworth’s Purgener Dragon is the first you’ve faced. Prepare to do a lot of climbing to break those pink weak points, and beware falling to your doom. |Image credit:Rock Paper Shotgun/Capcom
Wandering Roots
Now that Bakbattahl and Vernworth have begun their evacuations, it’s time to chat with the elves in their hidden village and get them to turn tail as well. FindingSacred Arboris completely optional, and it’s possible that you’ve missed it during the game, especially if you’ve only been completing main quests. Thankfully, you can teleport to the city via Ferrystone. You’ll also need to pick up a pawn with theWoodland WordsmithSpecialisation, which means that they can speak Elvish. Without this specialisation, all elven dialogue will come across as incomprehensible.
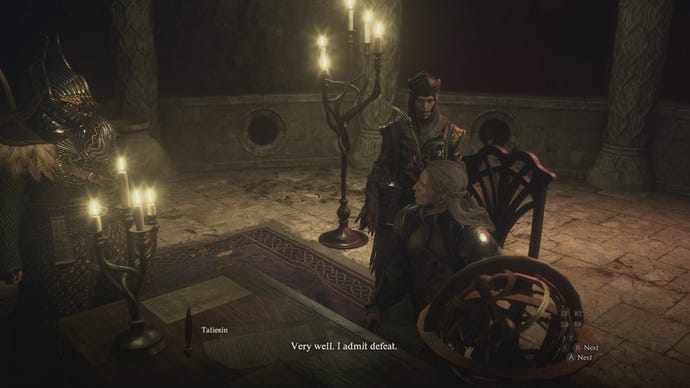
In Sacred Arbor, speak withGlyndwr, the dashing archer at the town’s entrance. He’ll take you to his fatherTaliesin, who’s typically pigheaded about evacuating. (What’s up with everyone not wanting to save their skins around here?) To get him to change his mind, you’ll need to continuously talk with him over the course of three days. The easiest way to do this if you’ve got coin to spare is to use the Sacred Arbor inn three times, chatting with Taliesin immediately after you wake up. Eventually, he’ll agree to go along with you, if only because you’re persistent.
Taliesin can be pestered until he complies, though if you’ve previously visited Sacred Arbor and done its sidequests, there are other ways to convince him, as explained below. |Image credit:Rock Paper Shotgun/Capcom
If you’ve completed the elven sidequests"The Ailing Arborheart",“Out of the Forest”, and"Into the Forge", Taliesin will be more receptive to your cause if you can prove that a piece of the elves' forest home can grow at the Seafloor Shrine. He’ll give you theArborheart Cutting, which you need to plant at the quest marker spot in the Seafloor Shrine. Once this is done, the elves will agree to leave their sacred abode.
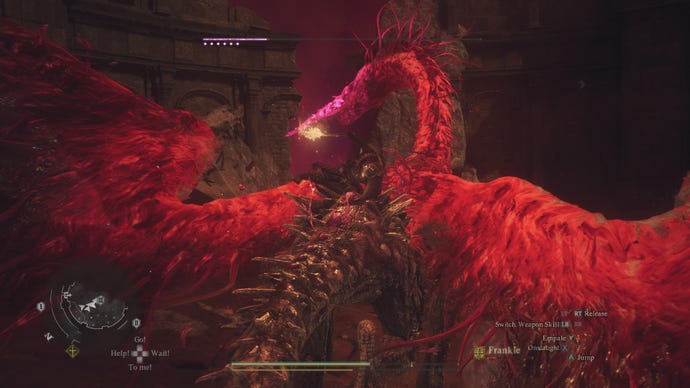
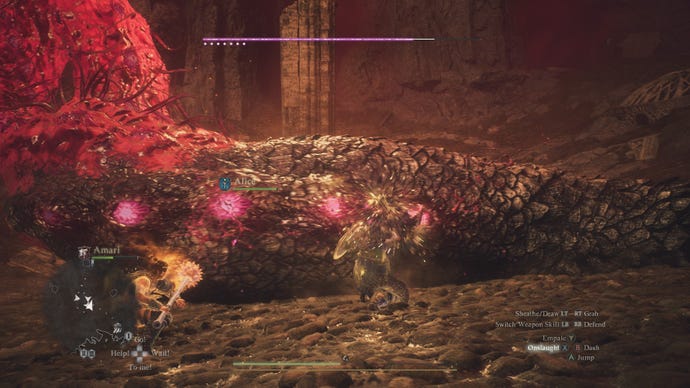
With the elves gone, go to the red beacon in front of Sacred Arbor and use yourGodsbane Blade. TheSacred Arbor Purgener Dragonis a giant worm that’s much easier than the last boss you fought. It’ll slither across the arena and use the same meteor and typhoon attacks as its drake cousin. Climb atop it and bash the pink stones to render it asunder.
It looks massive, but this worm Purgener Dragon’s a relatively easy target who wears its weak points on its sleeve. It’s a lot of fun hanging onto its back as it wiggles around, too. |Image credit:Rock Paper Shotgun/Capcom
The Importance of Aiding Ernesto
Another guard perfectly happy to give the Arisen busywork! To be fair, it is kind of a pain to trek all the way to Gautstafr and Cliodhna’s house. |Image credit:Rock Paper Shotgun/Capcom
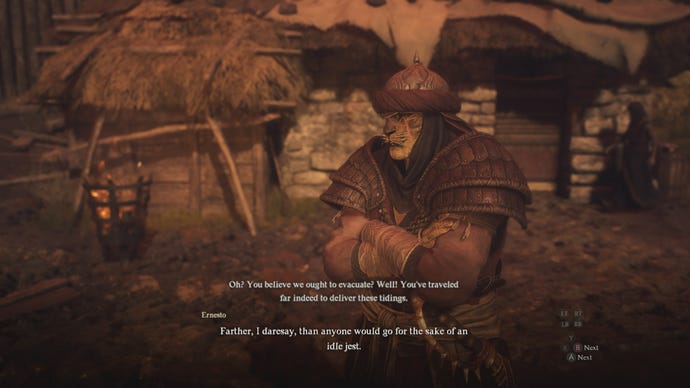
If youunlocked the Magick Archer vocation, you’ll remember these two. They live in a house off the beaten path on the eastern side of the island, and they’ll be receptive to your cause. Unfortunately, you’ll have to escort them all the way back to the camp, and Gautstafr isn’t exactly a fast walker. Cliodhna shoots a mean magickal bow, though, and will be an asset when fighting the varioushobgoblinsandminotauryou’re likely to encounter on the route.
Once the husband and wife duo are safe, Ernesto tasks you with convincing the former Arisen Lamont to aid him. You’ll know this boiled egg-loving guy if youunlocked the Warfarer vocation. He’s the sort of dude who hates authority and taking orders, but he has a good heart, and if you ask him to serve as Gautstafr and Cliodhna’s bodyguard, he’ll comply. This completes the quest.
Another Brine dragon down, one more to go… |Image credit:Rock Paper Shotgun/Capcom
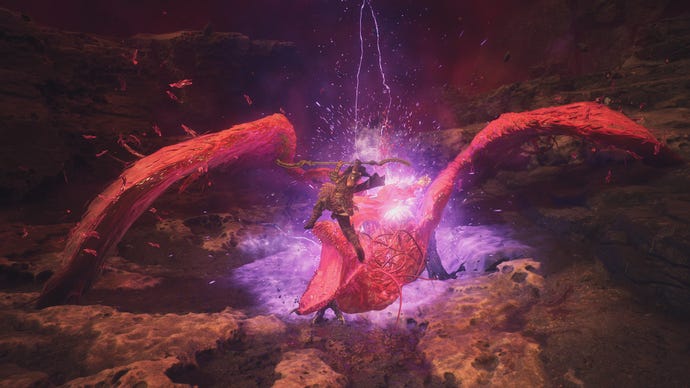
TheVolcanic Island Camp Purgener Dragoncan be fought once you reach its beacon east of the Volcanic Island Camp and use theGodsbane Blade.This one’s another drake, like the Vernworth Purgener. Use the same strategies of dodging its big attacks and attacking its pink spots to reign victorious.
Shepherd of the Pawns
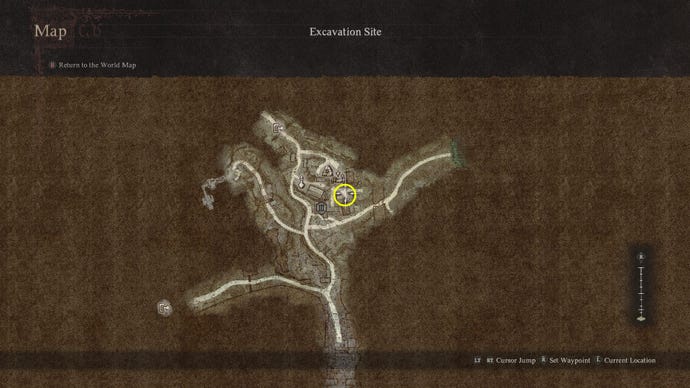
Use the key to open the door of the large house near the Excavation Camp inn.Insideyou’ll find a storage room with theDiminished Godswayon the floor. Take this, bring it back to the cells, and give it to Henrique to free the pawns and finish the quest.
Here’s the house that you’re looking for. Apparently, it belonged to that awful camp overseer who you might remember from the very beginning of the game. |Image credit:Rock Paper Shotgun/Capcom
Unlike the other quests here, there isn’t a Purgener Dragon immediately available for you to fight, at least at the moment. (See our guide on the"When Wills Collide"quest for more info). So, bask in the knowledge that all of the Unmoored World’s major communities are evactuated, and enjoy the fact that “Halls of the First Dawn” hasfinallycome to an end. Head back to the Seafloor Shrine to enjoy the fruits of your labor and the new hub town you’ve steadily created, and get ready to witness the true ending ofDragon’s Dogma 2.
Next quest:A Scholary Pursuit
Hopefully you’ve been well-equipped and properly leveled up as you battled all of those Brine-infused dragons falling from the sky. If you’re not, or simply want some assistance at ranking up new vocations in the Unmoored World, feel free to check out our guides to theArcher,Fighter,Mage,Magick Archer,Mystic Spearhand,Sorcerer,Thief,Trickster,Warrior, andWarfarer. We’ve also got full rundowns of thebest weaponsandbest armorin Dragon’s Dogma 2.
