HomeGuidesCall of Duty: Black Ops 6
Call Of Duty Black Ops 6: All campaign safe codesHere’s how to find every safe code in Black Ops 6’s campaign
Here’s how to find every safe code in Black Ops 6’s campaign
Image credit:Rock Paper Shotgun/Activision
Image credit:Rock Paper Shotgun/Activision
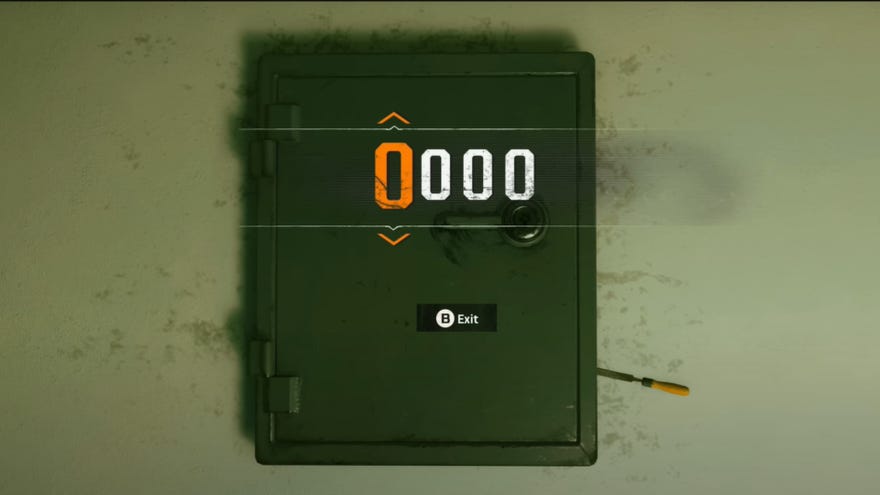
Looking for all of the safe codes for Call Of Duty: Black Ops 6’s campaign?Black Ops 6 delivers an exciting single player campaign that’s packed with secrets, including safes scattered throughout its missions. If you trek off the beaten path and uncover all of the codes to open these safes, you’ll be awarded with a handy $1000, which will go a long way towards purchasing new gear.
All of these safe codes are randomised per playthrough, but thankfully the steps you need to take to determine the right combinations are the same each time. In this guide, we’ll reveal what you need to do to unearthall of the safe codes in Call Of Duty: Black Ops 6.
To see this content please enable targeting cookies.Manage cookie settings
To see this content please enable targeting cookies.Manage cookie settings
All safe codes in Black Ops 6
Click on the name of the safe you’re trying to open in the following list to be taken to that section of the guide.
The Rook safe code
You’ll need to solve a long series of puzzles to open the Rook’s safehouse, including figuring out which objects in this room correspond to digits. |Image credit:Rock Paper Shotgun/Activision

Blood Feud safe code
Hop up these boxes for an easier time of it. |Image credit:Rock Paper Shotgun/Activision
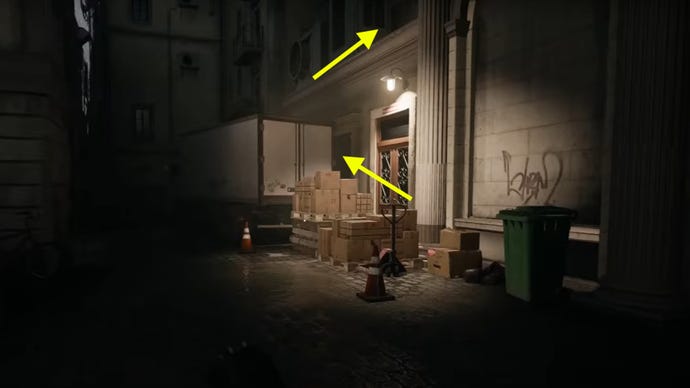
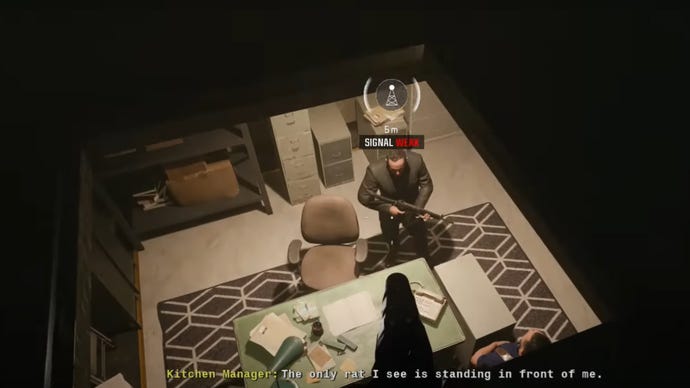
Pop these two guys in the head from above when you’re tired of listening to their chatter. |Image credit:Rock Paper Shotgun/Activision
Most Wanted safe code
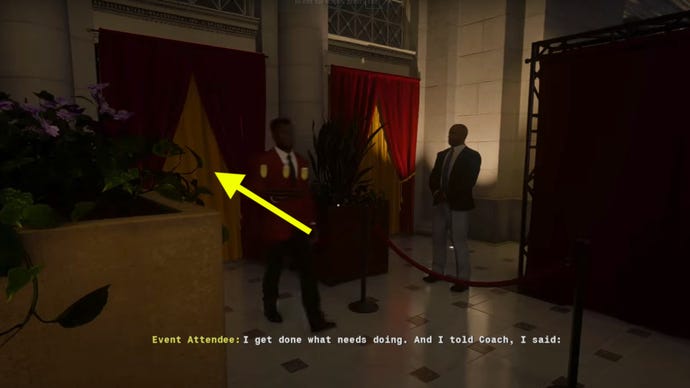
Go through these drapes to find the route that leads to the safe. Watch out for prying eyes. |Image credit:Rock Paper Shotgun/Activision
Hunting Season safe code
Hunting Season’s more open-ended than the other campaign missions, but the safe isn’t hard to find. Pop open your tac map and look for the marker labeledVillage. Head there and you’ll see aprominent two storey housein the centre of the village with enemies crawling about. Take them out and enter the house to come into a kitchen. The radio’s hidden in a very dark room just to the right of the kitchen.
The house you’re looking for has some blue lining on the exterior of the second floor. You can’t miss it. |Image credit:Rock Paper Shotgun/Activision
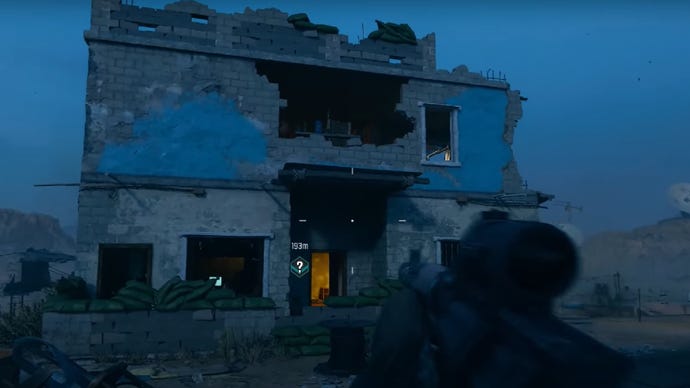
Tune the radio, get the code, and then enter the kitchen. You can find the safe on the far end of the room, near the cabinet with the large bag of rice lying atop it.
The Cradle safe code
Here’s the palace side door you need to enter. It’s just a quick sprint to the safe and radio afterwards. |Image credit:Rock Paper Shotgun/Activision
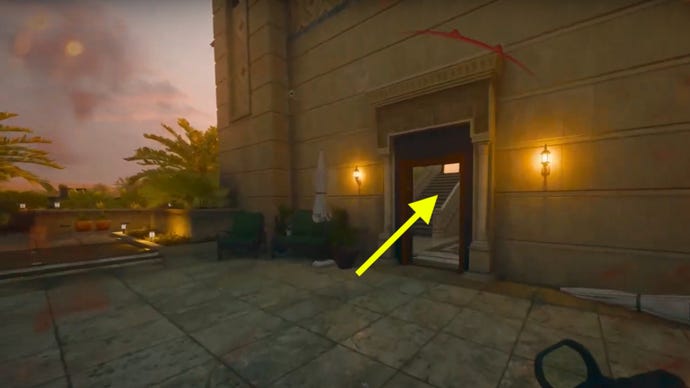
Emergence safe code
Head in this direction to find the safe. Really, this entire mission is just one big ad for Black Ops 6’s Zombies mode. |Image credit:Rock Paper Shotgun/Activision
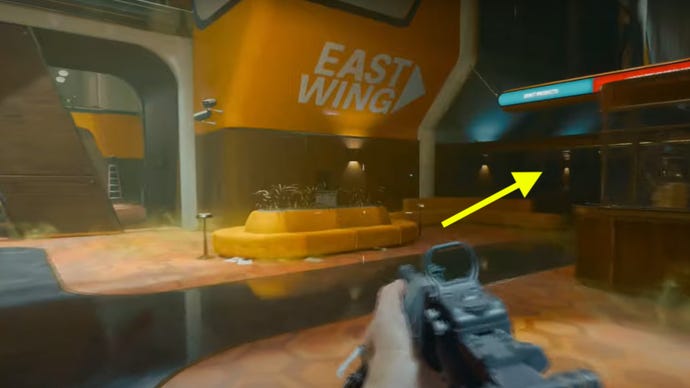
You’ll be able to reach the Emergence safe after you obtain the grappling hook. Go back into the main hub and then head to the east wing, past the signs that lead toJoint ProjectsandCognitive Research. Go through the doors and go up the right stairway that leads to the Cognitive Research wing. Open it and proceed - you’ll get a nice little zombie wraith heading your way, but ignore it.
It’s entirely possible to run around a lot in this room while overlooking the radio, so here it is for your reference. |Image credit:Rock Paper Shotgun/Activision
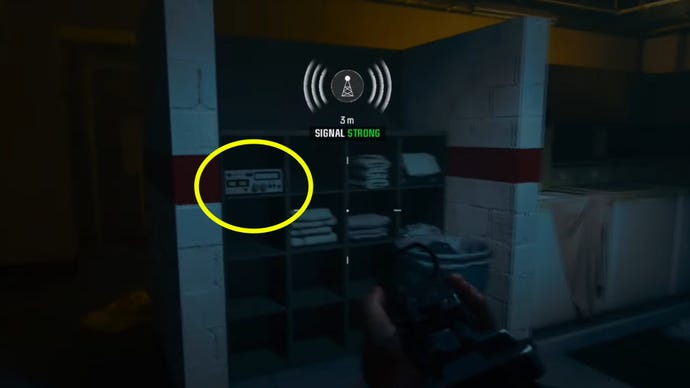
High Rollers safe code
Fancy, fancy! The radio is circled here, and the safe is just around the corner. |Image credit:Rock Paper Shotgun/Activision
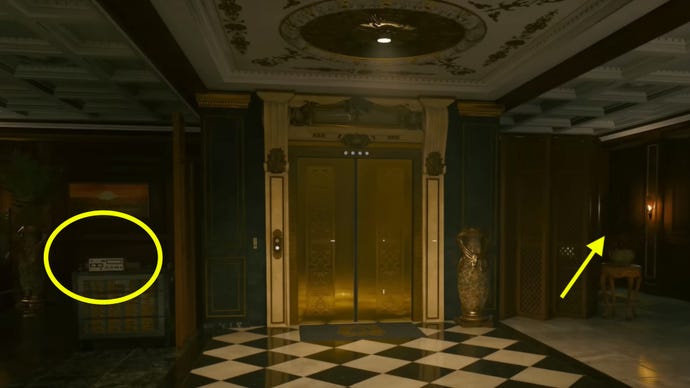
Ground Control safe code
Jump behind the departures counter to see this scene. The radio is circled, and Office 1 is in that direction. |Image credit:Rock Paper Shotgun/Activision
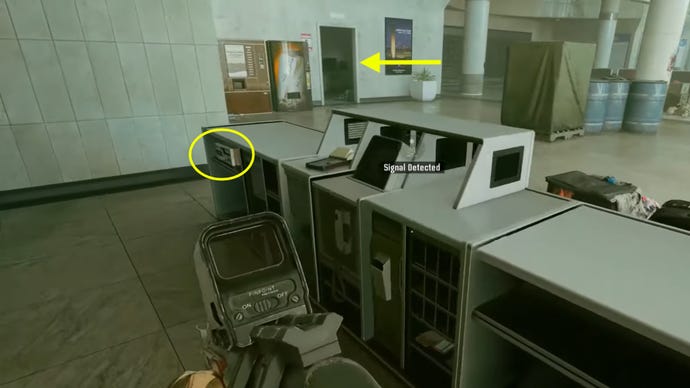
Under The Radar safe code
Here’s the spinning dish. Climb up, but watch out for the guard posted on top. |Image credit:Rock Paper Shotgun/Activision
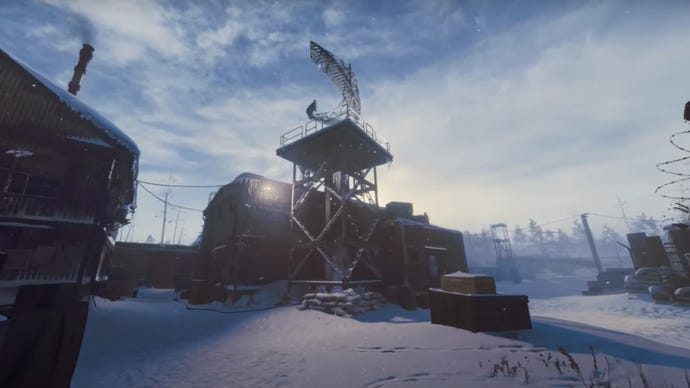
That’s a wrap on all of the safe codes in Black Ops 6. For more on Black Ops 6’s intricacies, we’ve got plenty of guides for you, starting with how to complete the easter eggs on theLiberty FallsandTerminusZombies maps. For regular multiplayer, check out our extensive guides on thebest guns. We’ve also got lists ofhow to unlock each weaponandevery Operator. And while you’re busy choosing a weapon, feel free to refer to our guides on the bestAssault Rifle,SMG,Sniper Rifle, andShotgunin Black Ops 6.