HomeGuidesBlack Myth: Wukong
Black Myth Wukong: Drunken Boar questline walkthroughHere’s how to complete Chapter 2’s side quest featuring the intoxicated Yellow-Robed Squire
Here’s how to complete Chapter 2’s side quest featuring the intoxicated Yellow-Robed Squire
Image credit:Rock Paper Shotgun/Game Science
Image credit:Rock Paper Shotgun/Game Science
Assisting the Yellow-Robed Squire is worth your time, as it’ll unlock a secret area and reveal more of the lore behind the rat and tiger denizens of the valley. In this guide, we’ll tell you everything you need to know to complete the drunken boar’s quest in Black Myth: Wukong.
To see this content please enable targeting cookies.Manage cookie settings
To see this content please enable targeting cookies.Manage cookie settings
Drunken Boar quest steps
You need to be inChapter 2of Black Myth: Wukong to encounter the Yellow-Robed Squire. His questline encompasses the following tasks:
Drunken Boar quest walkthrough
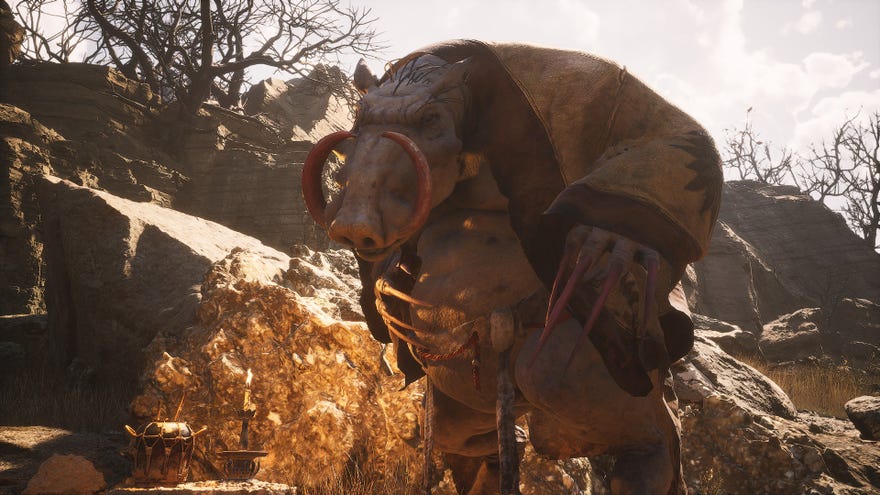
1. Find the Yellow-Robed Squire in Rockrest Flat and talk to him
Too intoxicated to get up himself, the Yellow-Robed Squire will ask you to deliver him a cure to his splitting headache. |Image credit:Rock Paper Shotgun/Game Science
Chatting with the Yellow-Robed Squire reveals that he’s suffering from a hangover and needs a sobering antidote. Keep talking with him until you exhaust all dialogue options; he’ll mention Windrest - a hint on where to go next.
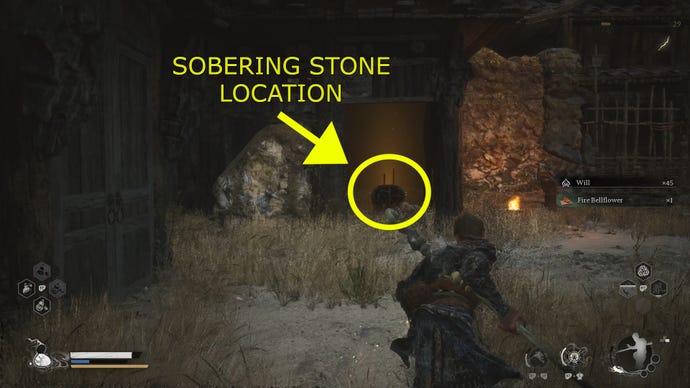
2. Obtain a Sobering Stone
To get to the hamlet, the closest Shrine is the “Windrest Hamlet” Shrine. If you haven’t unlocked this Shrine yet, you’ll need to defeatTiger Vanguardat the Crouching Tiger Temple and then go past his bloody pool up the stairs. Follow the path and tackle the enemies along the way until you get to the “Windrest Bridge” Shrine, and then keep going straight until you enter the village proper.
This is the glowing jar you’re looking for. Watch out for the corpse beside it. |Image credit:Rock Paper Shotgun/Game Science
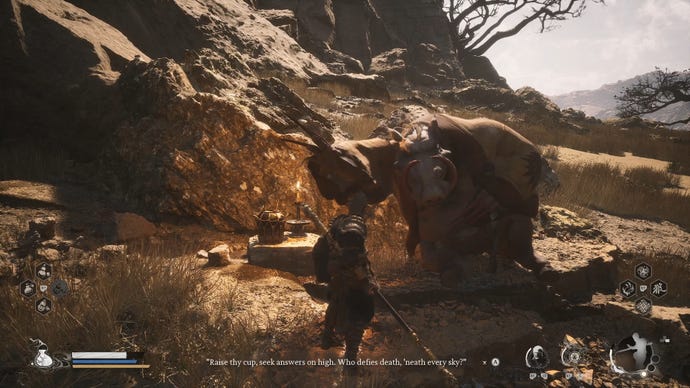
3. Give the Sobering Stone to Yellow-Robed Squire, and then find him again at Crouching Tiger Temple
Return to Rockrest Flat and give the Sobering Stone to Yellow-Robed Squire. He’ll finally get off his rear, but now he proclaims that he’s hungry for some meat. Head to the place with the most bloody rat meat in all of Chapter 2 - theCrouching Tiger Temple.
Go in the opposite direction of the Meditation Spot to find the Yellow-Robed Squire. |Image credit:Rock Paper Shotgun/Game Science
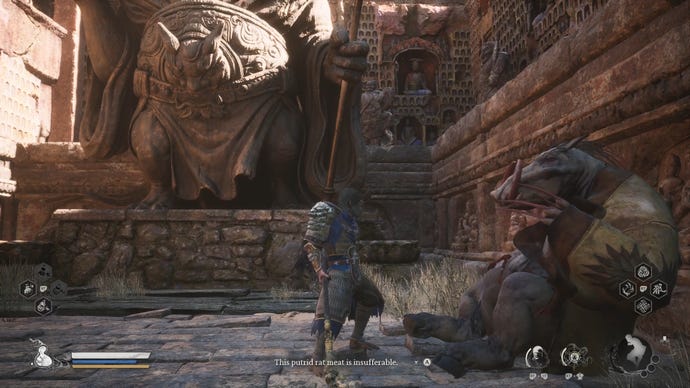
The Yellow-Robed Squire can be located in the second righthand alcove on the stairs leading up to the Crouching Tiger Temple, opposite where you’ll find a Meditation Spot. Speak with him and he’ll complain that the meat quality isn’t very good. Once again, he’ll make a request, asking you bring him some vegetables for his diet.
4. Give Jade Lotus to Yellow-Robed Squire
After you give the Jade Lotus to Yellow-Robed Squire, the boar will murmur that he once gave a piece of gold to a senior brother. He then disappears.
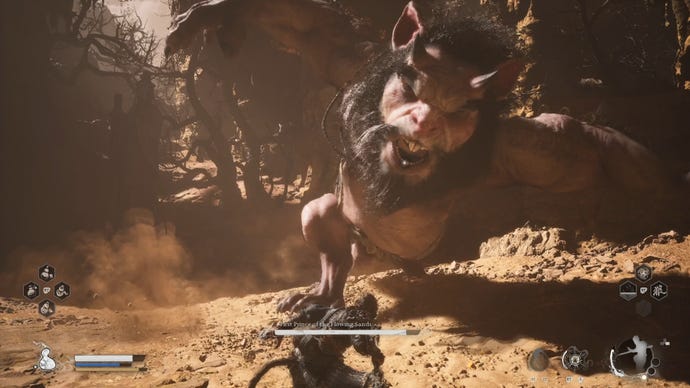
5. Obtain the Arhat Gold Piece from the First Prince of Flowing Sands
If you’ve begun the Yellow-Robed Squire’s questline, chances are that you’ve already defeated the First Prince of Flowing Sands. If you haven’t, you need to beat his father and brother first. Go to Sandgate Village and venture beyond the double doors where the two-headed Rat Captains patrol. You’ll enter an arena where you must fight theRat King and the Second Prince of Flowing Sands. For an easier combat, beat the Second Prince of Flowing Sands first, as the King will flee once his son is a goner.
Following this combat, head down the left-hand path from the arena and you’ll come upon a crevasse where the First Prince of Flowing Sand lurks. If the King fled, he’ll show up here and summon his first son to attack you. If you happened to kill the King, toss thePungent Flesh Chunkinto the crevasse to bring the angry First Prince of Flowing Sand upon you.
The First Prince of Flowing Sand is huge, but every move he makes is well telegraphed. |Image credit:Rock Paper Shotgun/Game Science
6. Return to Rockrest Flat and defeat the Yellow-Robed Squire
Once you’ve got the Arhat Gold Piece, return to Rockrest Flat and you’ll see Yellow-Robed Squire patrolling the area. He will challenge you to a fight immediately as he senses the gold in your posession. To make short work of him, avoid the sand clouds that hide his movements and ovewhelm him with Immobilise and A Pluck of Many. Thrust Stance is great to use in this battle to avoid his sand clouds.
First he makes us sober him up, then he attacks us. This Yaoguai has a lot of nerve! |Image credit:Rock Paper Shotgun/Game Science
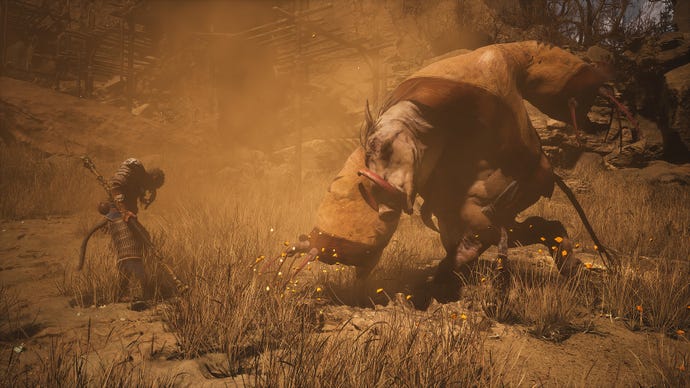
7. Enter the Kingdom of Sahali and defeat “Tiger Vanguard”
Welcome to theKingdom of Sahali, a vision right out of Yellow Wind Ridge’s past. This is a small, self-contained area, but one that gives you a chance to see some of the events that have shaped the setting of Chapter 2.
How many tigers must one monkey fight? At least this one’s easier than the last. |Image credit:Rock Paper Shotgun/Game Science
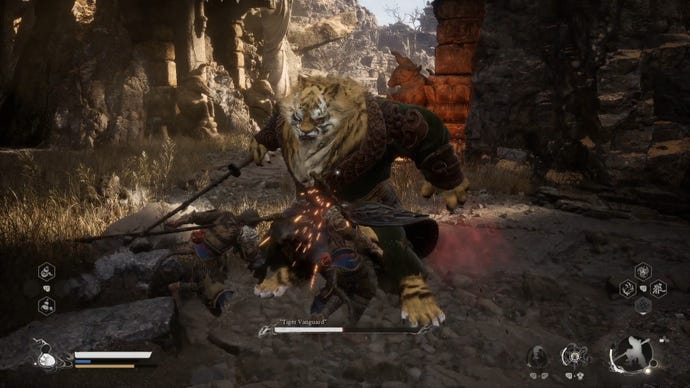
“Tiger Vanguard"is the first boss of the area, and shouts a warning at you as soon as you appear. Unlike his terrible progeny, who you’ll have already battled to get this far, he’s far easier to defeat and boasts familiar tactics like a parry and a roar. Once he’s down, talk with him to receive permission to walk through the gates to the sandy dunes beyond.
8. Defeat Fuban
Big this beetle may be, but luckily size does not make for a difficult boss fight. |Image credit:Rock Paper Shotgun/Game Science
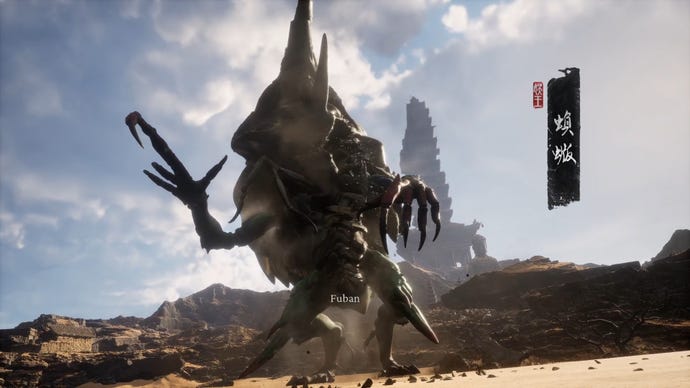
Despite its intimidating size, the fight against Fuban is a breeze compared to the other boss battles in Chapter 2, and feels the least Soulslike of the bunch. Attack the beetle’s legs while dodging its slam attacks, and when enough damage has been done, climb onto its back and interact with the Buddha vessel there. The Yellow Wind Sage will then join you in combat, allowing you to make short work of the insect - and finally bringing this long questline to its proper end.
Congratulations on completing the drunken boar’s questline in Black Myth: Wukong. For more on Chapter 2 sidequests, take a peek at our walkthroughs for theMan-In-Stonequestline and theOld Rattle-Drumquestline. OurBuddha’s Eyeballs guideis also pivotal for unlocking another one of the chapter’s secret bosses. Last but not least, our guide onall bosses in Black Myth: Wukongwill be supremely useful as you go about tackling the many epic foes of this huge game.
