HomeGuidesBlack Myth: Wukong
Black Myth Wukong: Chapter 2 walkthroughHere’s a complete guide to Chapter 2, including how to enter the Kingdom of Sahali
Here’s a complete guide to Chapter 2, including how to enter the Kingdom of Sahali
Image credit:Rock Paper Shotgun/Game Science
Image credit:Rock Paper Shotgun/Game Science
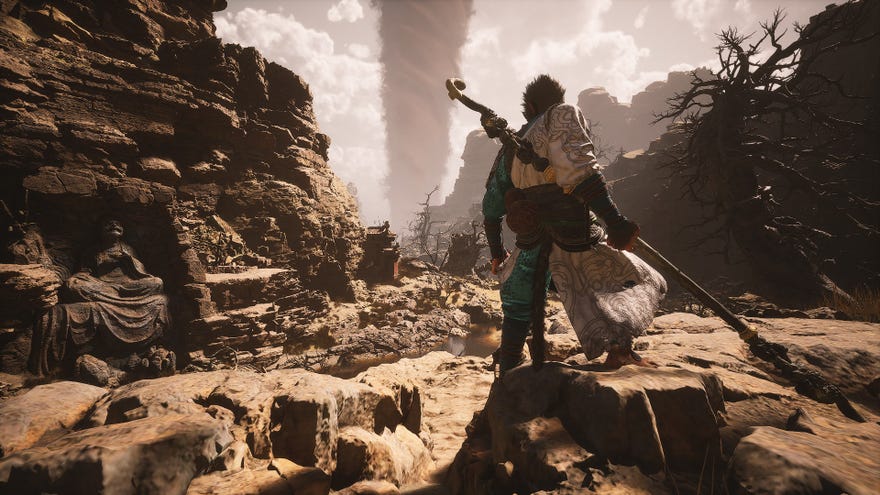
Looking for a Black Myth: Wukong Chapter 2 walkthrough?Chapter 2 of Black Myth: Wukong amps up the size and scope of the game, setting the Destined One loose in the badlands of the Yellow Wind Ridge. On your mission through these dusty roads, you’ll learn how the denizens of an ancient kingdom turned into rat Yaoguai, and you’ll also face some truly difficult foes, like the notorious Tiger Vanguard and Yellow Wind Sage.
If Chapter 1 was an intro to what Black Myth: Wukong has to offer, Chapter 2 is the game pulling off the training wheels, with lots of sidequests that lead to hidden areas, like the Kingdom of Sahālī. In this guide, we’ll present a full rundown of everything you need to do to completeChapter 2 of Black Myth: Wukong, including how tounlock the Kingdom of Sahālīand battle every secret boss.
Ourwalkthrough hubhas links to all of our Black Myth: Wukong guides. You can also navigate between our Chapter walkthroughs below:
To see this content please enable targeting cookies.Manage cookie settings
To see this content please enable targeting cookies.Manage cookie settings
Black Myth: Wukong Chapter 2 walkthrough
Chapter 2 of Black Myth: Wukong is entitledYellow Sand, Desolate Dusk. It is divided into the following regions, questlines, and boss battles - click on each name to be taken to the section of the walkthrough where that area begins.
Keep in mind that Chapter 2 is very non-linear with tonnes of backtracking and interconnected areas, so you may have to jump between sections of the guide to unlock all of the chapter’s secrets. Check out our guide toall bosses in Chapter 2for greater details on fighting the foes in your path.
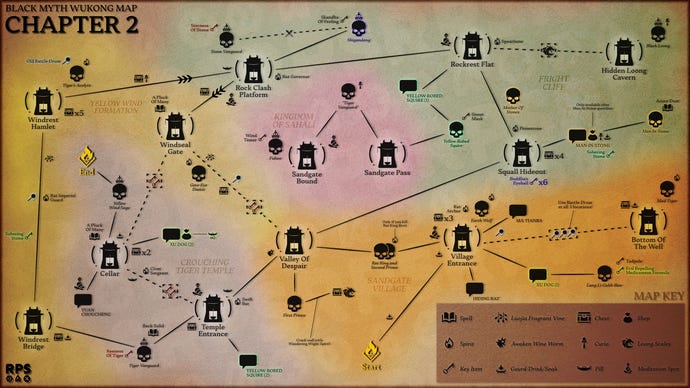
If you need a bit more help keeping yourself oriented while we navigate the crisscrossing pathways of Yellow Wind Ridge, you can keep referring back to ourChapter 2 mapbelow:
Keep track of your progress through the Yellow Wind Ridge with our handy abstractChapter 2 map!Image credit:Rock Paper Shotgun
1. Sandgate Village walkthrough
Sandgate Village: Village Entrance
After your first encounter with the cool headless singer who’ll narrate your adventures throughout this Chapter, explore your surroundings. This is a very big map compared to Chapter 1, and don’t be afraid to go off the beaten path. If you want a direct route, go through the water, cross the bridge, and go right at the big tree. Rat Archers and Rat Soldiers abound; fight them and go up the path to find an altar with theLambbrewdrink. Aside from your default drink, the Lambbrew is the only other upgradable drink at the moment.
Another frog boss, and this one’s stolen Xu Dog’s recipe! Make frog soup outta him. |Image credit:Rock Paper Shotgun/Game Science
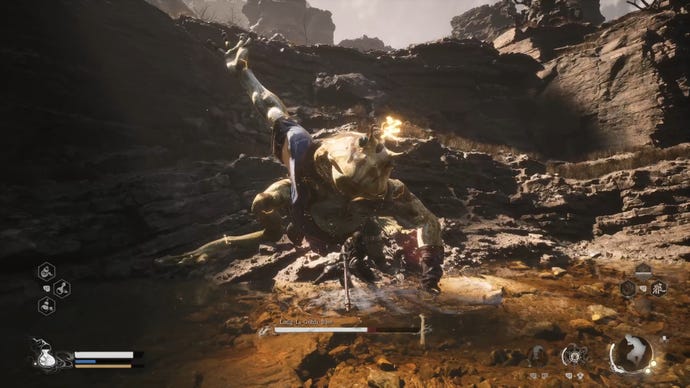
Lang-Li-Guhh-Bawis the second of Black Myth: Wukong’s frog bosses, and if you tackledBaw-Li-Guhh-Langback in Chapter 1, you know what to expect - just add lightning attacks in the mix. Once you turn this guy into frog legs, check in with Xu Dog and you’ll get the ability to craft medicines at Shrines. You can also findThe AltarMeditation Spot not far from Xu Dog’s location.
Return to Sandgate Village. Since the main gate is closed, veer to the right to find a trail that takes you to the village’s backdoor. A pair of two-headed Rat Captains lurk here; they’re tough guys who blow up upon defeat, so beware. If you explore the village thoroughly, you may overhear some hidden NPCs in a hut chattering about the Rat Captains, mentioning a third Captain who’s missing. If you kill the two Captains and overhear this dialogue, you’ll find theAshen SlumberTransformation in Chapter 3’s Pagoda Realm. If you can’t locate the NPCs or don’t fight the Rat Captains, don’t fret - you can still pick up the Transformation. OurChapter 3 walkthroughhas the details.
Past the Rat Captains, keep hugging the left-hand wall until you locate an entryway into the section of the village on the other side of the main gate.Earth Wolfhangs out here, and he should go down fast with swift usage of your Pillar Stance and Immobilize.Earth Wolf’s Spirit is one of the better ones in the early game, so be sure to absorb it.
Earth Wolf’s Spirit is very good for knocking into enemies and pushing them across battlefields. |Image credit:Rock Paper Shotgun/Game Science
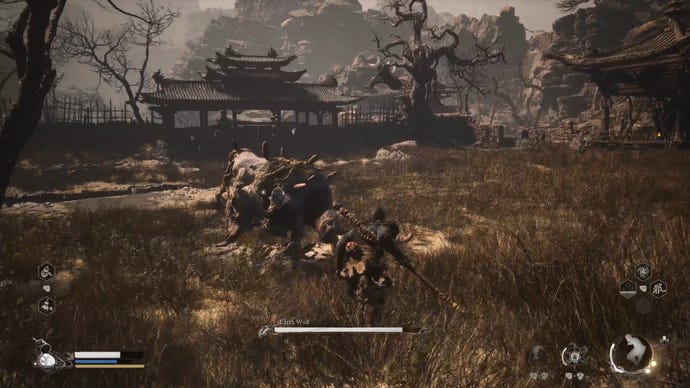
For now, return to where you saw the two-headed Rat Captains. Beyond the double doors are theKing and Second Prince of Flowing Sands. While fighting this duo,focus on the Second Prince, who delivers the main brunt of the attack. Once the Second Prince is down, the King flees. If you kill the King first, the Second Prince gets amped up and becomes tougher than he already is.
The Second Prince is the one you have to watch out for in this fight. The King mostly just throws sticks and stones. |Image credit:Rock Paper Shotgun/Game Science
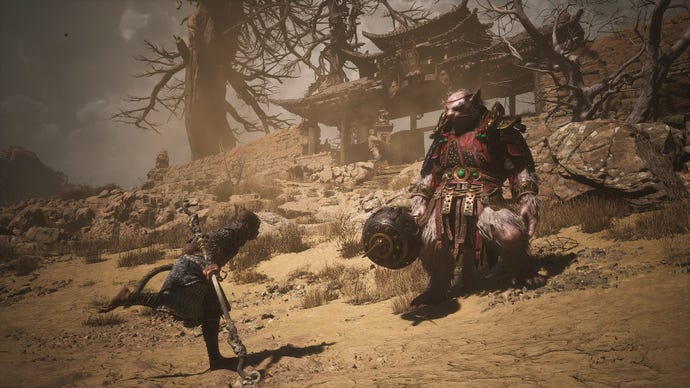
Once the fight ends, go left of the locked gate to find the “Valley of Despair” Shrine.
Sandgate Village: Valley of Despair
From the “Valley of Despair” Shrine, go left towards the edge of a crevasse. If the King survived during your fight against him and the Second Prince, he’ll summon theFirst Prince of the Flowing Sandsto attack you here. If the King died, chuck thePungent Flesh Chunkthat you got at the end of the last battle into the crevasse to summon the massive rat Guai into action.
The poor First Prince has been condemned to a crevasse for a long time due to his anger issues. |Image credit:Rock Paper Shotgun/Game Science
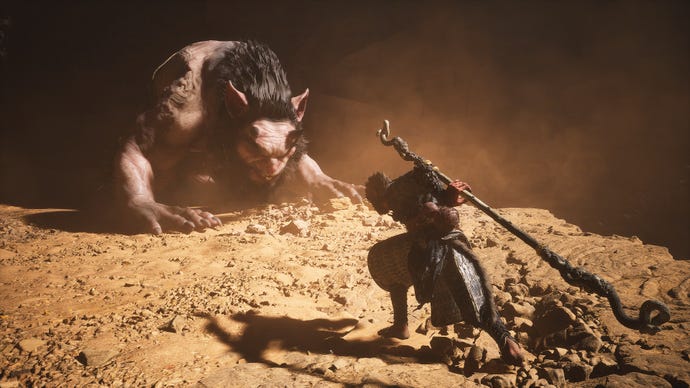
The First Prince of Flowing Sands might be a big fella with heavy-hitting attacks, but all of his moves are well telegraphed. Use Cloud Step if you’re cornered, and try to manoeuvre the First Prince into smashing the terracotta wall on the left side of the arena. This wall houses theLoong Scales, a vital item for facing all of the hidden Loong enemies in Black Myth: Wukong’s first four chapters. If the wall isn’t smashed, don’t worry - you can use Wandering Wight to headbutt the wall. Once there’s a crack in there, squeeze through and open the chest to get the Loong Scales.
With the First Prince dead and the Loong Scales in your possession, you may want to teleport back to Chapter 1 and use the Loong Scales to fight the secret Red Loong boss. See ourChapter 1 boss guidefor hints on how to do just that. You also have a choice on where to go next - eitherCrouching Tiger TempleorFright Cliff. We’ve presented both options below. Doing Fright Cliff first might make the Tiger Vanguard boss of Crouching Tiger Temple slightly easier, but since most of the areas of Chapter 2 can be done in a variety of orders, the choice is yours.
2. Crouching Tiger Temple walkthrough
Crouching Tiger Temple: Temple Entrance
If you’re having trouble finding the crack in the wall that leads to the Crouching Tiger Temple, look for this enemy on this little bridge. |Image credit:Rock Paper Shotgun/Game Science
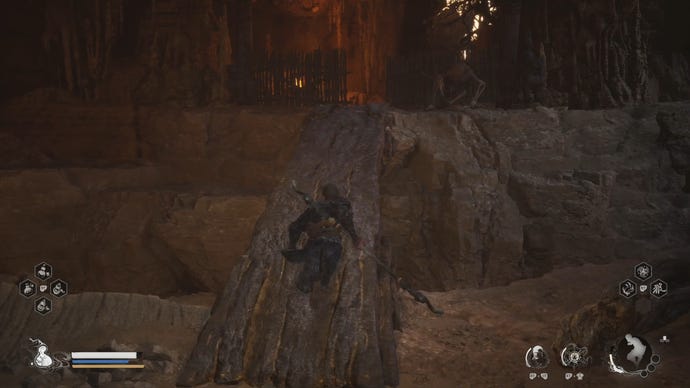
Follow the path and you’ll reach the “Temple Entrance” Shrine. Explore the alcoves on the steps leading up to Crouching Tiger Temple thoroughly to findThe SculptureMeditation Spot, as well as a treasure chest. Then climb the steps to see a pool of blood and the infamousTiger Vanguard.
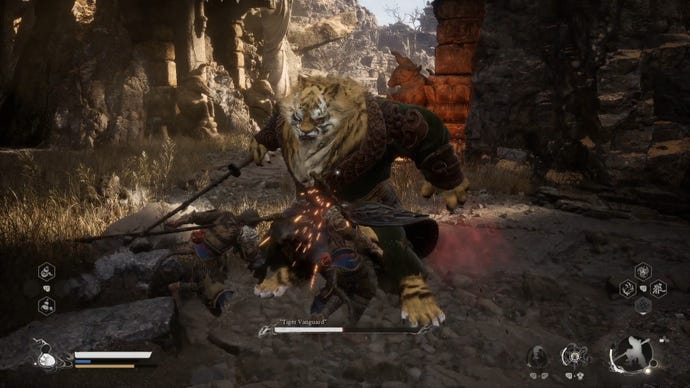
Tiger Vanguardhas won notoriety as the first wall that a lot of Black Myth: Wukong players hit. He’s certainly a challenge, with lunging sword attacks and paw swipes that can knock your health bar to pieces in an instant, but fighting him is an excellent way to perfect your dodging skills and recognition of enemy patterns. Stay patient, learn his combos, dodge when he raises his sword and grunts, and be wary of his second phase which sees him vanishing and rushing at you from unknown angles. If your health bar is always falling into the critical zone, try wearing the Serpentscale armour set, as it replenishes low health and reduces stamina cost while standing in water (or in this case, blood).
Tiger Vanguard ended up as one of my favourite bosses in the game when all was said and done. |Image credit:Rock Paper Shotgun/Game Science
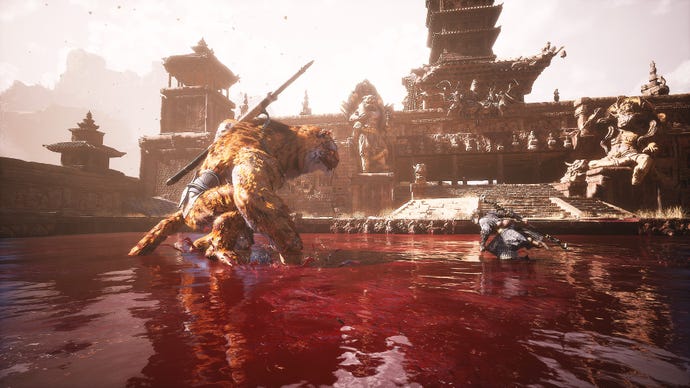
Beating Tiger Vanguard gives you theKeeness of Tigerand theRock Solidspell, which is one of the main methods ofparrying in Black Myth: Wukong. Once you’ve patted yourself on the back for beating him, exit the temple complex via the top to get to the “Windrest Bridge” Shrine - clickhereto skip there.
3. Fright Cliff walkthrough
Fright Cliff: Squall Hideout
To get to Fright Cliff, start at the “Valley of Despair” Shrine, head east, and cross the rope bridge. Keep going until you find the “Squall Hideout” Shrine. This is the start of a complex area with multiple interweaving quests, each of which we’ve spun out into their own individual guides in order to give them the space they deserve. Just know that you’ll be running between all the different parts of Fright Cliff a lot.
Stone Vanguard is the first of two rock bosses in this area. You’ll need to defeat him along with Tiger Vanguard to open up two sections of Chapter 2. |Image credit:Rock Paper Shotgun/Game Science
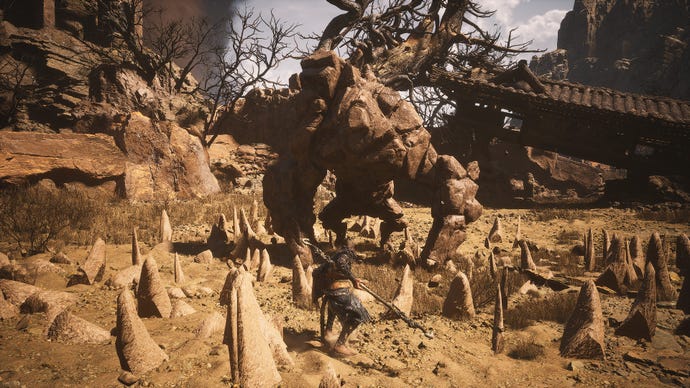
However, you may also want to put Stone Vanguard off for the time being. There’s a Buddha head statue lying on the ground on the opposite side of Stone Vanguard’s arena, and interacting with it will start the Buddha’s Eyeball sidequest. This quest requires you to explore the area thoroughly, find six Buddha heads, and extract their eyes. Head over to ourBuddha’s Eyeball locations guidefor detailed tips and screenshots on where to go.
When you do collect all of the eyeballs, place them back into the decapitated Buddha head to resurrectShigandang, a secret Yaoguai King.Shigandangis pretty much the same as Stone Vanguard, just wilder looking. If you haven’t fought Stone Vanguard yet and want to see a rumble, resurrecting Shigandang will cause Stone Vanguard to awaken! The two rock Guai will then go at each other in a fight to the finish. Stand back and enjoy the spectacle, and you’ll get theSkandha of Feelingwhen Shigandang’s dead. (While you’re at it, see our guide on findingall Skandha in Black Myth: Wukong.)
Shigandang is the cooler of the two rock bosses, in my opinion. If you choose to have him and Stone Vanguard fight it out, the battle is a sight to see. |Image credit:Rock Paper Shotgun/Game Science
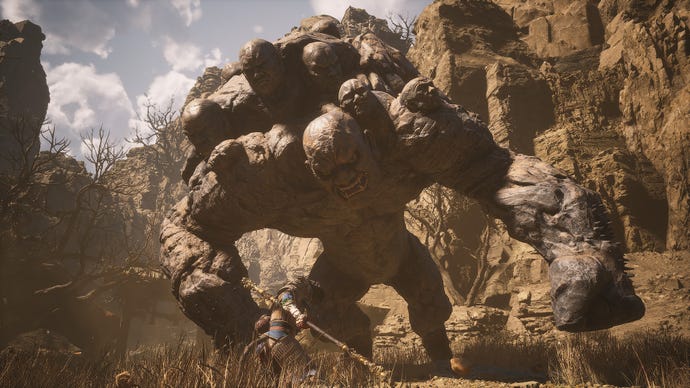
As you search for the Buddha’s Eyeballs and awaken these stone titans, you’ll also start theMan-In-Stone questline, which requires you to confront two bosses -Mother of StonesandMan-In-Stonehimself, who starts as an NPC, turns into an enemy, and finally ends up as a shopkeeper. NeitherMother of StonesorMan-In-Stoneare difficult bosses, though Mother of Stones is annoying as she repeatedly summons minions to attack you instead of fighting herself. At the end of Man-In-Stone’s questlines, you’ll unlock theAzure DustTransformation, which lets you morph into a rock Guai.
Fright Cliff: Rockrest Flat
The last quest you’ll run into in this area is the aforementioned “Rockrest Flat” Shrine, which is north of “Squall Hideout” and not far from the Mother of Stones. If you go north from the Shrine past a breakable gate, you’ll enter a wide plain with a boozed-up boar sitting on his butt.
A drunk he may be, but this boar is an important figure when it comes to opening up Yellow Wind Ridge’s forgotten memories. |Image credit:Rock Paper Shotgun/Game Science
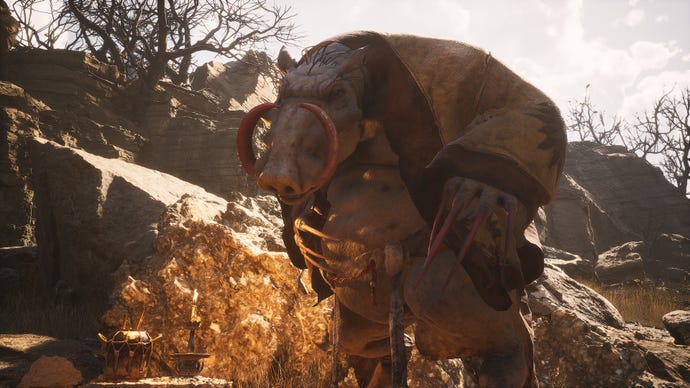
This NPC’s actual name is theYellow-Robed Squire, and talking with him starts a sidequest that culminates in unlocking Chapter 2’s secret area. Our guide to theDrunken Boar questlinehas the details. In short, you need to deliver several items to the boar and do a little back and forth with him. It all culminates in a brief boss fight againstYellow-Robed Squire, and when you’ve finished, the Kingdom of Sahālī will be open to you - clickhereto jump to the appropriate section of this walkthrough.
While you’re at it, you can findThe DeadwoodMeditation Spot in the same area as the drunken boar, next to a large tree.
Fright Cliff: Rock Clash Platform
This area is next to the Stone Vanguard boss arena, and serves as a brief spot on the road between Fright Cliff and Yellow Wind Formation. Take the path past the arena alongside the old buildings to findThe RavineMeditation Spot and the “Rock Clash Platform” Keeper’s Shrine. If you head right you can follow a path that leads to the “Windseal Gate” Shrine in the Yellow Wind Formation - clickhereto skip to that point in the walkthrough.
Fright Cliff: Hidden Loong Cavern
There’s one more area of interest in Fright Cliff, and that’s the sandy waterfall east of the “Rockrest Flat” Shrine. If you acquired the Loong Scales earlier in this walkthrough after defeating the First Prince of the Flowing Sands, you’ll hear a voice as you approach the waterfall. Interact with it to unlock the path toBlack Loongand the “Hidden Loong Cavern” Shrine.
Beware those electric rattles. When they come smashing down on the ground, get to the nearest rock. |Image credit:Rock Paper Shotgun/Game Science
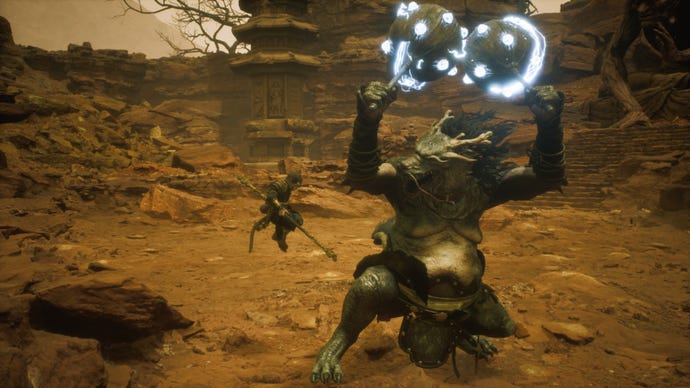
Black Loongtook me a fair number of tries to beat. His attacks are well-telegraphed, but if you don’t get the timing right, he hits like a truck. He’s also got an annoying attack where he hits the ground, pumping shockwaves all across the battlefield. Dodging all of them in a row is an exercise in frustration, so scurry atop one of the rocks that dot the arena to avoid the brunt of these lightning blasts. This is also an excellent opportunity to heal up and prepare to unleash your spells on Black Loong after he finishes his epic tantrum.
4. Yellow Wind Formation walkthrough
Yellow Wind Formation: Windrest Bridge
From the “Windrest Bridge” Shrine, go down to the bridge and into the village. You basically want to clear the village of all enemies and keep pressing forward; be sure to take out the Rat Imperial Guards to unlock the back gate that lets you exit. You can grab aLuojia Fragrant Vineto the right of the gate once it’s open. Follow the path until you reach the “Windrest Hamlet” Shrine.
Yellow Wind Formation: Windrest Hamlet
Be sure to read the Journal entry for Tiger’s Acolyte to learn his connection with Mad Tiger and the story behind the Old Rattle-Drum. |Image credit:Rock Paper Shotgun/Game Science
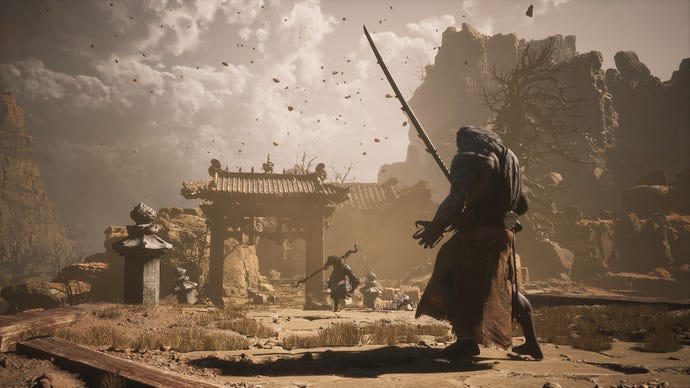
Once Tiger’s Acolyte is dead, you’ll acquire theOld Rattle-Drum. This item lets you open up the well in Sandgate Village and fight the Mad Tiger. Referto the Old Rattle-Drum quest/Bottom of the Wellsection of this walkthrough for more.
If you keep progressing across the bridge, you can reach an intersection that either leads to the “Rock Clash Platform” Shrine or “Windseal Gate.”
Yellow Wind Formation: Windseal Gate
From the Windseal Gate shrine, go up the left side of the bridge to fight theGore-Eye Daoistboss. As his name might suggest,Gore-Eye Daoistshoots blood all over the place, but he’s not a hard Yaoguai Chief compared to everyone else in this Chapter. Fighting him is worth it to grab his Spirit and a Luojia Fragrant Vine.
Gore-Eye Daoist’s Spirit creates a pool that buffs your attack as you stand within it, which may be useful for certain players. |Image credit:Rock Paper Shotgun/Game Science
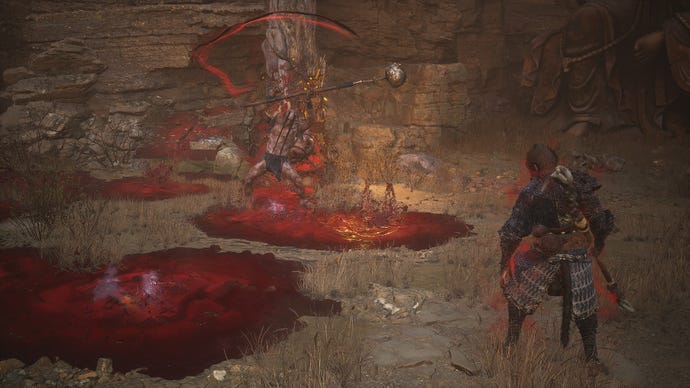
There’s also a gate here that you can only open if you’ve defeated Tiger Vanguard and Stone Vanguard. Go past the gate and take the left path to findThe GrottoMeditation Spot. The right path leads to both the “Cellar” Keeper’s Shrine and a sandy desert area, which is the hangout of the final boss of Chapter 2,Yellow Wind Sage.
5. Bottom of the Well walkthrough
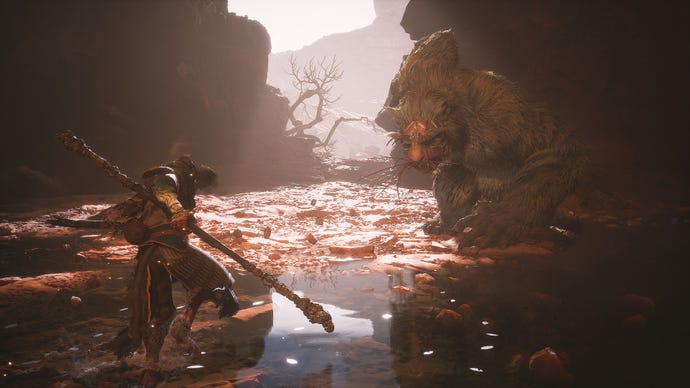
There’s not much you can do with Sandgate Village’s well the first time you stumble upon it. But if you come back here after you’ve beatenTiger’s Acolyte in Windrest Hamletand completed the Old Rattle-Drum quest, you can enter the well to find the “Bottom of the Well” Keeper’s Shrine. OurOld Rattle-Drum questlineguide has a complete explanation of where to go to unlock all of the drum’s memories.
Mad Tiger definitely got the short end of the tiger boss stick, being stuck in this well and all. |Image credit:Rock Paper Shotgun/Game Science
6. Kingdom of Sahālī walkthrough
Kingdom of Sahālī: Sandgate Pass
This guy’s actually the papa of the other two tiger bosses of Chapter 2. His sons didn’t turn out so great. |Image credit:Rock Paper Shotgun/Game Science
Kingdom of Sahālī: Sandgate Bound
The fight with Fudan is epic in scope, but also pretty scripted. |Image credit:Rock Paper Shotgun/Game Science
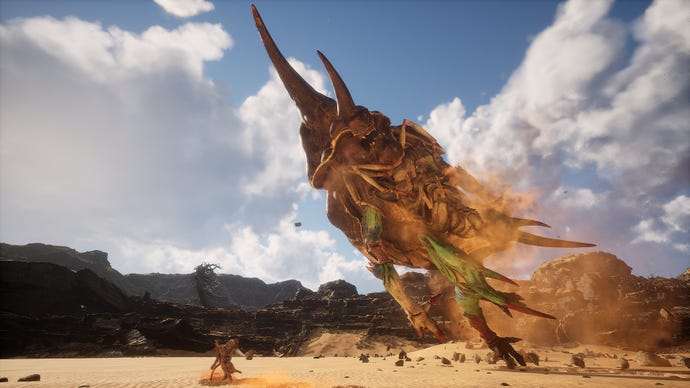
Fubanlooks like a force to be reckoned with, but the fight against it is actually simple and reminiscent of a boss fight in a normal action adventure game rather than a Soulslike. Attack its legs, avoid its slam attacks, and then climb up on Fuban’s back and destroy the vessel when prompted. You’ll get direct help in the second phase of the battle, which should be a snap. Upon winning, you receive theWind Tamer, a wind-neutralising tool that’s very useful for the final boss of Chapter 2, and you’ll be returned back to Fright Cliff.
7. Cellar walkthrough
The Cellar is only accessible after you’ve beaten bothTiger Vanguardin the Crouching Tiger Temple and theStone Vanguardin Fright Cliff. Go to the statue in the middle of the Crouching Tiger Temple’s blood pool plaza and activate it using both the Keeness of Tiger and the Sterness of Stone. The blood drains away, revealing a tiger mouth opening that leads downwards.
If you don’t care about the relic, just slide down to reach the “Cellar” Shrine. The first time you show up here, your headless singer friend will greet you and give you the infinitely usefulA Pluck of Many, one of the Monkey King’s trademark spells that creates duplicates. You’ll probably be using this spell a lot from here on out against bosses, though it does eat up mana.
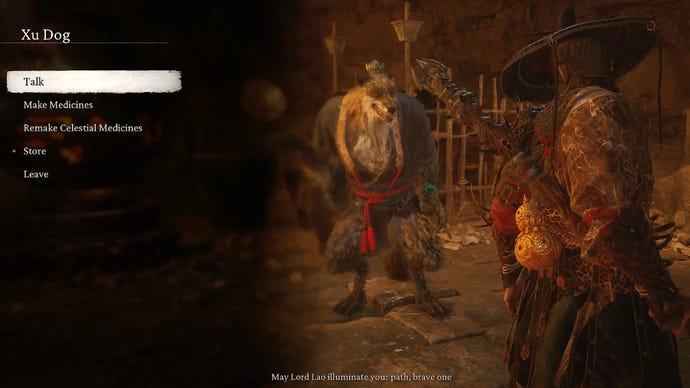
Xu Dog, your friendly neighbourhood celestial drug dealer, is a good guy. |Image credit:Rock Paper Shotgun/Game Science
8. Yellow Wind Sage walkthrough
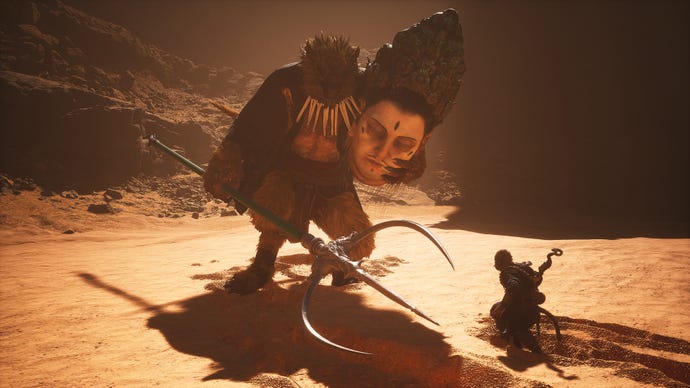
Yellow Wind Sageis no joke. If you’ve done everything else in this guide, including unlocking the Kingdom of Sahālī and completing the other questlines, you should stand a good chance, but it won’t be a walk in the park. Immobilize and hit him hard with A Pluck of Many in the first half of the battle until he starts swinging his staff and summoning sandstorms. Then you have a choice - use the Wind Tamer immediately to kill his sandstorms and stagger him, or ride out the storms and save the Wind Tamer for the fight’s finale, when he summons a tornado.
Yellow Wind Sage is a pain. Any guy who steals Buddha heads can’t be a good customer. |Image credit:Rock Paper Shotgun/Game Science
Once you beat Yellow Wind Sage, the true identity of the headless singer will be revealed, and you’ll finally be finished with the complex, interlocking regions that make up these rat-infested badlands.
Congratulations on completing Chapter 2 of Black Myth: Wukong - you’ve certainly left your mark on the canyons of the Yellow Wind Ridge! For a more detailed look at all of the Yaoguai in every chapter of this expansive game, take a deep dive into our guide toall bossesin Black Myth: Wukong. If you’d prefer a quick rundown of places to level up and rest, check out our guides toall Keeper’s Shrine locationsandall Meditation Spots. And last but certainly not least is our guide toall Journal entries, which will help you make sense of Black Myth: Wukong’s awesome take on Chinese legend.