HomeGuidesTotal War: Warhammer III
An absolute beginner’s guide to getting started with Total War: Warhammer and Immortal EmpiresPlus what DLC to buy first depending on your favourite faction
Plus what DLC to buy first depending on your favourite faction
Image credit:Creative Assembly
Image credit:Creative Assembly
TheTotal War: Warhammerseries is big. You just won’t believe how vastly, hugely, mind-bogglingly big it is. Luckily, coming up with completely original quotes is not my only skill. I’ve also become very adept at pouring hundreds of hours into this series ofstrategy games. The aim of this guide is to save you some time, and give some tips on what they’re all about.
For my money, they’re thebest Total War gamesavailable, but they’re also very dense and a bit complicated to get started with. I’m hoping this will stand as a comprehensive one-stop beginner’s guide for anyone looking to jump into the series for the first time, without getting too bogged down with the details. Included is an exhaustive list of which DLC to buy depending on what faction you like the look of the most, since navigating the expansions can sometimes feel more complicated than the game itself. Onward!
In this guide:
What is Total War: Warhammer?
Simply put, Total War: Warhammer is a series of strategy games set in the world of Warhammer Fantasy, a tabletop wargame setting some enterprising British blokes came up with in the eighties so they’d have a paycheque’d excuse to paint more wizards. The Total War series is notable because it actually combines two different genres of strategy game into one, which I’ll refer to as thecampaign mapand thebattles.
Campaign Map
Image credit:Creative Assembly
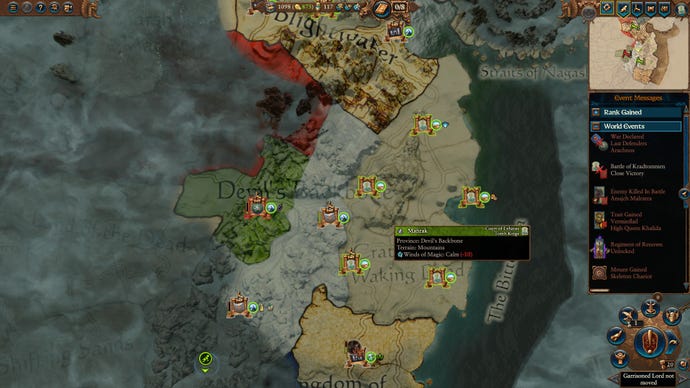
You’re not under any sort of pressure or time limit during all this, so you can take as long as you want to make your choices and figure out what to do next. After you’re done making all your decisions, you end your turn, then everyone else on the map takes theirs. There’s no turn limit for the game, although the longer the game progresses, the stronger your surviving enemies will become, simply because they’ll be doing the same things that you are: research, recruiting armies, levelling up characters, and upgrading settlements.
Battles
Broadly speaking, battles in the Total War games are real-time strategy, or RTS. You set up your army in whatever formation you choose and start the battle. After that, all your units move and attack as soon as you tell them to.
While RTS likeStarcraftorWarhammer 40,000: Dawn Of Wardivide units into individuals, Total War uses formations. So the equivalent of one Terran marine in Starcraft might be a big block of 120 elf archers in Total War: Warhammer. There are still individuals, like army commanders and the odd giant or dragon, but you’ll mainly be commanding units as the formations.
While you can pause, issue commands, and unpause at any time, the standard flow of a battle is usually quite fast paced, and you’ll often want to be constantly making decisions on-the-fly to outmanoeuvre your enemy, or try to force them into suboptimal positions.
Image credit:Sega/Creative Assembly
A classic example of this is known as ‘Hammer and Anvil’. This is where you lock the enemy’s frontline units in melee combat with your own, then use cavalry or other fast moving units to run behind them and charge into their unprotected flanks or rear. Things like positioning and flanking have big effects on morale and defence in Total War, so this sort of thing is extremely effective. Most of the time, you aren’t even necessarily trying to wipe out the enemy army - you’re just trying to freak them out enough that they run away.
There are lots of other factors to consider: can the unit of goblins I’m sending to attack this throng of heavily-armoured dwarfs actually pierce through their armour? Am I wasting this spell on a unit with a high resistance to magic? Do I really want to charge my calvary into that battle line when there’s a unit of spearmen waiting to counter-attack? As I said above, though, you’ll pick most of this stuff up as you play, and most of it is quite intuitive anyway. If you think a tactic might work in a real battle, there’s a fair chance it’ll work in Total War.
Setting
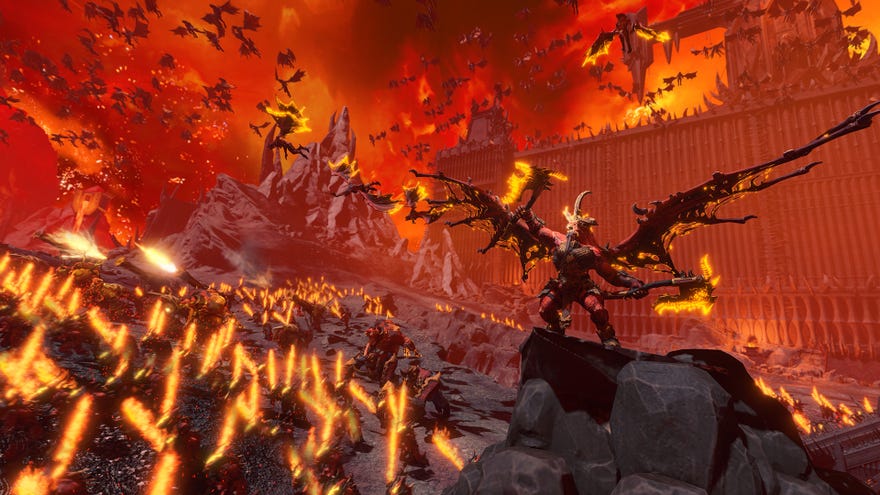
Warhammer Fantasy is what would happen if you put every conceivable fantasy trope together on a single planet and made them all very angry with each other. Also, all the tropes are the silliest version of themselves. It’s a bit Lord Of The Rings and a bit Monty Python. It’s got magic and gods and dragons and feudalism and taxes, but it’s also got Arthurian knights facing off against giant mad scientist rats.Image credit:Creative AssemblyStubborn and vengeful dwarfs defend their mountain holds against psychic daemons, and graceful forest elves protect their sacred woods from vampire pirates leading armies of zombies. It’s big and dumb, but also very exciting and incredibly varied. There are tomes full of genuinely fascinating lore and character stories if you want to go that deep, but you can also just appreciate the comedy gold of a big magic toad riding a floating toilet seat as he casts a spell called ‘Ruination of cities” that kills like, 80 ratmen every time you click the fun button.
Image credit:Creative Assembly
What DLC to buy for Total War: Warhammer
The Total War: Warhammer series has 21 pieces of paid DLC across 3 separate main games, alongside dozens of free lords, heroes, and other updates. Put simply, it’s a confusing mess for a new player. To make things easier, I’ve created a list below, based on the only question you should ask yourself when it comes to which expansions to buy and which to skip:what faction do I think is the coolest and would have the most fun playing?First, a few important tips to keep in mind:
What should I buy first if my favourite faction is:
Image credit:Creative Assembly
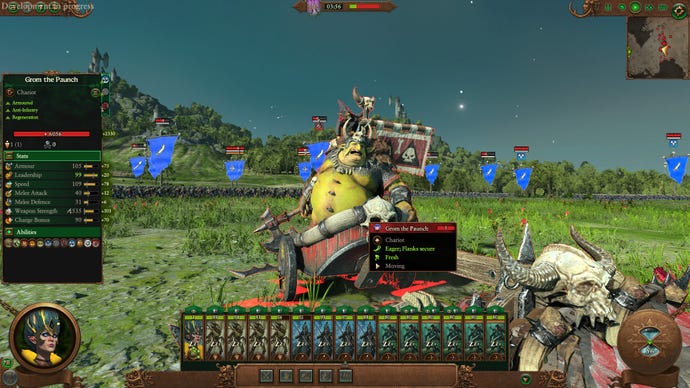
Image credit:Creative Assembly
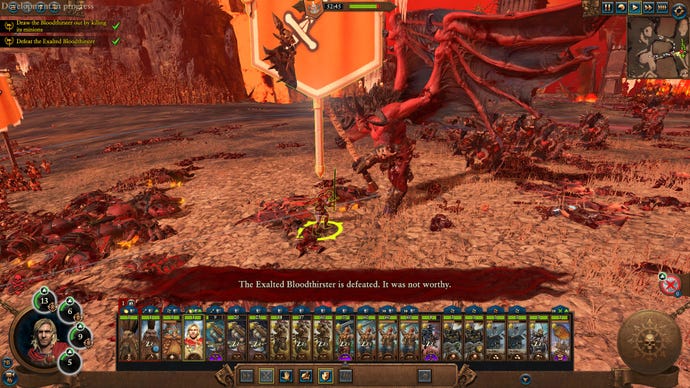
Image credit:Creative Assembly
Other things to keep in mind before starting a campaign
Your first turn in Total War: Warhammer
There’s a full tutorialalongside the short narrative campaign in the game. You should absolutely play this first, and I won’t be going over things like controls and menus too much here. Instead, I’ll walk through your first few turns with the game, and try to get you set up for success with some tips. This is just the way I play, though. There are many different viable approaches and strategies, and each faction has its own unique systems and considersations. Don’t be afraid to experiment!
Image credit:Creative Assembly
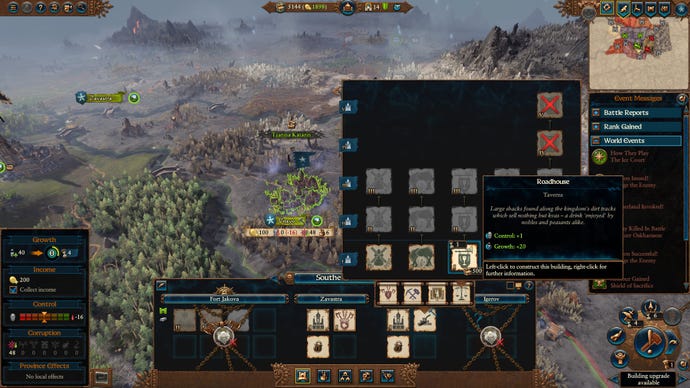
First up, find the research menu through the quill icon in the bottom right corner. The game will warn you about this at the end of the turn, but I like to get it out of the way.Image credit:Creative AssemblyClick on the ‘Cold Storage’ tech. This will take four turns to research, and afterwards, you’ll get a bonus togrowthandreplenishment. Growth affects how fast you can upgrade your settlements, giving you access to higher tier buildings and units. Replenishment affects how many turns it takes for your units to replace lost battle casualties. They’re both very helpful and I like to grab bonuses for them wherever possible.
Image credit:Creative Assembly
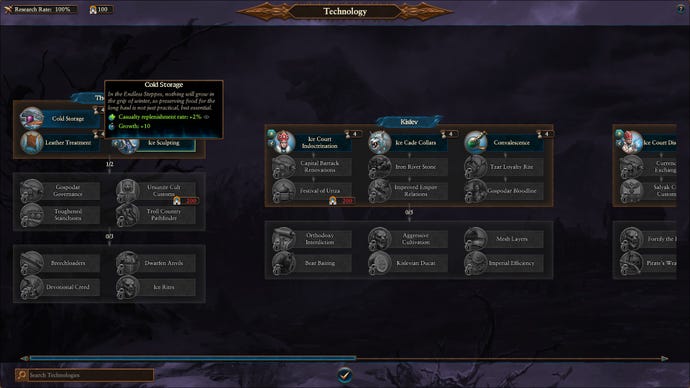
Image credit:Creative Assembly
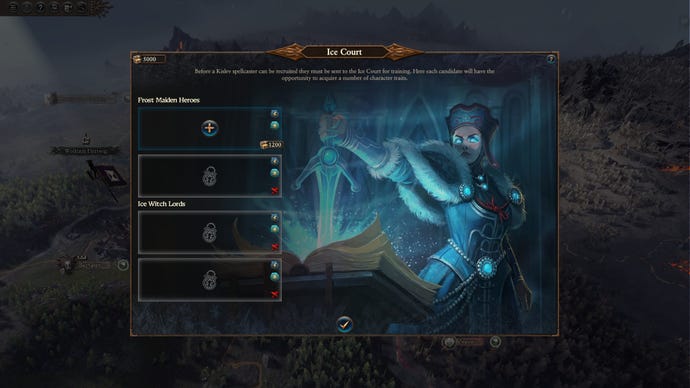
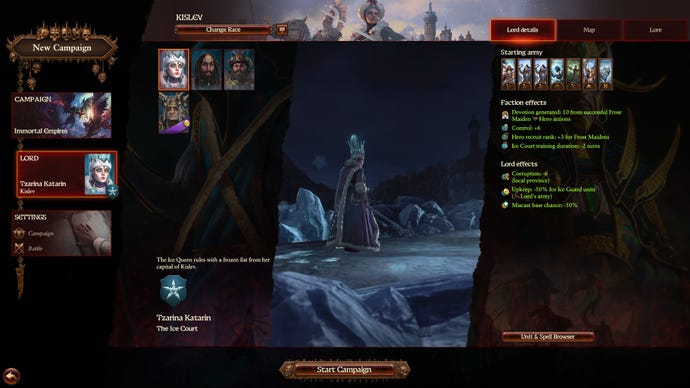
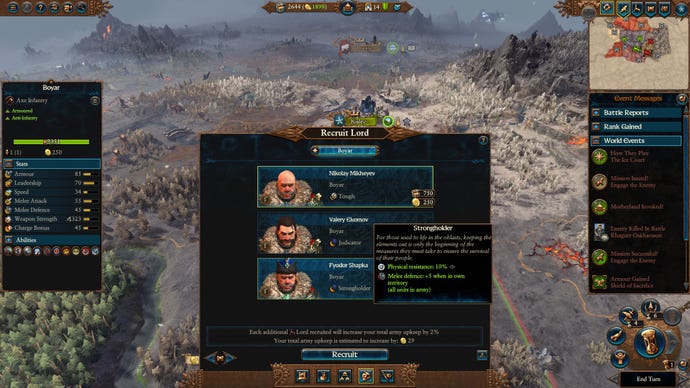
First, click on the crown in the bottom right hand corner to bring up the Ice Court menu, and start training a Frost Maiden hero. Heroes are powerful units you’ll want in your armies, and starting this process early is useful. You’ll notice it costs 1200 gold, which seems like a lot, but we start with a large stockpile and there aren’t that many opportunities to spend it in the early turns.
Image credit:Creative Assembly
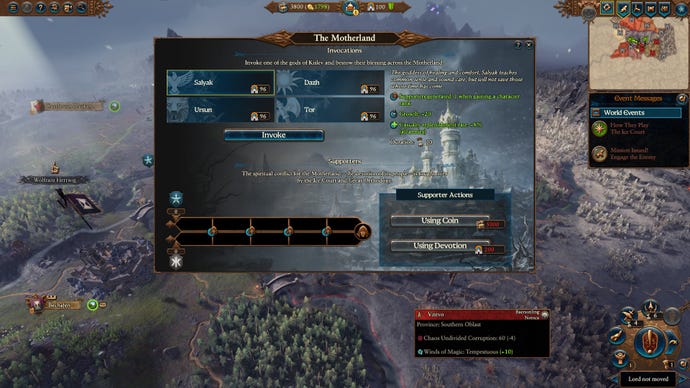
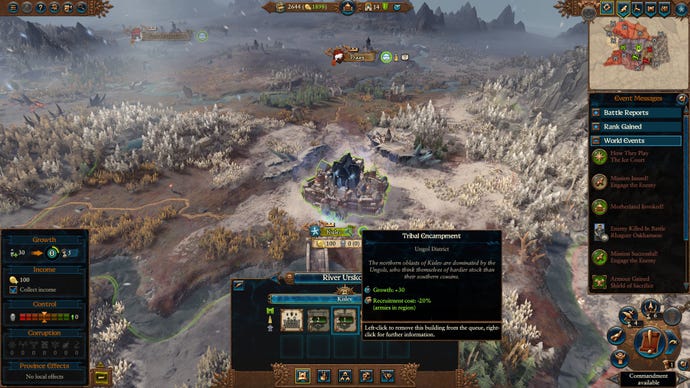
Next, click on the palace icon on the top middle on the screen to bring up The Motherland menu, and pick whichever of the four options you like the sound of. I like ‘Salyak’ because of the growth and replenishment, but it’s up to you. The other bonus here is a resource called ‘supporters’, although they aren’t very relevant until much later in your campaign, so don’t worry too much about them now.
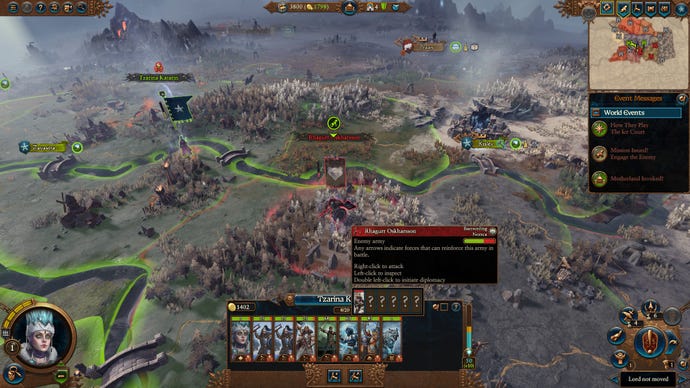
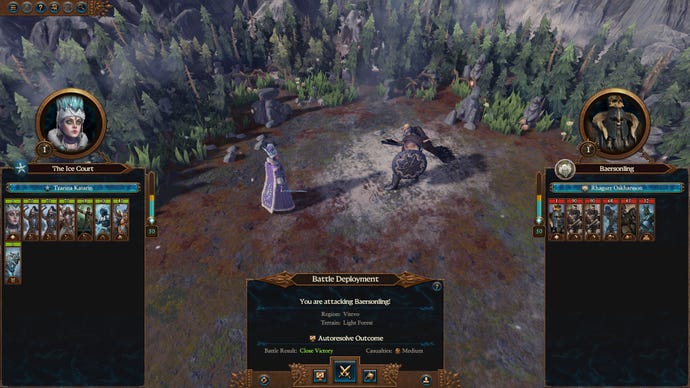
Right, now we’re ready to fight! Right click on the bad dude with the red name, and let’s get into it. |Image credit:Creative Assembly
Before the battle starts, you’ll see three options at the bottom of the screen. Autoresolve, fight, and retreat. Fight does what you’d expect. Retreat cancels the fight. and Katarin will move away from the army on the campaign map. Autoresolve calculates the battle results for you in a few seconds, and will give you a result close to the one specified after ‘Battle Result:’. A ‘close victory’ means we’ll win but take quite a few losses. We don’t want that. Also, you paid for fighting, not mathing. Click the middle button with the crossed swords.
Image credit:Creative Assembly
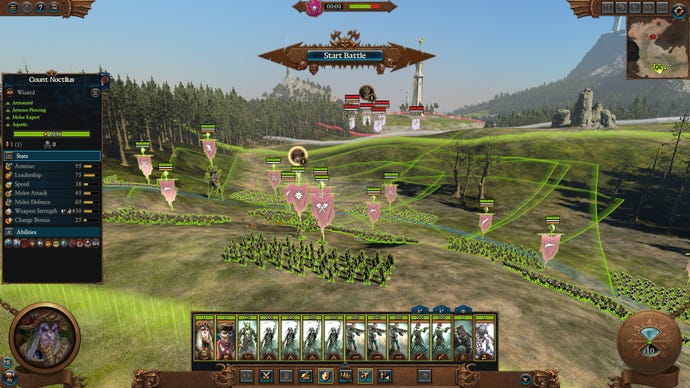
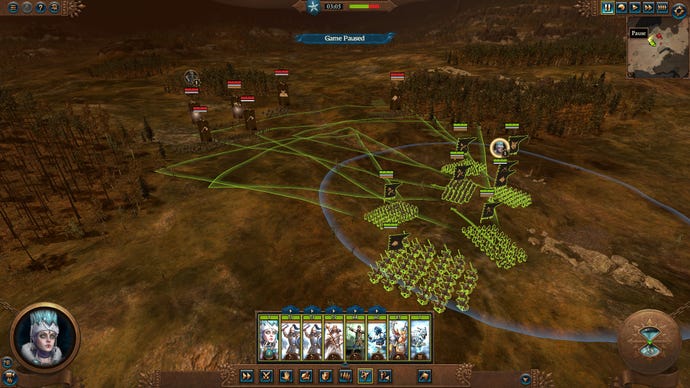
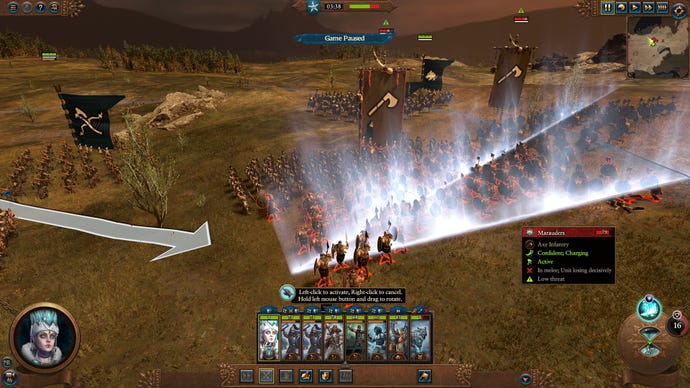
Before the battle starts, you can do two things. First, you can gamble your available magic points for a chance at a few more. Secondly, you’ll be able to organise your army. The very basic idea here is this: melee troops at the front, ranged troops at the back, calvary or fast moving units on the flanks. As for your lord, it depends. Katarin is a spellcaster, so we’re going to keep her away from the frontline for now.
As an additional tip, remember to keep some space between your units rather than making solid, unbroken battle lines. This has a number of advantages, like letting you cover more space, making certain spells less effective, and giving your ranged units more manoeuvrability and better lines of sight. When you’re ready, start the battle.
A lot of Kislev’s units are hybrids. The very simple explanation here is that their ranged units do better in melee that many others, and their melee frontline units have guns. Fun! |Image credit:Creative Assembly
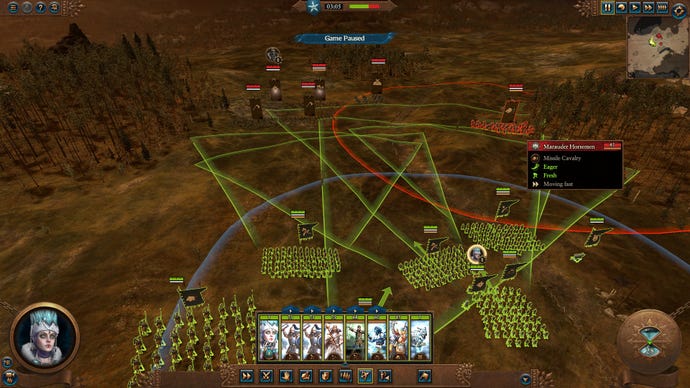
The enemy have decided to stay still, since I have the range advantage. That’s fine. I drag a box around my whole army to select them, then hold alt+shift to keep formation, and move them up the field. Then, I click the speed button at the bottom to make sure they aren’t running. This will cause fatigue, and they’ll fight worse. If you find watching the army march across the field gets a bit too slow for you, you can speed things up in the top right corner. But do make sure to go back to normal speed, or even pause, when the action starts.
When the enemy army are just in range of my cones, I stop. You’d usually want to wait until they’re a bit closer to start firing, since missiles lose some effectiveness at maximum range, but this battle won’t last long enough to need to worry about running out of ammunition.
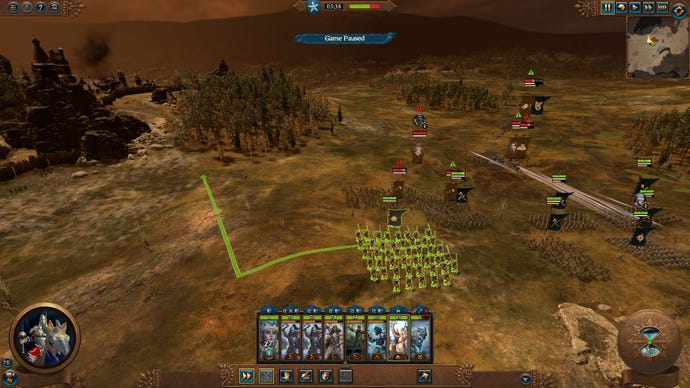
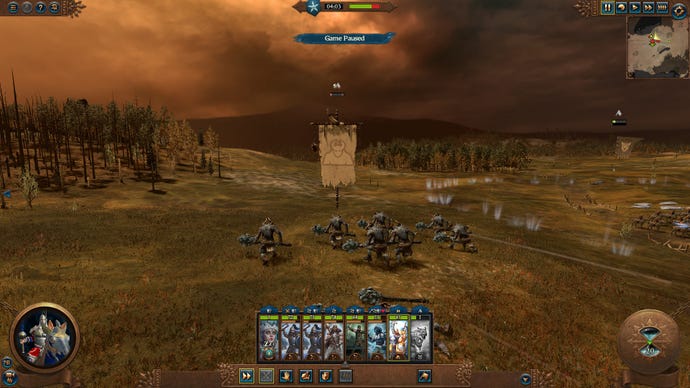
They’ve send some ranged cavalry to harass our right flank, so I’m going to send my big snow cat to chew them up, or at least deter them, making sure to retreat before the bulk of the army closes in and surrounds it. |Image credit:Creative Assembly
I’m also going to use Katarin’s Ice Sheet spell, slowing down the approaching army and hopefully letting us get a few more shots off. As they close in, I have my ranged units focus fire on the ice trolls, since that’s their most dangerous unit.
Image credit:Creative Assembly
In my haste, I’ve waited too long to set up my calvary, so I hold shift to set a movement path. This will pull them out of danger, and set them up for a rear-charge in a little while.
Image credit:Creative Assembly
As the enemy clumps up, I use Katarin’s other spell to deal some damage. You’ll need to set the direction on the spell cone yourself. Make it count!
Image credit:Creative Assembly
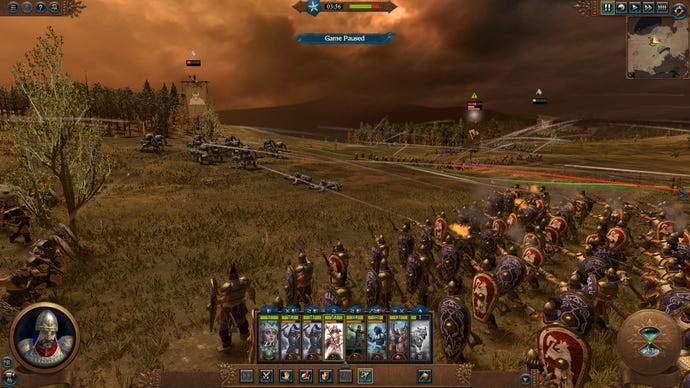
Image credit:Creative Assembly
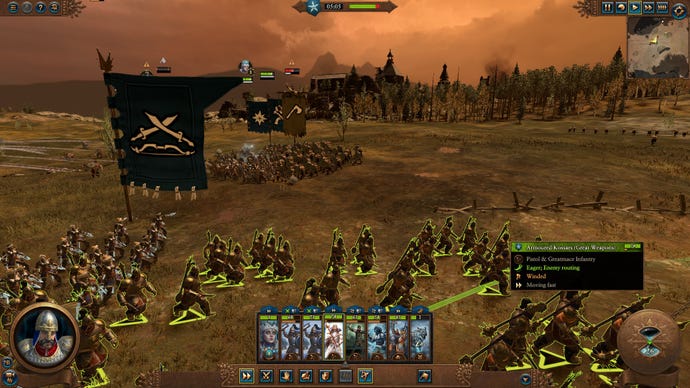
Ah, the bullets did their job! You’ll notice a skull above the troll’s banner. That means they won’t come back, and we don’t have to worry about them any more. I use my horses to sweep their back lines instead, wiping out their ranged units and chasing down any stragglers. Remember - the more enemy models you kill, the more gold and experience you’ll gain from the fight.
Image credit:Creative Assembly
I bring my archers around the side of this enemy unit to help my melee lads out. And soon, the entire army breaks and runs off. We’ve won!
Image credit:Creative Assembly
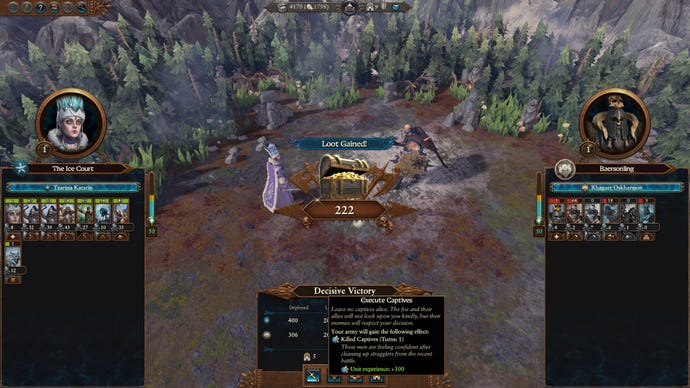
After battle, we’ve got a few different options to choose from. I grab the replenishment to apologise to my neglected cat. I am so sorry, my cold friend.
Image credit:Creative Assembly
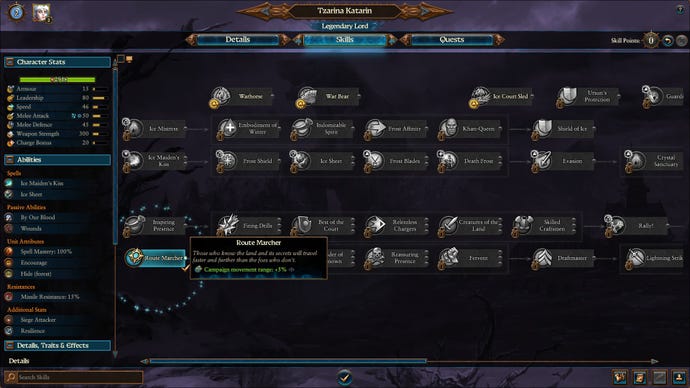
After battle, Katarin’s got enough experience to gain a skill point. ‘Route marcher’ is the mandatory first pick in almost all situations, so grab that first.
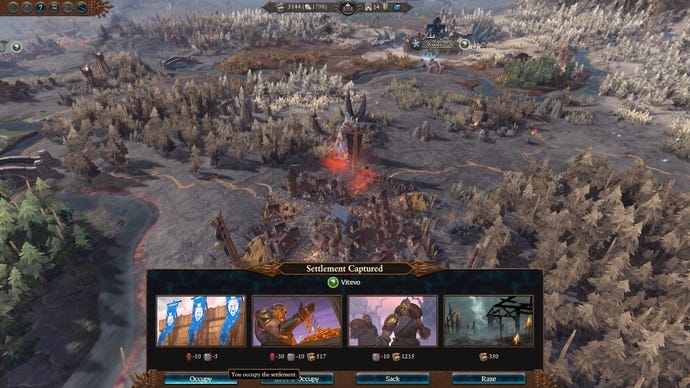
Next up, you’ll attack the nearest enemy settlement. You can either auto resolve this or fight the battle, although I’d recommend getting the practise in. We plan on keeping this settlement, so occupy it. With settlements you might not want to keep later, you can sack them first. This will give you a nice cash bonus but make the actual settlement less useful to own
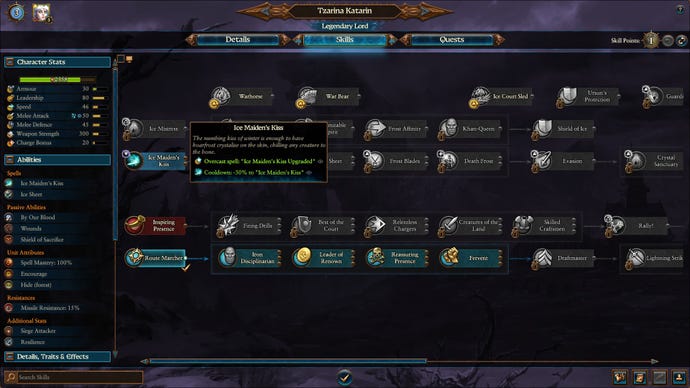
We get another skill point, so lets put it into Katarin’s magic skill tree. Spells can really turn the tide of battle, so having a powerful caster is a great way to make an average army perform much better than normal. You’ll also notice we got some swanky magic armour. This will equip on to Katarin automatically, but you can give it to another lord or hero later.
Image credit:Creative Assembly
There’s two more things we need to do before hitting the end turn button. First, you’ll notice a notification in the bottom right corner that you have a ‘commandment available’. This means you own an entire province, and can set a bonus for that province. Usually, a province consists of multiple individual settlements, but the city of Kislev itself also counts as an entire province.
Choose ‘Purge the Steppes’, which gives the province a bonus to public order. This prevents rebellions, but more immediately, the higher your control, the bigger bonus to growth you get. Alongside the growth bonus buildings we built, plus the special Motherland edict,plusthe research, we’re stockpiling growth very fast. This gives us a huge headstart.
Image credit:Creative Assembly
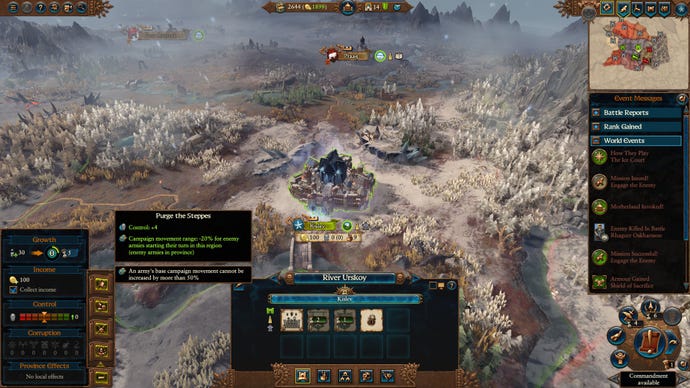
Image credit:Creative Assembly
And that’s it! That’s our first turn sorted. Apply these tips going forward, plus the more general tips below, and you’ll be well on your way to being an unstoppable force in the Warhammer world!
