HomeGuidesInfinity Nikki
All 67 Florawish Whimstars in Infinity NikkiHow to find and solve every Whimstar in Florawish!
How to find and solve every Whimstar in Florawish!
Image credit:Rock Paper Shotgun/Papergames
Image credit:Rock Paper Shotgun/Papergames
Looking to collect all the Florawish Whimstars in Infinity Nikki?Florawish is the second major region you’ll encounter inInfinity Nikki, home to the Stylist’s Guild, the Dream Warehouse, and a grand total of67 Whimstarsto locate.
Whimstars are very important in Infinity Nikki, because they are used to unlock more ability nodes in the Infinity Heart, which is essentially the game’s skill system. Without Whimstars, you can’t unlock new ability outfits or key clothing items. So it’s well worth spending the time to track down every last Whimstar in Florawish while you’re there.
Below we’ll show you exactlywhere to find all 67 Florawish Whimstars in Infinity Nikki. You can use our handyFlorawish Whimstar mapto track down all the Whimstars yourself, and if you get stuck on any particular Whimstar, keep scrolling below, because we have detailed write-ups on how to find and solve each Florawish Whimstar puzzle!
To see this content please enable targeting cookies.Manage cookie settings
To see this content please enable targeting cookies.Manage cookie settings
Note:Looking for Whimstars in a different region? Find them all in our mainWhimstar locations guide!
All 67 Infinity Nikki Florawish Whimstars
Click here to view this Florawish map at full resolution!|Image credit:Rock Paper Shotgun/Papergames
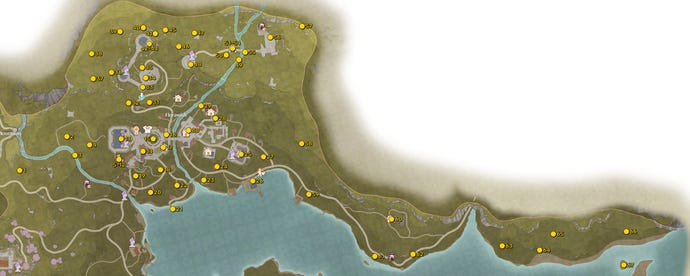
Skip ahead to a specific Whimstar:
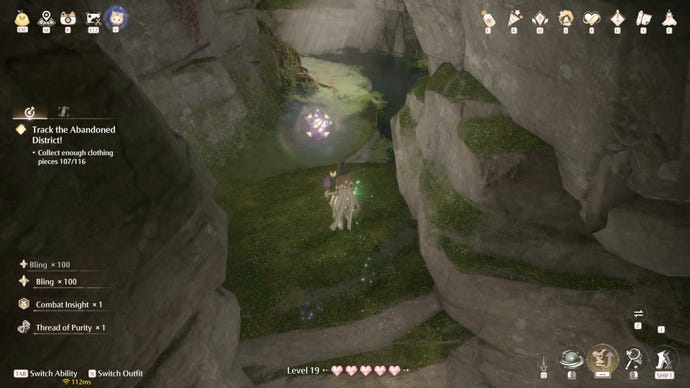
Whimstar 1: Riverside Cavern
Image credit:Rock Paper Shotgun/Papergames
Whimstar 2: Riverside Path
Image credit:Rock Paper Shotgun/Papergames
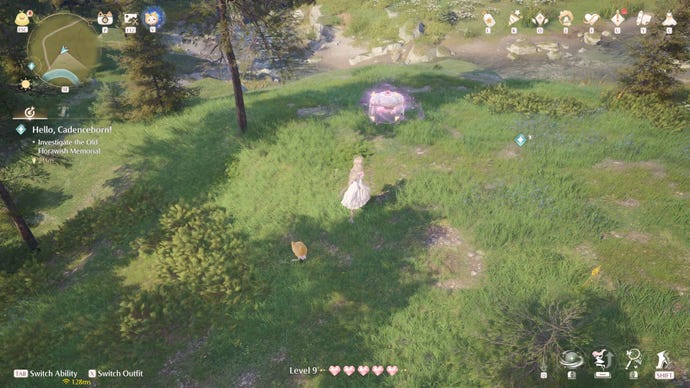
This Whimstar is found inside a combat chest on the river bank near the Memorial Mountains border. Open it and defeat the Esselings for the Whimstar.
Whimstar 3: River Fishing Spot
Image credit:Rock Paper Shotgun/Papergames
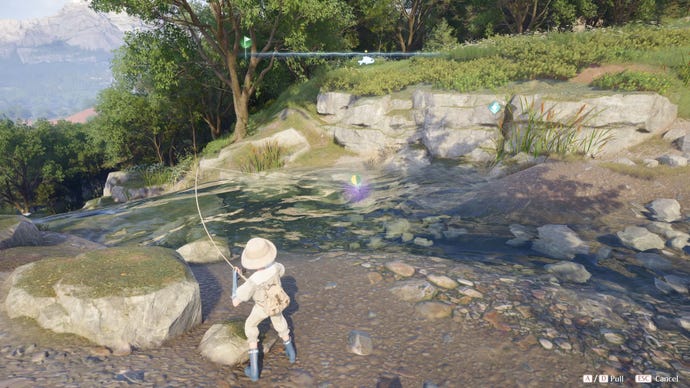
Very near the previous Whimstar is a fishing spot with a colourful Whimfish. Fish until you catch it for the third Florawish Whimstar!
Note: unlock the Fishing Outfit in Chapter 1’s main story quest: “Unexplained Coma Incidents”.
Whimstar 4: Stylist’s Guild Hilltop
Image credit:Rock Paper Shotgun/Papergames
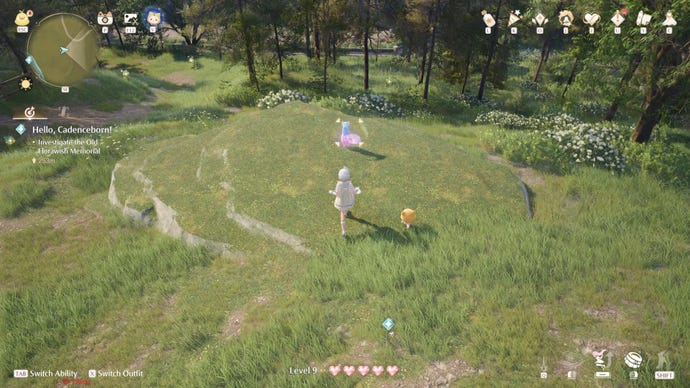
West of the Stylist’s Guild is a WhimstarFerretin a clearing. Groom it to gain the fourth Whimstar.
Note: unlock the Animal Grooming Outfit in Chapter 1’s main story quest: “Land Of Wishes”.
Whimstars 5-12: Stray Hatty
Image credit:Rock Paper Shotgun/Papergames
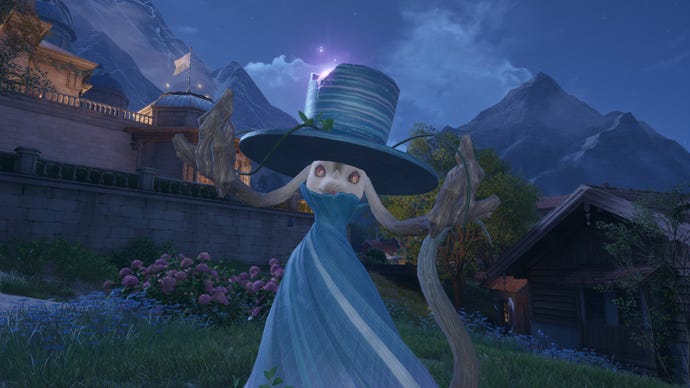
That is one greedy hat.
Whimstar 13: Stylist’s Guild Rooftop
Image credit:Rock Paper Shotgun/Papergames
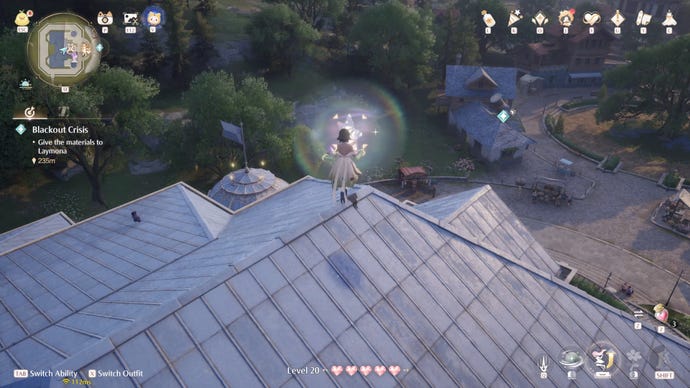
Whimstar 13 is atop the roof of the Stylist’s Guild. You can get onto the roof using the parasols on the tables around the back of the building.
Whimstar 14: Rooftop Near Wishing Tree
Image credit:Rock Paper Shotgun/Papergames
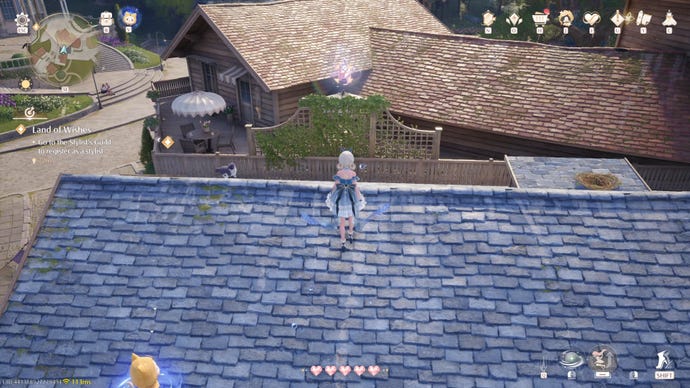
Whimstar 15: Wishing Tree (Main Quest)
Image credit:Rock Paper Shotgun/Papergames
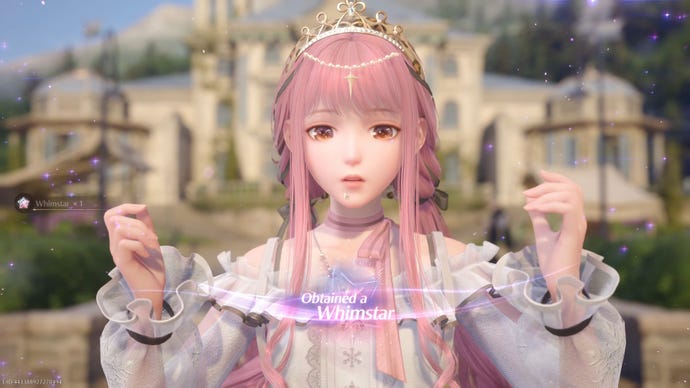
You gain this Whimstar automatically as part of Chapter 1’s main story quest: “Land Of Wishes”, when Nikki makes her wish at the Wishing Tree.
Whimstar 16: Wishing Tree Hidden Star
Image credit:Rock Paper Shotgun/Papergames
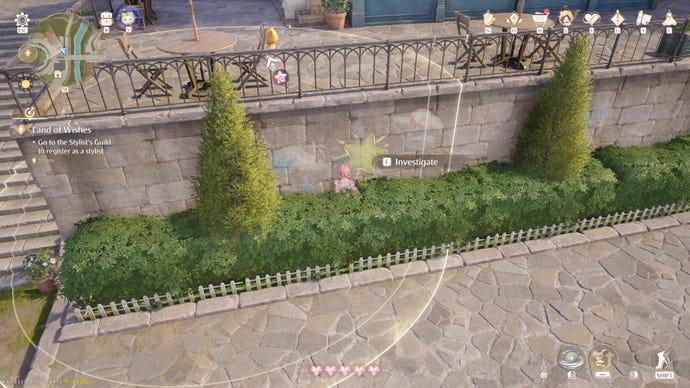
Whimstar 17: Floating Above Bibcoon’s Chuckle Club
Image credit:Rock Paper Shotgun/Papergames
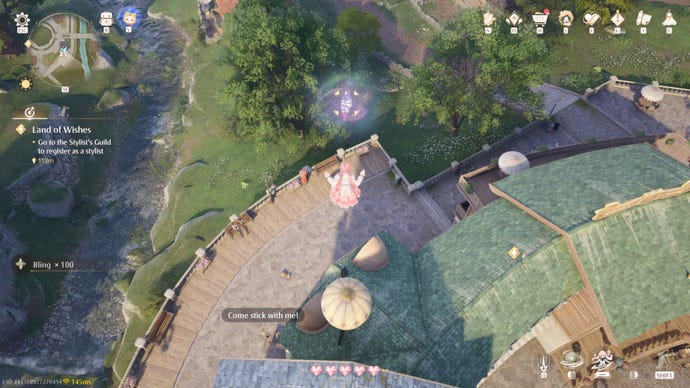
Whimstar 18: House South Of Wishing Tree
Image credit:Rock Paper Shotgun/Papergames
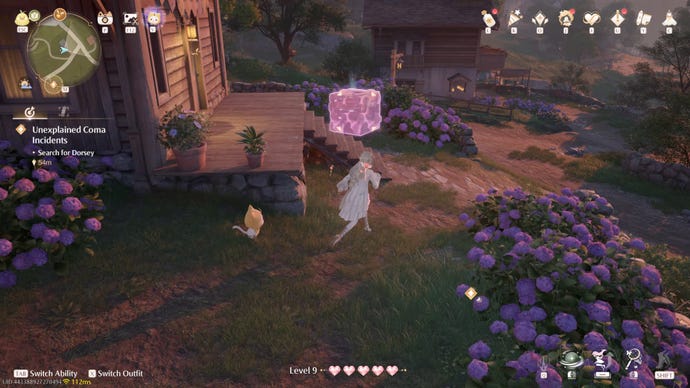
Whimstar 19: Florawish Lane Greenhouse
Image credit:Rock Paper Shotgun/Papergames
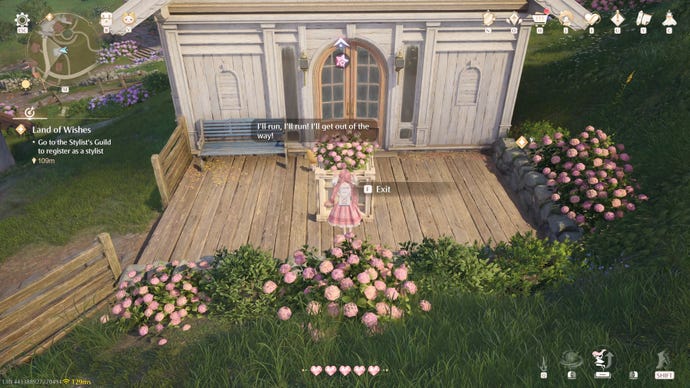
The 19th Florawish Whimstar is inside the greenhouse on Florawish Lane, south of the Wishing Tree. Go to the entrance of the greenhouse and interact with the box blocking the entrance to move it out of the way. Then you can enter the greenhouse and collect the Whimstar.
Whimstar 20: Florawish Lane Hidden Star
Image credit:Rock Paper Shotgun/Papergames
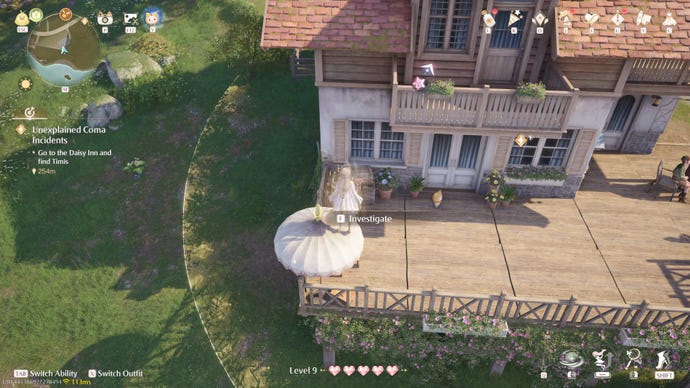
This tricky Whimstar is another “find the hidden star” puzzle. Collect the Whimstar on the roof of the house, and then you’ll find the star on the top of the parasol on top of the little table on the house porch.
Whimstar 21: Florawish Lane Fishing Spot
Image credit:Rock Paper Shotgun/Papergames
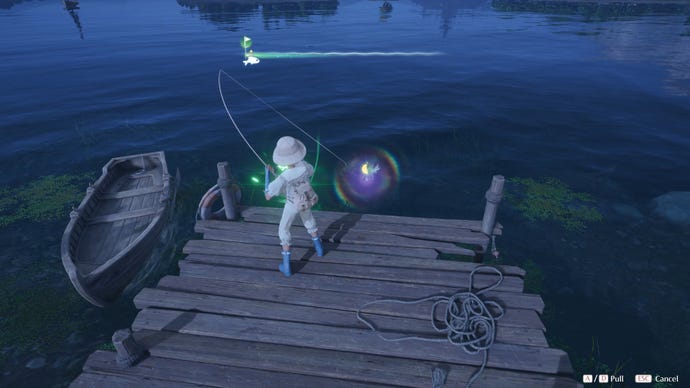
On the south coast is a little fishing hut, and next to the pier is a fishing spot where you can catch a Whimfish that gives you the 21st Whimstar.
Whimstar 22: Florawish Lane Curio Domain
Image credit:Rock Paper Shotgun/Papergames
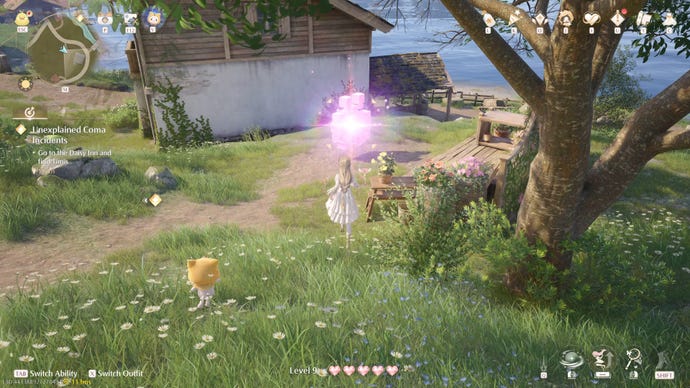
Whimstar 23: Seaside House Hidden Star
Image credit:Rock Paper Shotgun/Papergames
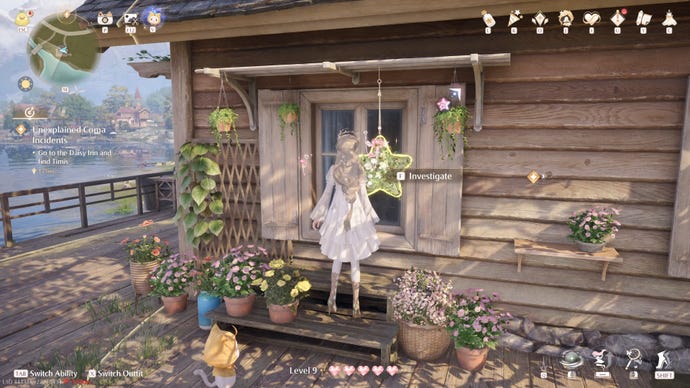
On the other side of the bridge across the river is another little seaside cottage. Jump onto the roof to activate another hidden star puzzle. This star can be found as a hanging plant ornament in front of the east-facing window.
Whimstar 24: Elegance Of Daisies Shop
Image credit:Rock Paper Shotgun/Papergames
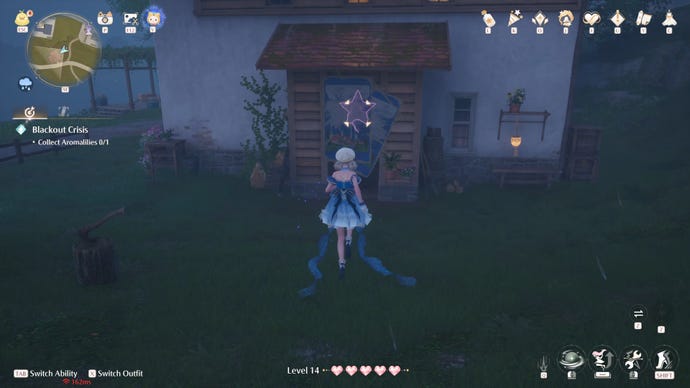
The 24th Whimstar is found inside a side-passage of the Elegance Of Daisies shop. Head to the east side of the building and attack the posters pasted across the doorway. They’ll be brushed aside to reveal the hiding Whimstar.
Whimstar 25: Florawish Dock
Image credit:Rock Paper Shotgun/Papergames
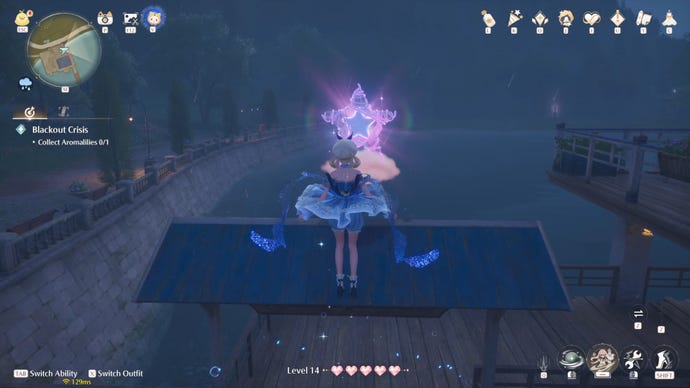
Whimstar 25 is found at Florawish Dock, south of the Mayor’s house. Collect the star above the arch to start a “cloud challenge”, where you must use the floating cloud to collect all the stars before the time runs out. Finish the challenge to earn the Whimstar.
Whimstar 26: Mayor’s Residence
Image credit:Rock Paper Shotgun/Papergames
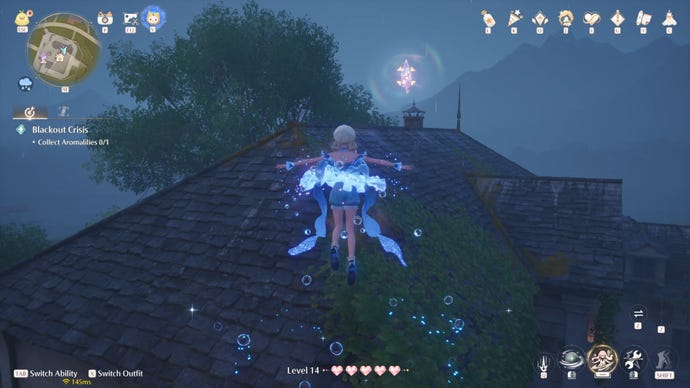
This Whimstar is located on the roof of the Mayor’s Residence. Simply use a parasol to jump onto the ledges on the walls, and from there jump onto the roof to collect the Whimstar.
Whimstar 27: Cottage Hidden Star
Image credit:Rock Paper Shotgun/Papergames
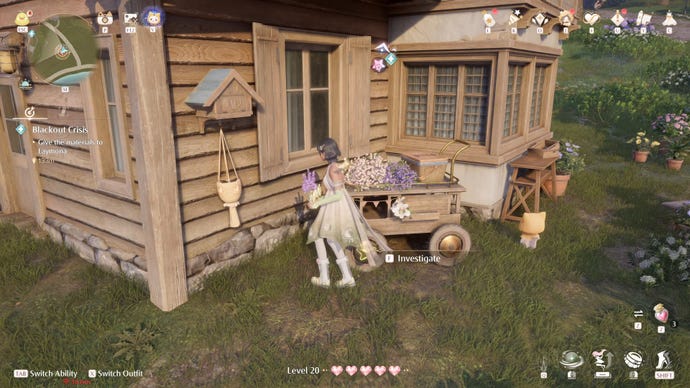
Glide onto the roof of the cottage east of the Mayor’s Residence and collect the star to start another “hidden star” puzzle. This hidden star is found on one of the wheels of the little wagon right next to the house.
Whimstar 28: Daisy Inn Hidden Star
Image credit:Rock Paper Shotgun/Papergames
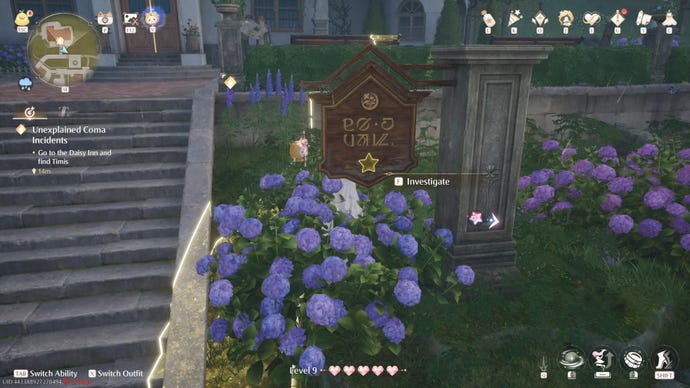
Whimstar 29: Daisy Inn Riverside
Image credit:Rock Paper Shotgun/Papergames
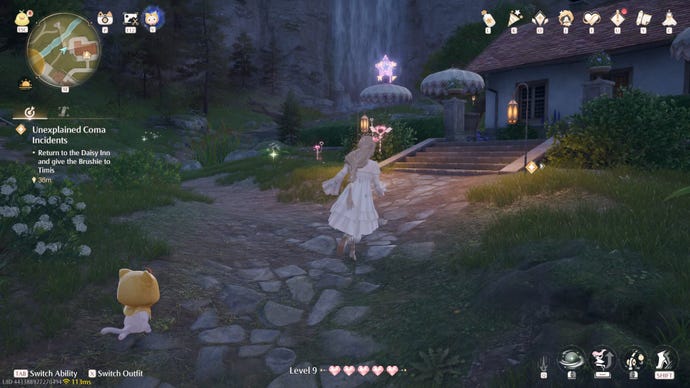
Head to the west side of Daisy Inn, near the river. The Whimstar is floating above a parasol on a table. Collect it to begin a time-trial to collect all the stars within the time limit.
Whimstar 30: Ray And Wing’s
Image credit:Rock Paper Shotgun/Papergames
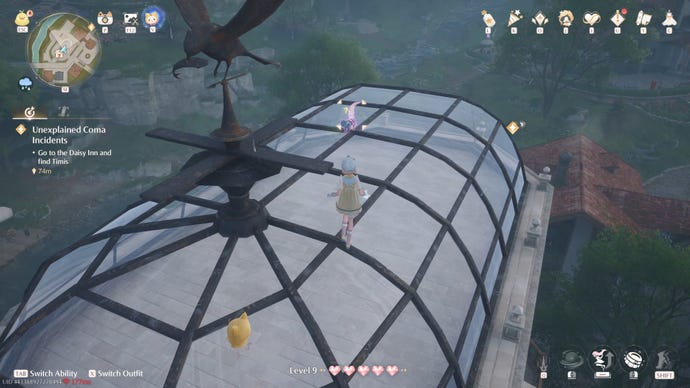
This Whimstar is found on the glass roof of Ray And Wing’s in town. Use the various platforms all over the building to reach the top. Once you’re there, equip your Animal Grooming Outfit and groom the animal on the roof to gain the Whimstar.
Whimstar 31: Near Nonoy’s Home
Image credit:Rock Paper Shotgun/Papergames
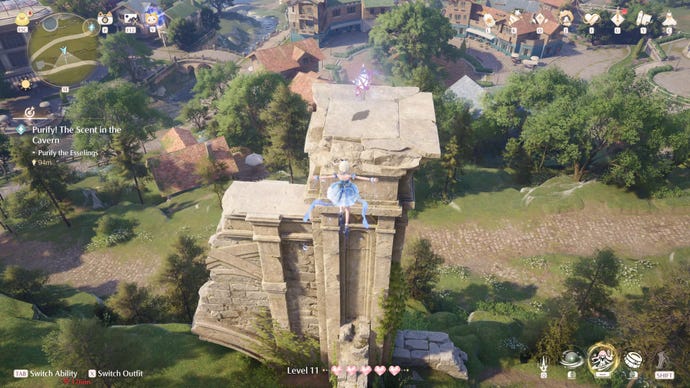
On the right-hand side of the path leading west from Nonoy’s Home, there’s a ruined pillar with a bounce pad at its base. Use the pad to reach the top of the pillar where Whimstar 31 is waiting for you.
Whimstar 32: Bug South Of Dream Warehouse
Image credit:Rock Paper Shotgun/Papergames
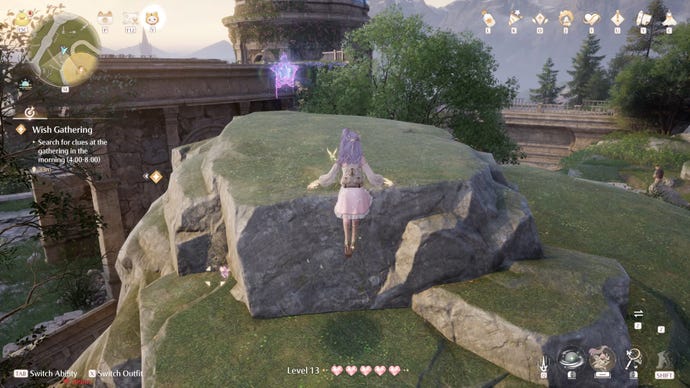
Note: unlock the Bug Catching Outfit in Chapter 1’s main story quest: “Accident At The Clothing Store”.
Whimstar 33: Dream Warehouse Rooftop
Image credit:Rock Paper Shotgun/Papergames
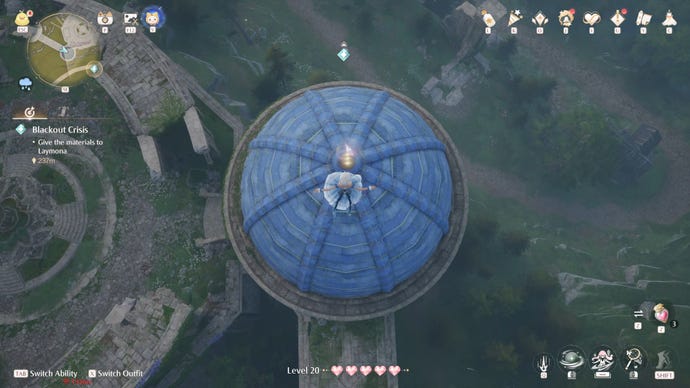
Whimstar 34: Dream Warehouse Lower Floor
Image credit:Rock Paper Shotgun/Papergames
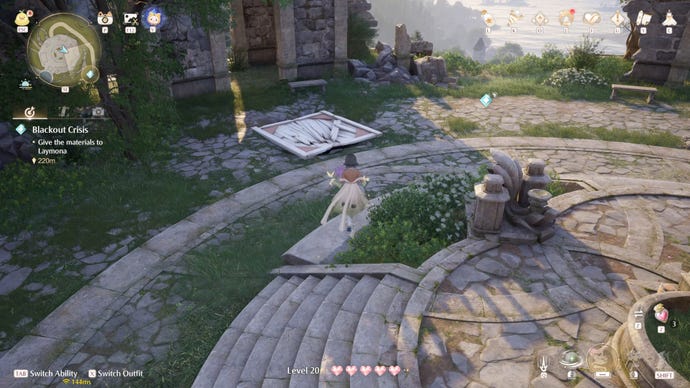
This Whimstar is inside a hidden lower interior area of the Dream Warehouse. Go to the central fountain area of the Dream Warehouse, and you’ll see a patch of breakable floor. Ground-slam it to drop into the hidden area, then use the bookshelves to reach the Whimstar on top of the highest ledge.
After you’ve collected the Whimstar you can pull the lever next to it to exit the hidden interior of the Dream Warehouse.
Whimstar 35: Dream Warehouse Ruins
Image credit:Rock Paper Shotgun/Papergames
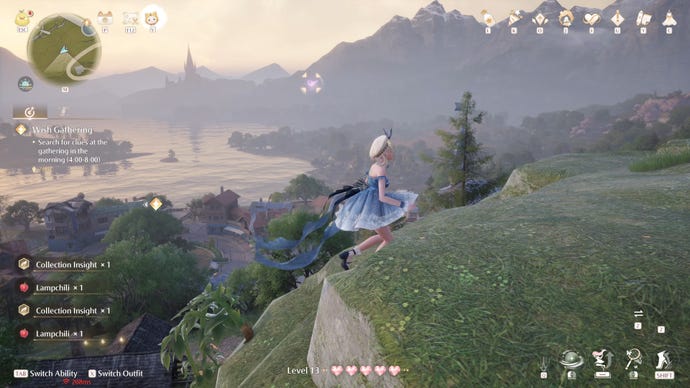
Whimstar 35 can be found on top of a hill overlooking the central fountain area of the Dream Warehouse. Collect it to start a “collect the stars” time-trial across the ruined platforms in front of you.
Whimstar 36: Dream Warehouse West Pillars
Image credit:Rock Paper Shotgun/Papergames
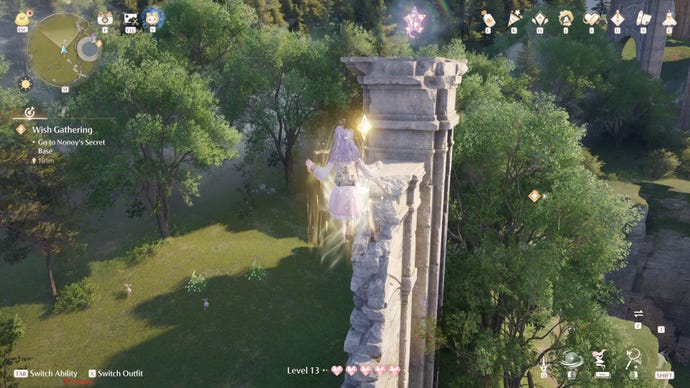
The 36th Whimstar in Florawish is found atop the tallest of the pillars on your left as you spawn at the Dream Warehouse Tower Warp Spire. Use the lower pillars to reach the taller one.
Whimstar 37: Guarded Ruins On Hilltop
Image credit:Rock Paper Shotgun/Papergames
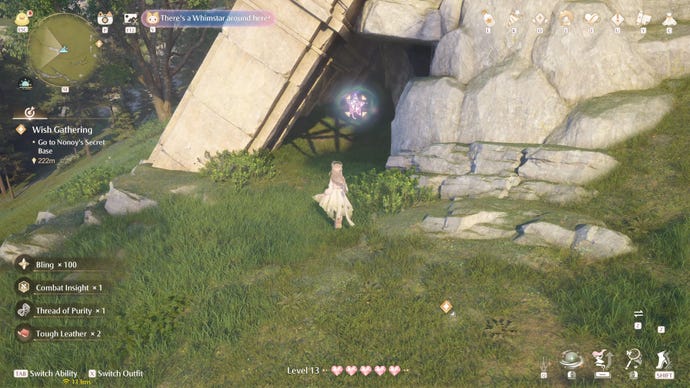
Whimstar 38: Floating Above Dream Warehouse Hill
Image credit:Rock Paper Shotgun/Papergames
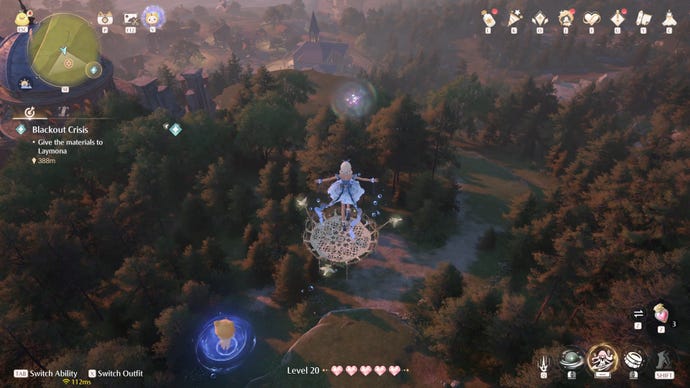
Near the northwest edge of Florawish, on the hill overlooking the Dream Warehouse, there’s a group of Esselings defending a bounce pad. Kill the Esselings and use the bounce pad to reach the other bounce pads in the air, which will lead you to the 38th Whimstar.
Whimstar 39: Floating Northwest Of Dream Warehouse
Image credit:Rock Paper Shotgun/Papergames
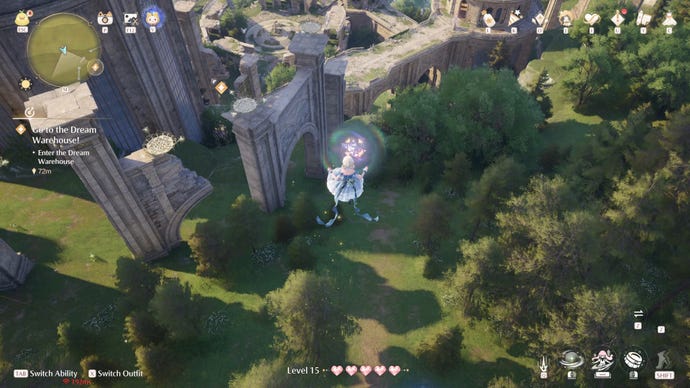
Whimstar 40: Dream Warehouse North Pillars
Image credit:Rock Paper Shotgun/Papergames
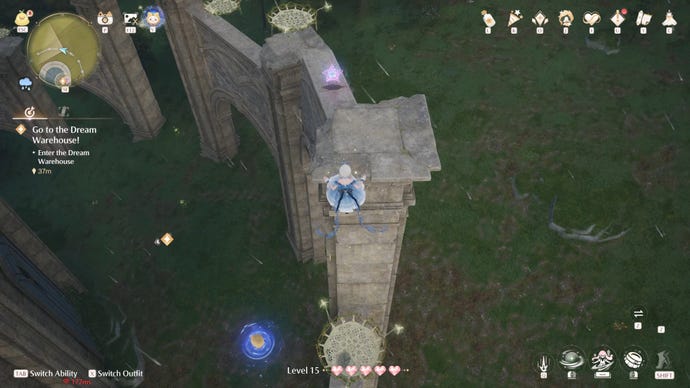
This Whimstar can be found atop the circle of ruined pillars around the northmost Dream Warehouse tower. From the Dream Warehouse Rooftop Warp Spire, turn around and jump to the nearest pillar on your left, then keep going around to find the Whimstar.
Whimstar 41: Dream Warehouse East Pillars
Image credit:Rock Paper Shotgun/Papergames
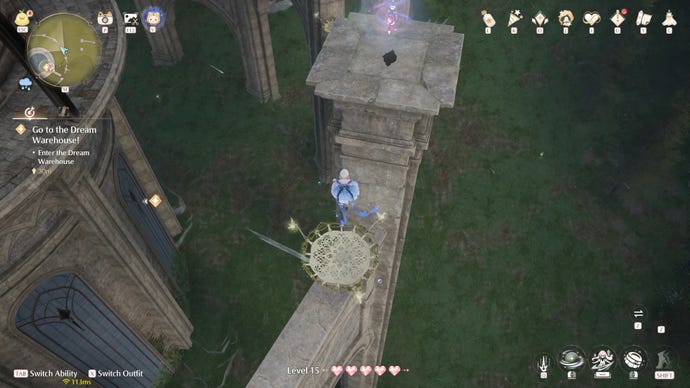
Whimstar 41 is found along the way to Whimstar 40, atop another section of the ruined circle of pillars around the Dream Warehouse north tower rooftop.
Whimstar 42: Dream Warehouse Interior 1
Image credit:Rock Paper Shotgun/Papergames
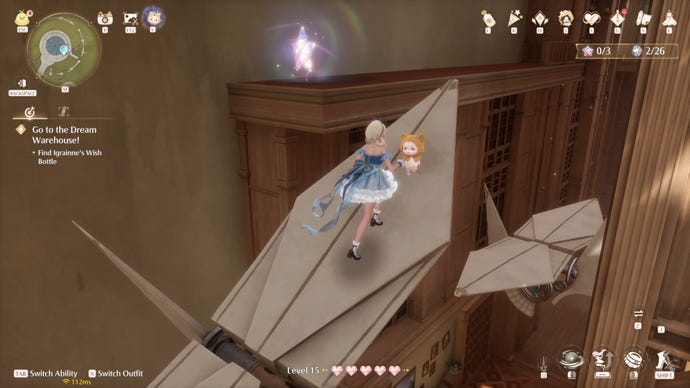
This Whimstar is the first of three Whimstars found inside the Dream Warehouse itself, which is accessible from the Dream Warehouse Rooftop Warp Spire. In the first room, use the cranes to reach the far exit of the room, but then turn around and jump onto the platform below.
From there you can jump onto the next couple of cranes and onto the top platform where the Whimstar can be found.
Whimstar 43: Dream Warehouse Interior 2
Image credit:Rock Paper Shotgun/Papergames
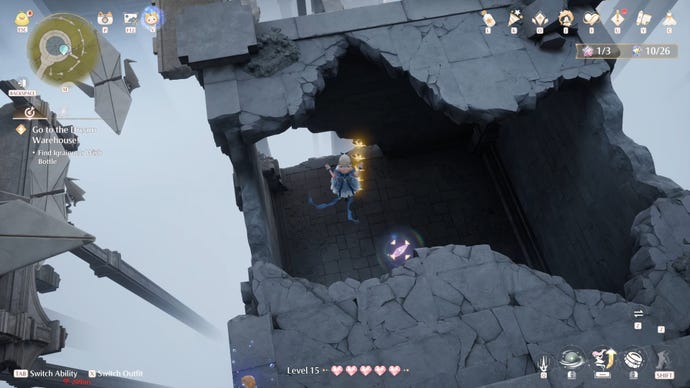
This Whimstar is found in the “Reception Room Back Window” section of the Dream Warehouse. Take the elevator in front of you to the section to your right, then use the next elevator on the right to get enough height to jump onto the high-up crane in front of the big ruined structure in front of you. From there jump onto the roof, and then drop down one floor to reach the Whimstar.
Whimstar 44: Dream Warehouse Interior 3
Image credit:Rock Paper Shotgun/Papergames
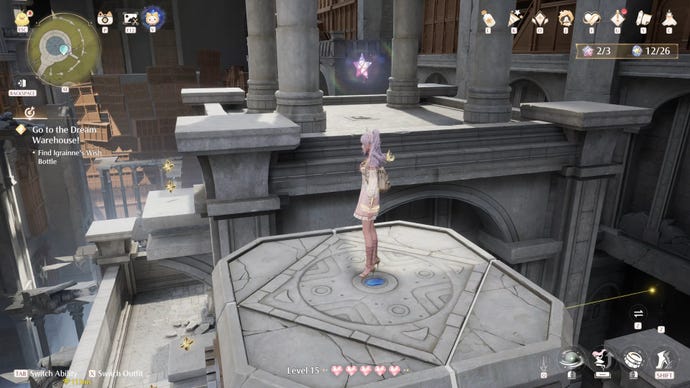
Whimstar 45: Dream Warehouse Curio Domain
Image credit:Rock Paper Shotgun/Papergames
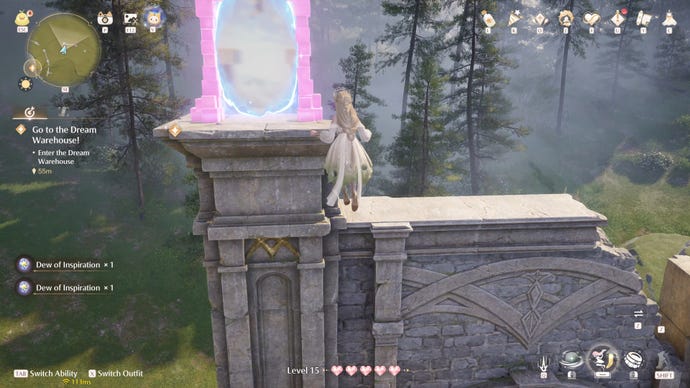
Whimstar 46: Warehouse Cavern
Image credit:Rock Paper Shotgun/Papergames
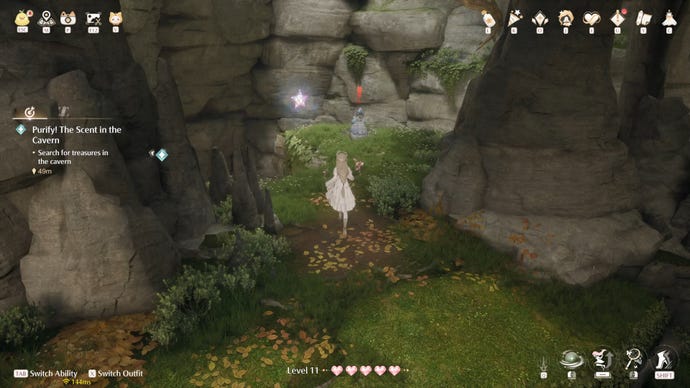
Whimstar 47: Ruins North Of Secret Base
Image credit:Rock Paper Shotgun/Papergames
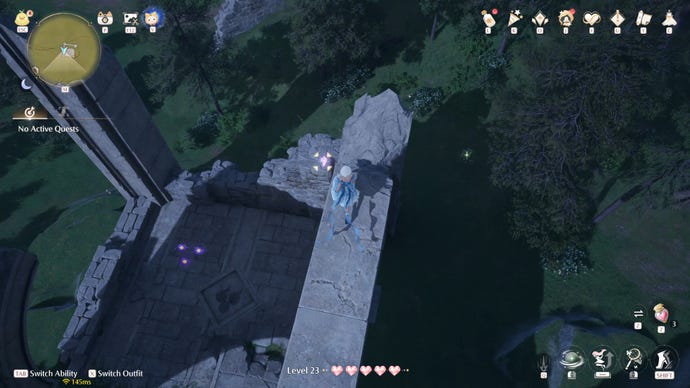
Whimstar 48: Secret Base
Image credit:Rock Paper Shotgun/Papergames
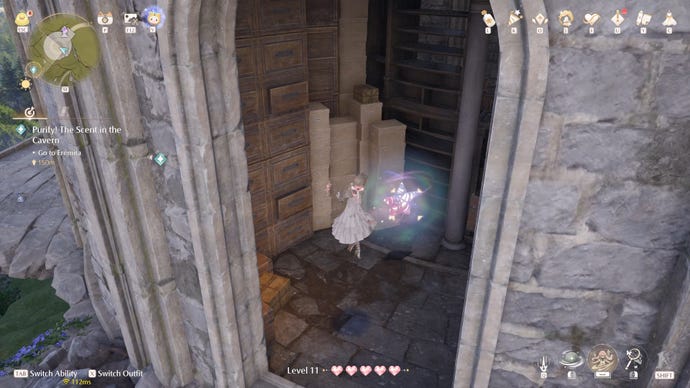
This Whimstar is found in the upper levels of Nonoy’s Secret Base east of the Dream Warehouse. Climb the stairs inside the base, then go onto the balcony, turn left, and jump across to the neighbouring platform. From there you can jump through the gap in the wall to reach the Whimstar.
Whimstar 49: Well Of Fortune Curio Domain
Image credit:Rock Paper Shotgun/Papergames
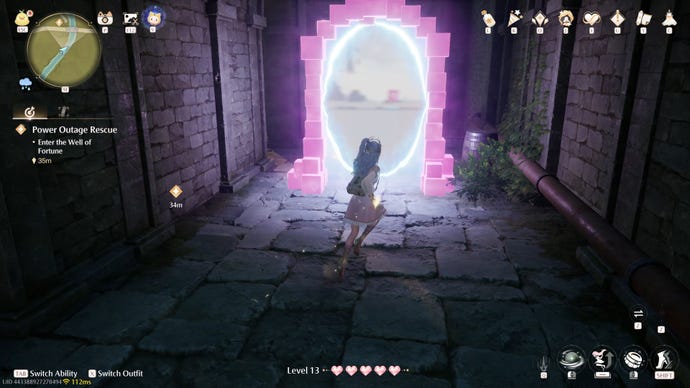
Whimstar 49 is found near the entrance to the Well Of Fortune, behind the waterfall. Inside the cave, turn right and use the ledges to jump onto the platform with the Curio Domain challenge portal.
The aim of this challenge is to jump once atop each of the cubes in order to reach the end. Jumping off, or jumping twice on the same cube, means you must start again. Start from the near right cube and head left before circling back.
Whimstar 50: Well Of Fortune Entrance
Image credit:Rock Paper Shotgun/Papergames
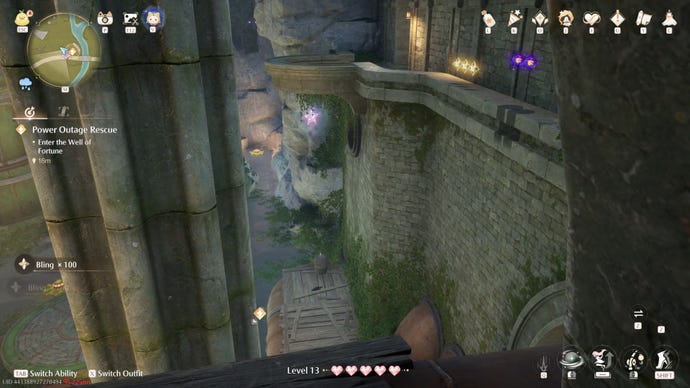
To find this Whimstar, head through the waterfall entrance to the Well Of Fortune, and parkour your way to the end of the first room. Head up the stairs to your left and use the machinery to reach the higher ledge. Once you’re at the top, head through the doorway in front of you and drop down the hole in the balcony to collect the Whimstar.
Whimstar 51: Well Of Fortune Interior 1
Image credit:Rock Paper Shotgun/Papergames
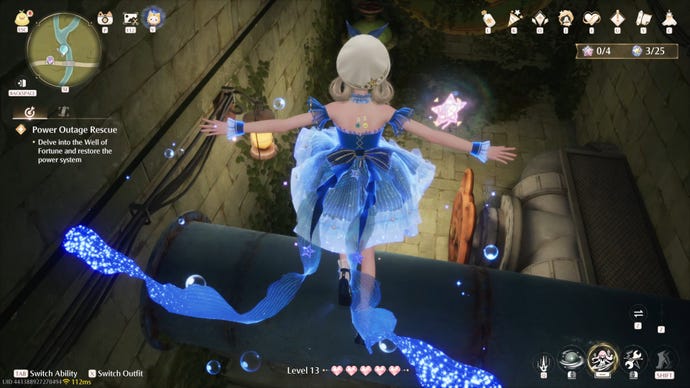
Whimstar 51 is inside the Well Of Fortune. Progress until you reach the “Waterway Begins” checkpoint, then turn left and follow the path up the stairs. Use the bookshelf to reach the higher ledge, then jump over the pipes to get the Whimstar.
Whimstar 52: Well Of Fortune Interior 2
Image credit:Rock Paper Shotgun/Papergames
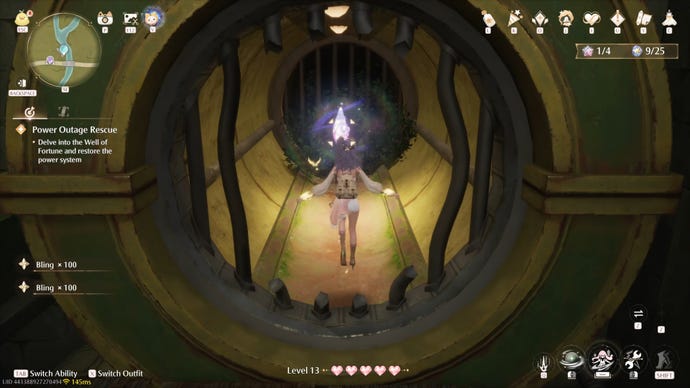
Whimstar 53: Well Of Fortune Interior 3
Image credit:Rock Paper Shotgun/Papergames
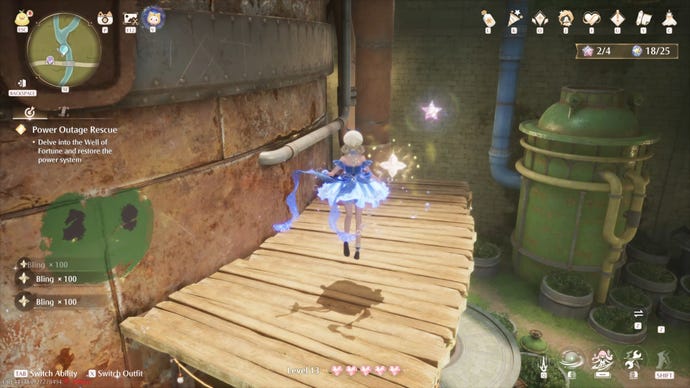
Whimstar 54: Well Of Fortune Interior 4
Image credit:Rock Paper Shotgun/Papergames
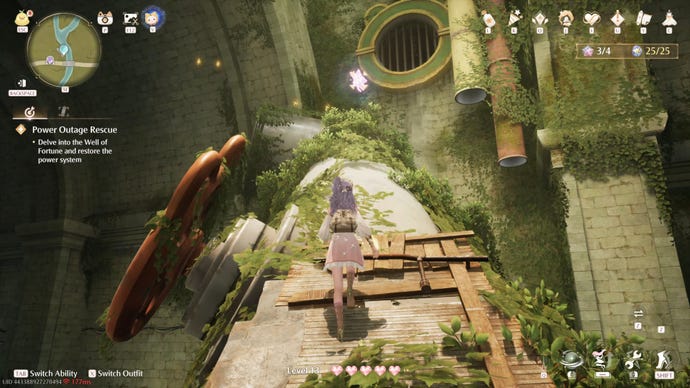
The final of the four Whimstars inside the Well Of Fortune is found in the lilypad boat section at the end of the dungeon. Take the boat partway along until you can jump onto the ledge to your left. Climb up onto the large pipe to collect the Whimstar.
Image credit:Rock Paper Shotgun/Papergames
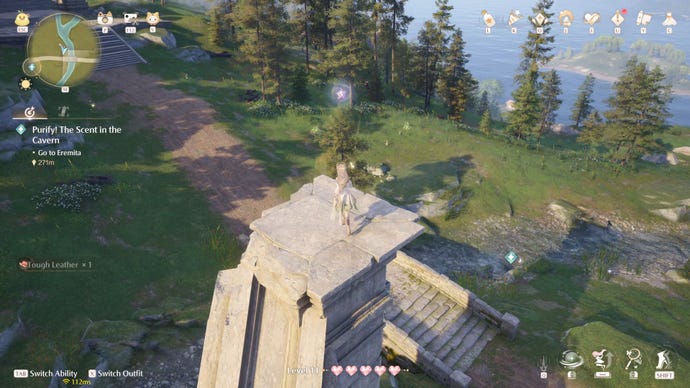
Whimstar 56: Large Northeast Ruins
Image credit:Rock Paper Shotgun/Papergames
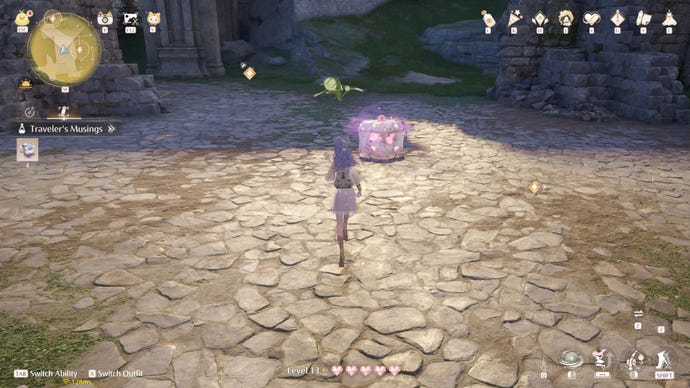
This Whimstar is found inside a combat chest in the middle of the large area of ruins in the north near the Well Of Fortune. Defeat the Esselings that spawn from the chest to win the Whimstar.
Whimstar 57: Relic Hill Cavern
Image credit:Rock Paper Shotgun/Papergames
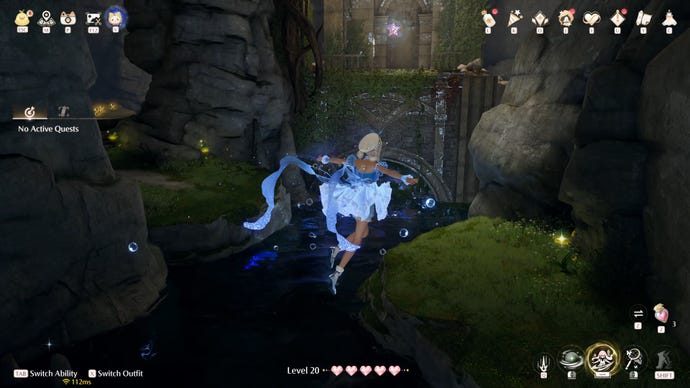
The next Whimstar is found inside Relic Hill Cavern, a cave right in the top-right corner of Florawish. A very short way inside the cave, you can turn left at the start of the river section and follow the platforms up to reach the Whimstar.
Whimstar 58: Stitch Street Hill
Image credit:Rock Paper Shotgun/Papergames
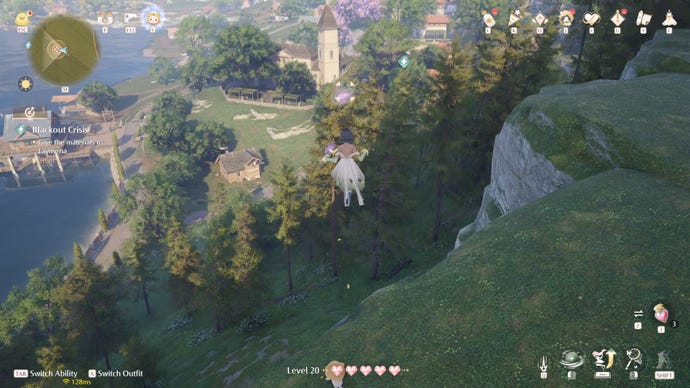
Whimstar 58 can be found in the form of another colourful bug to catch, this time on the hilltop north of Stitch Street. You may need to jump and catch it in midair as it’s floating a short way out from the hill.
Whimstar 59: Stitch Street Path
Image credit:Rock Paper Shotgun/Papergames
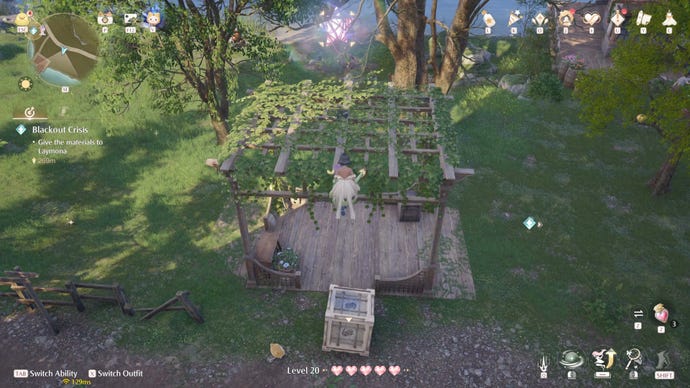
The next Whimstar is located right next to the Stitch Street Warp Spire, atop a small open wooden structure. You can move the crate below it out to the side and use that to reach the Whimstar at the top.
Whimstar 60: Sanctum Of The Observant
Image credit:Rock Paper Shotgun/Papergames
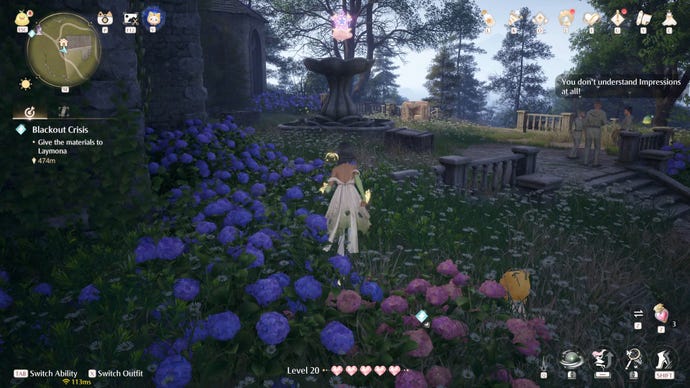
This Whimstar can be found atop a fountain outside theSanctumOf The Observant. Collect it to begin a cloud time-trial to earn the star.
Whimstar 61: Stitch Street Rooftop Bug
Image credit:Rock Paper Shotgun/Papergames
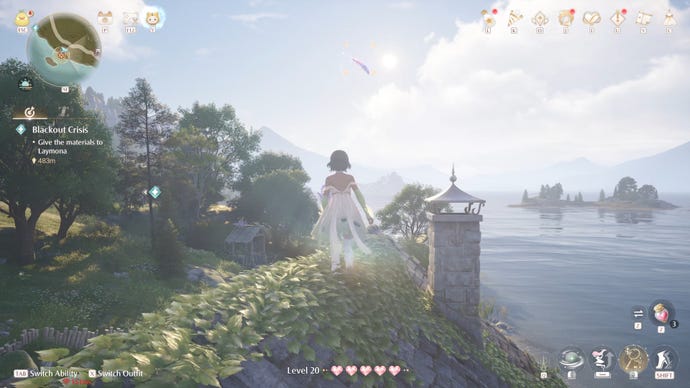
Whimstar 62: Floating Above Stitch Street
Image credit:Rock Paper Shotgun/Papergames
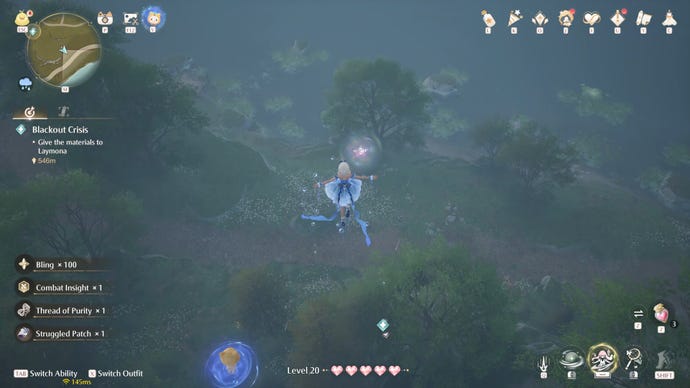
Whimstar 63: Box East Of Wish Pass Office
Image credit:Rock Paper Shotgun/Papergames
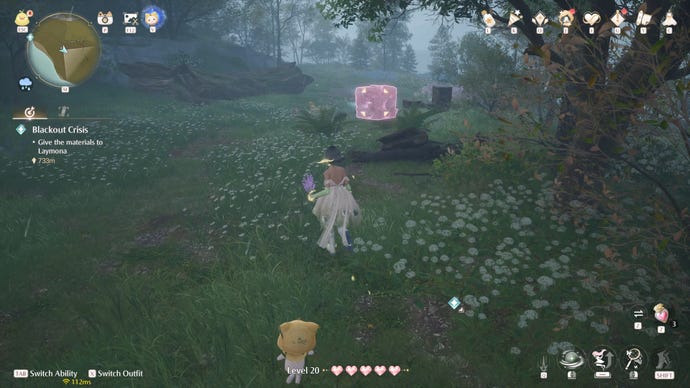
This Whimstar is very easy to find. Cross over to the other side of the water at the Wish Pass Office, and a short distance inland you’ll come across a box. Destroy the box with a ground-pound and catch the Whimstar as it tries to fly away.
Whimstar 64: Chest East Of Wish Pass Office
Image credit:Rock Paper Shotgun/Papergames
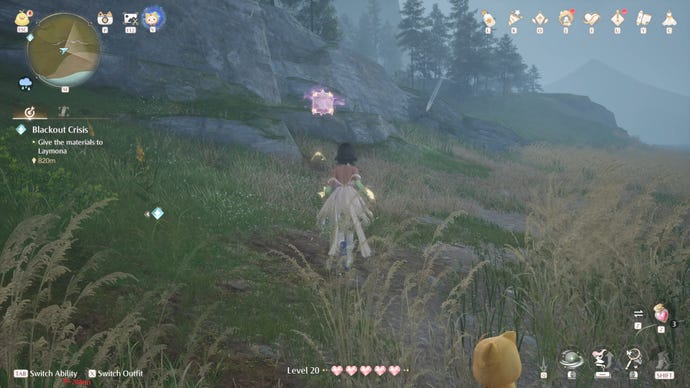
A short distance beyond the previous Whimstar you’ll find a combat chest which, when opened, will spew out a bunch of Esselings. Defeat them to collect the Whimstar.
Image credit:Rock Paper Shotgun/Papergames
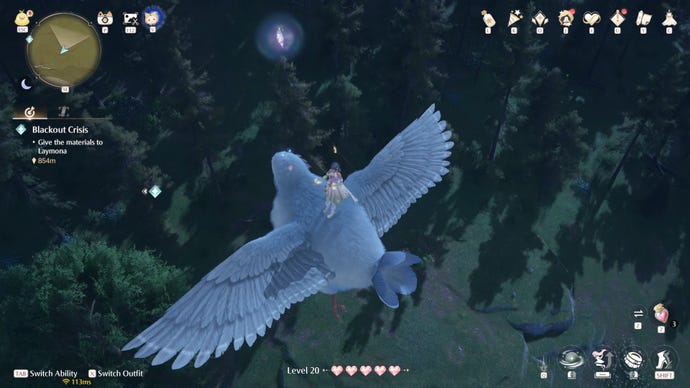
This is a fun one. Whimstar 65 is floating high in the air beyond the Wish Pass Office. To get there, progress a little further east and you’ll find a large bird nest on the ground at the base of a tree.
Whimstar 66: Forest’s Edge Cavern
Image credit:Rock Paper Shotgun/Papergames
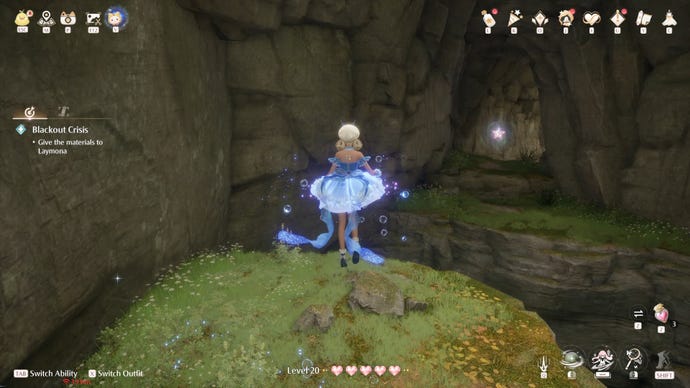
Near the very eastern edge of Florawish is the entrance to the Forest’s Edge Cavern, which contains just the one Whimstar. Head through the entire cavern, and you basically cannot miss this Whimstar - it’s on the high up ledge which you need to reach in order to drop back into the beginning of the cavern.
Whimstar 67: Island South Of Forest’s Edge
Image credit:Rock Paper Shotgun/Papergames
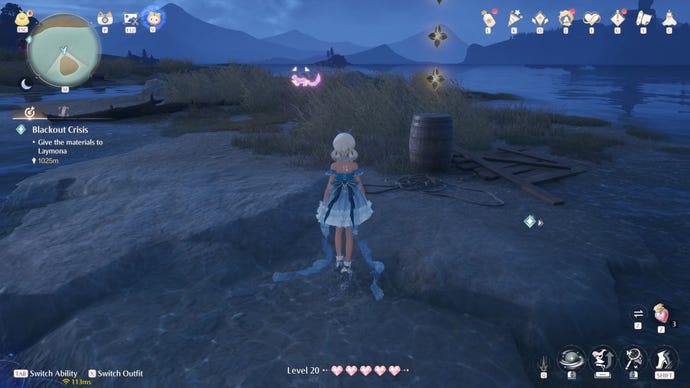
The final Whimstar in Florawish can be found on the tiny island south of the Forest’s Edge Cavern. Glide your way across to this island, and use your Bug Catching Outfit to catch the glowing critter in the centre of this tiny patch of land to obtain Whimstar 67.
Hopefully this guide has helped you to track down all 67 Whimstars in the region of Florawish in Infinity Nikki! While you’re here you can also check out ourObservation answersandKindled Inspiration solutions, or read our up-to-date guides on all theInfinity Nikki codesand thecurrent Infinity Nikki bannerif you want to track downall the Outfits in Infinity Nikki.